


T-one models F22A Raptor scale build!!!
 02-04-2019, 09:10 AM
#51


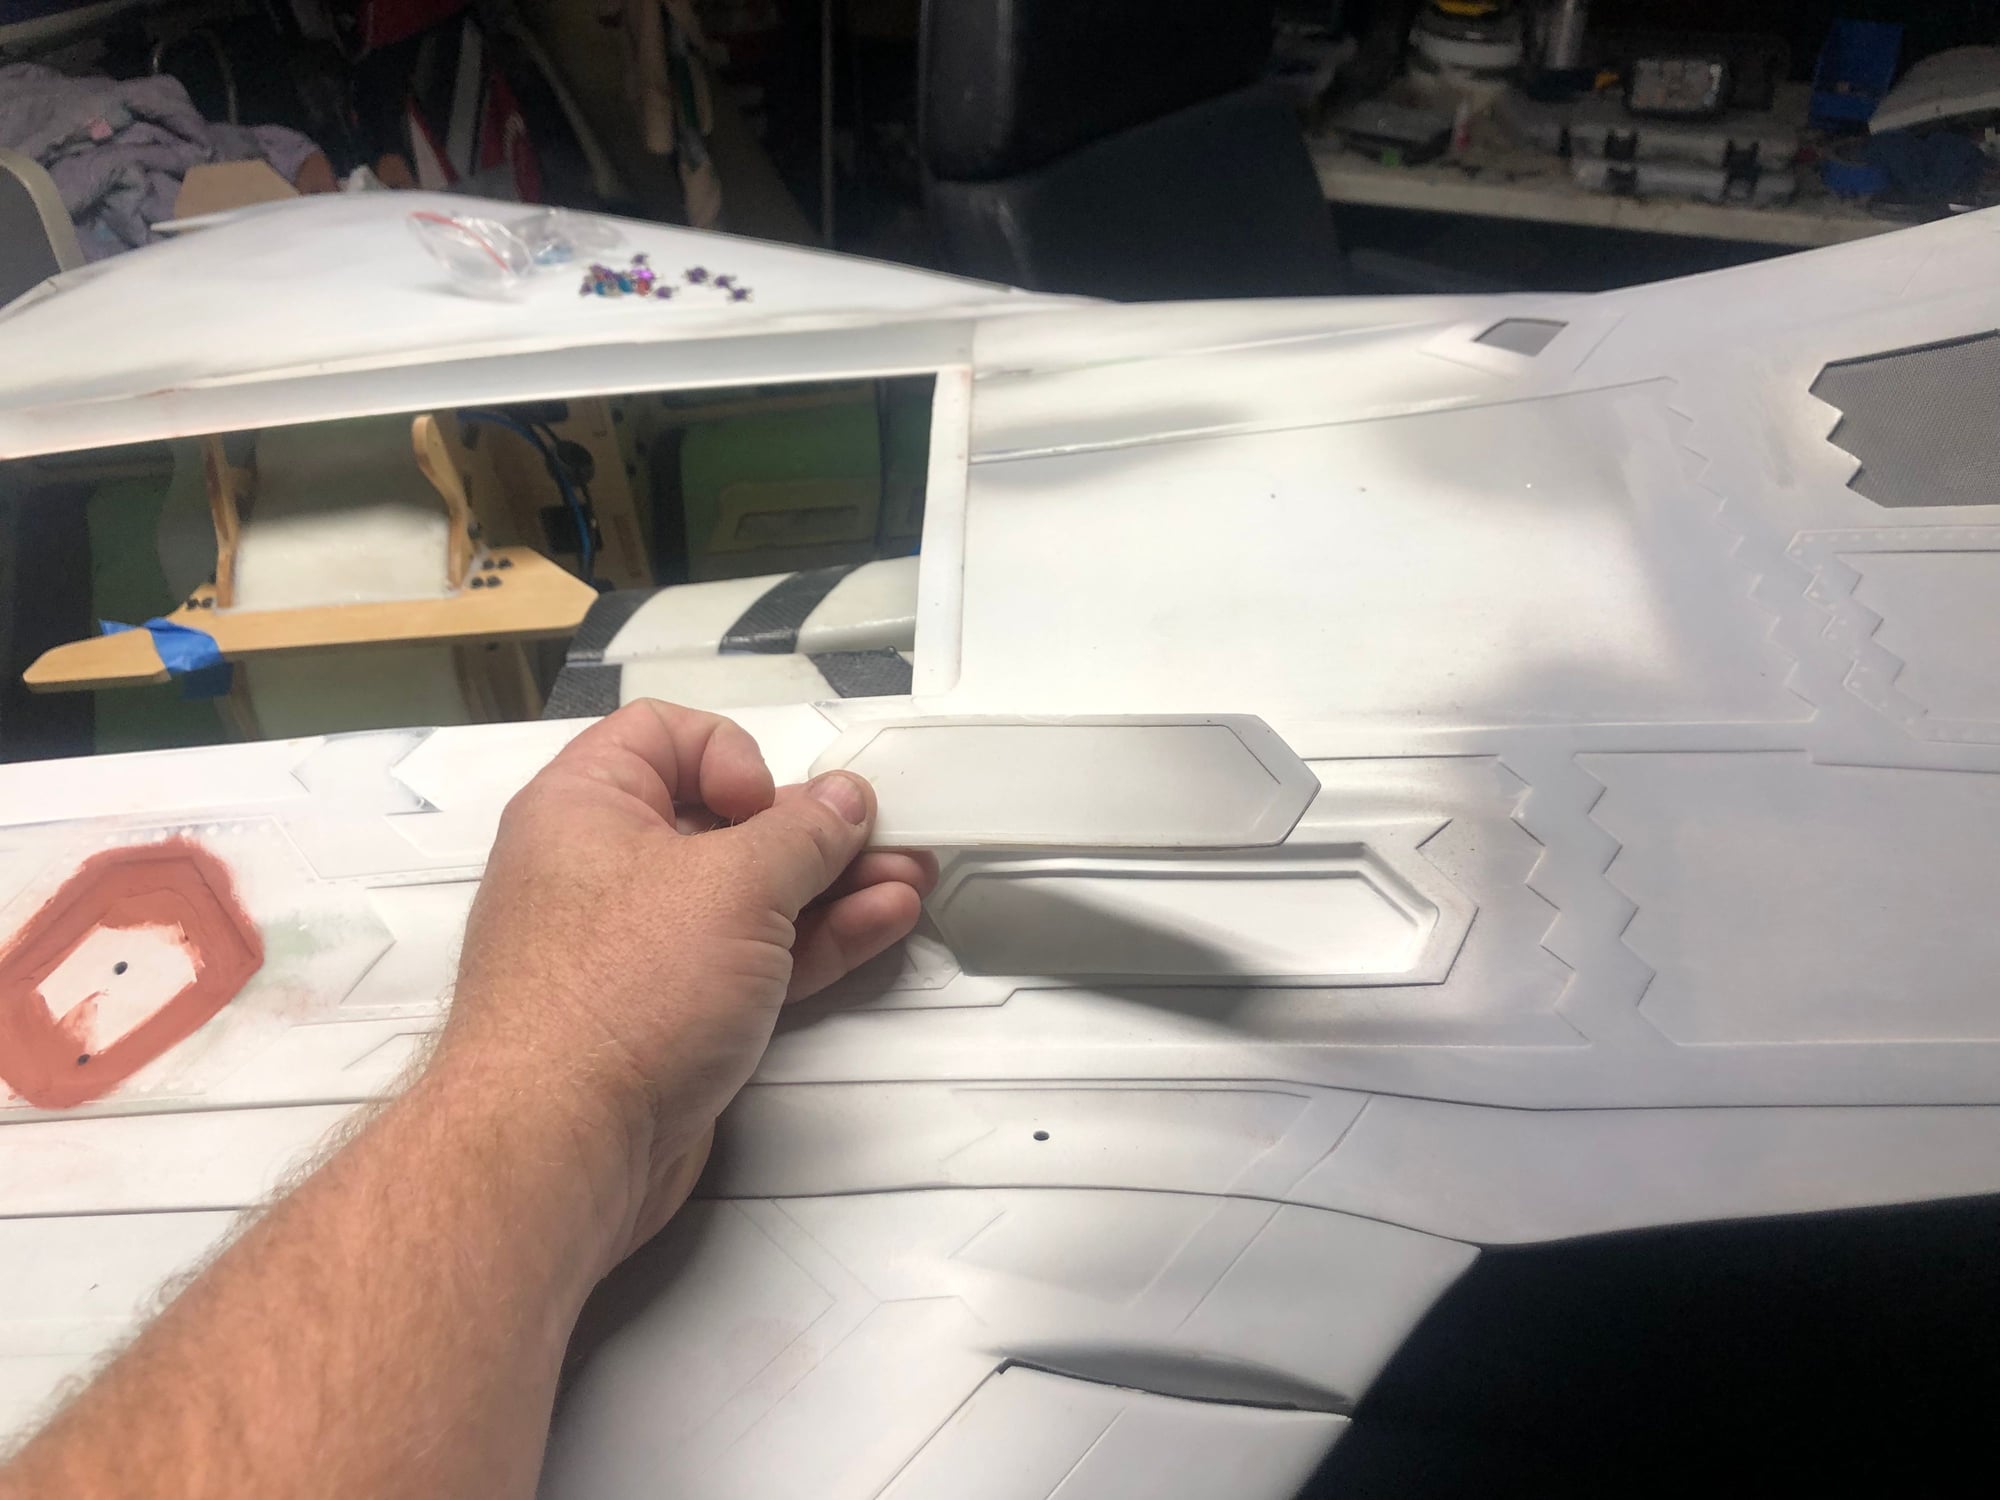
well I didn’t want to post much on the panel lines since that will be fixed on the production ones. They sent me pics over the weekend and they are in the middle of making an entire new set of molds with the correct panel line depth.
For mine I am using filler primer and regular filler and a crap load of sanding. It’s getting their but very time consuming. Allot of the panel lines are ok but some where very exaggerated and takes allot of work.
Ill take pics pics when I’m done with this part.
 02-04-2019, 11:07 AM
#52


well I didn’t want to post much on the panel lines since that will be fixed on the production ones. They sent me pics over the weekend and they are in the middle of making an entire new set of molds with the correct panel line depth.
For mine I am using filler primer and regular filler and a crap load of sanding. It’s getting their but very time consuming. Allot of the panel lines are ok but some where very exaggerated and takes allot of work.
Ill take pics pics when I’m done with this part.
 02-05-2019, 04:34 AM
#54
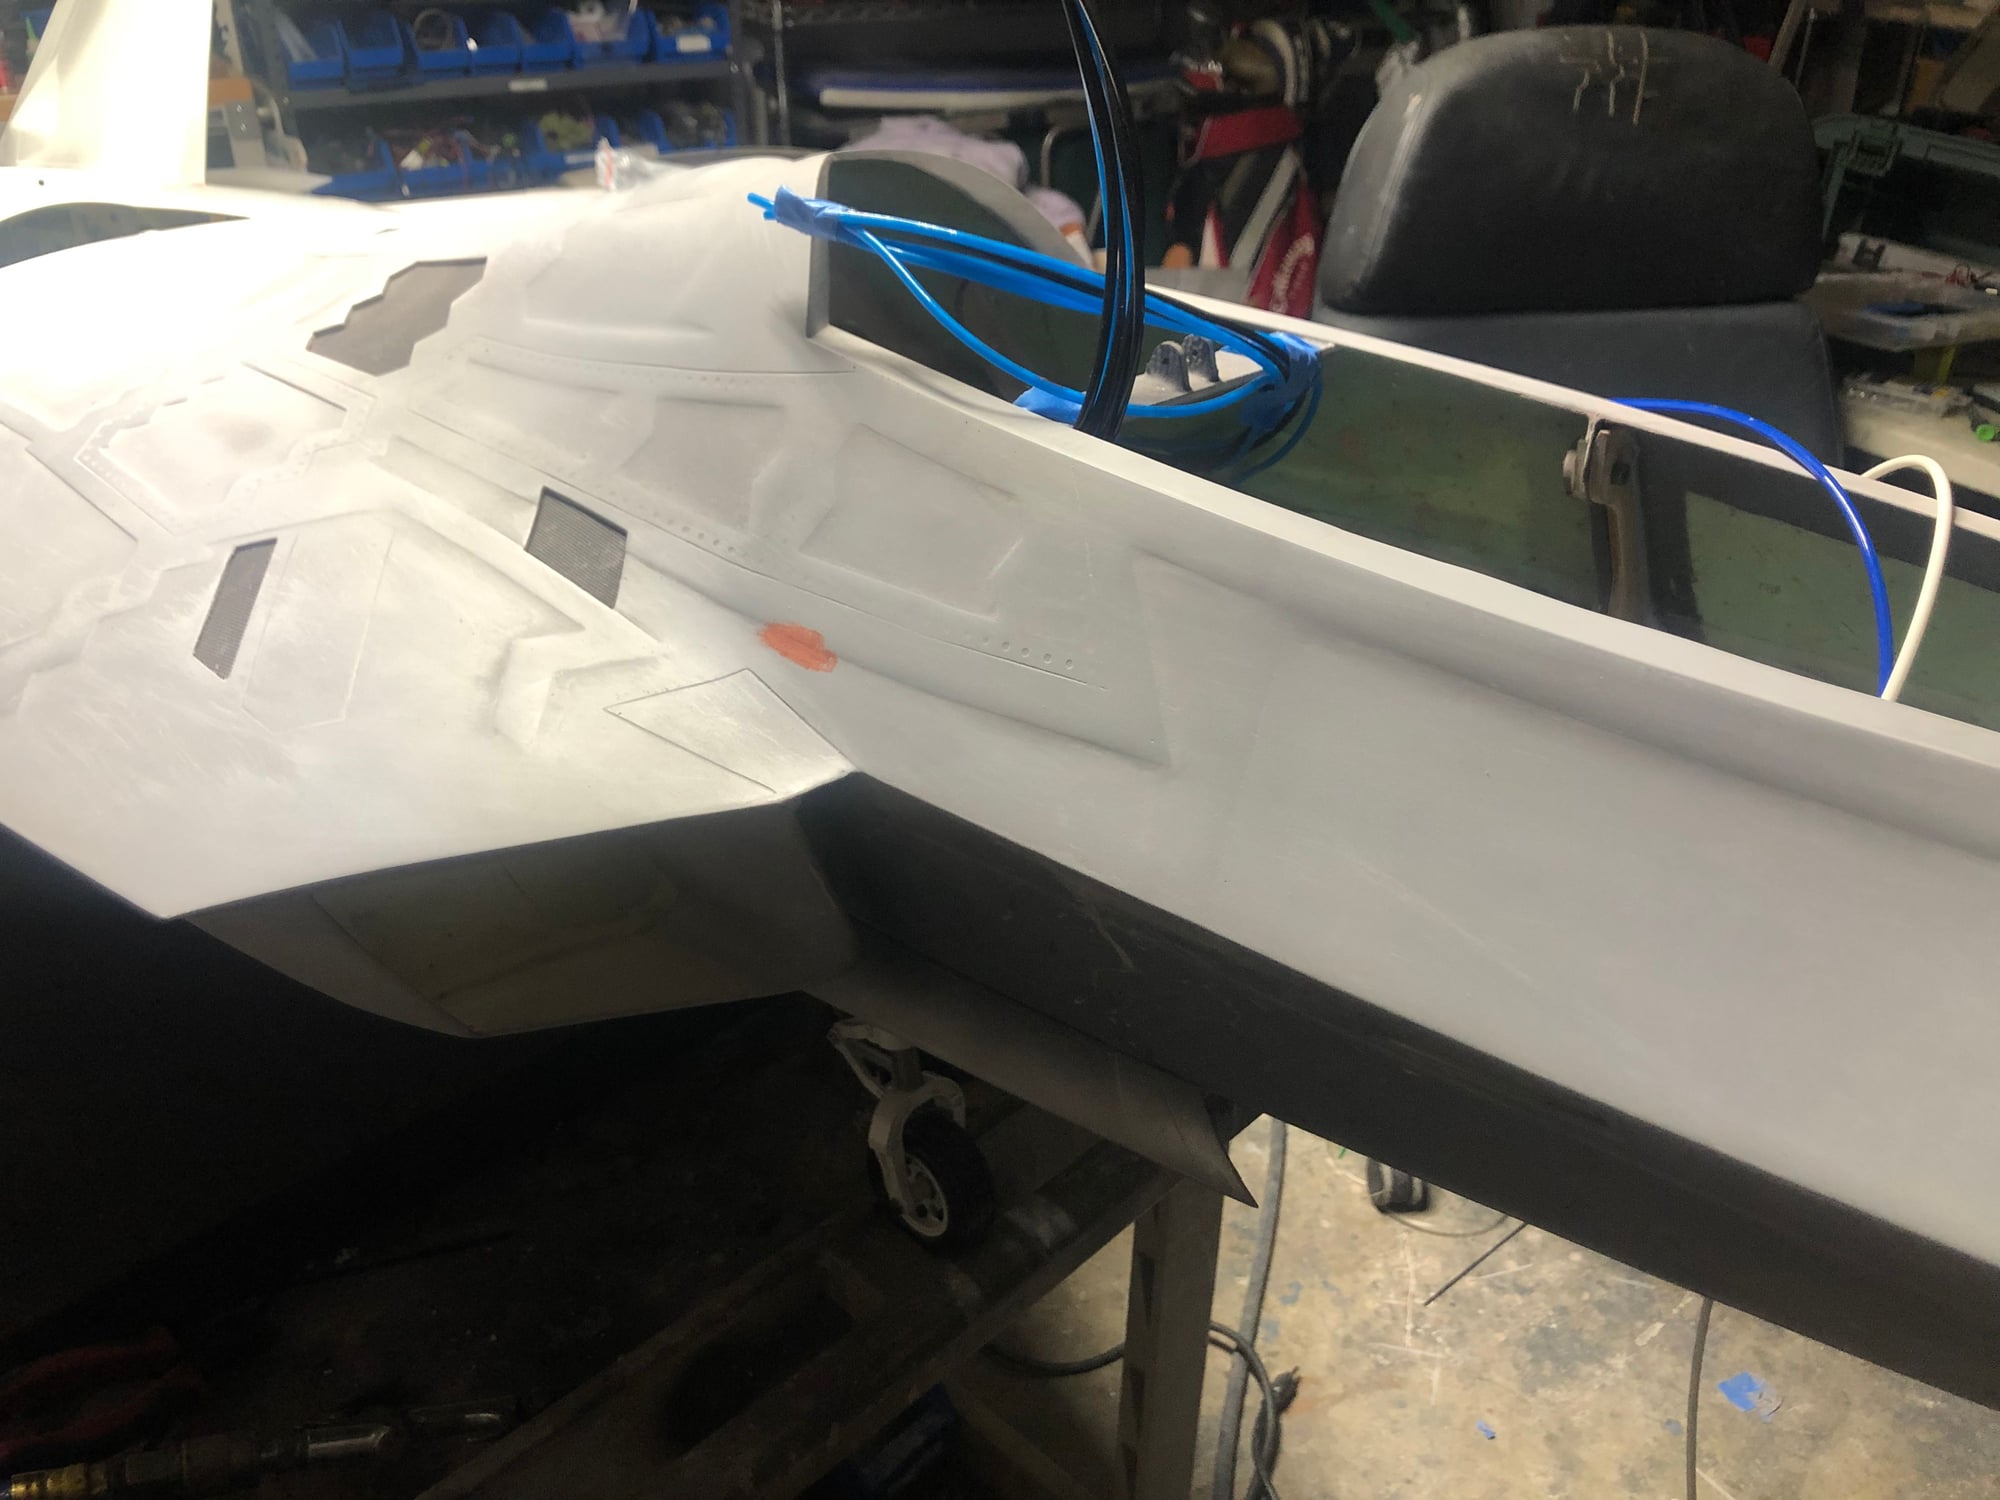
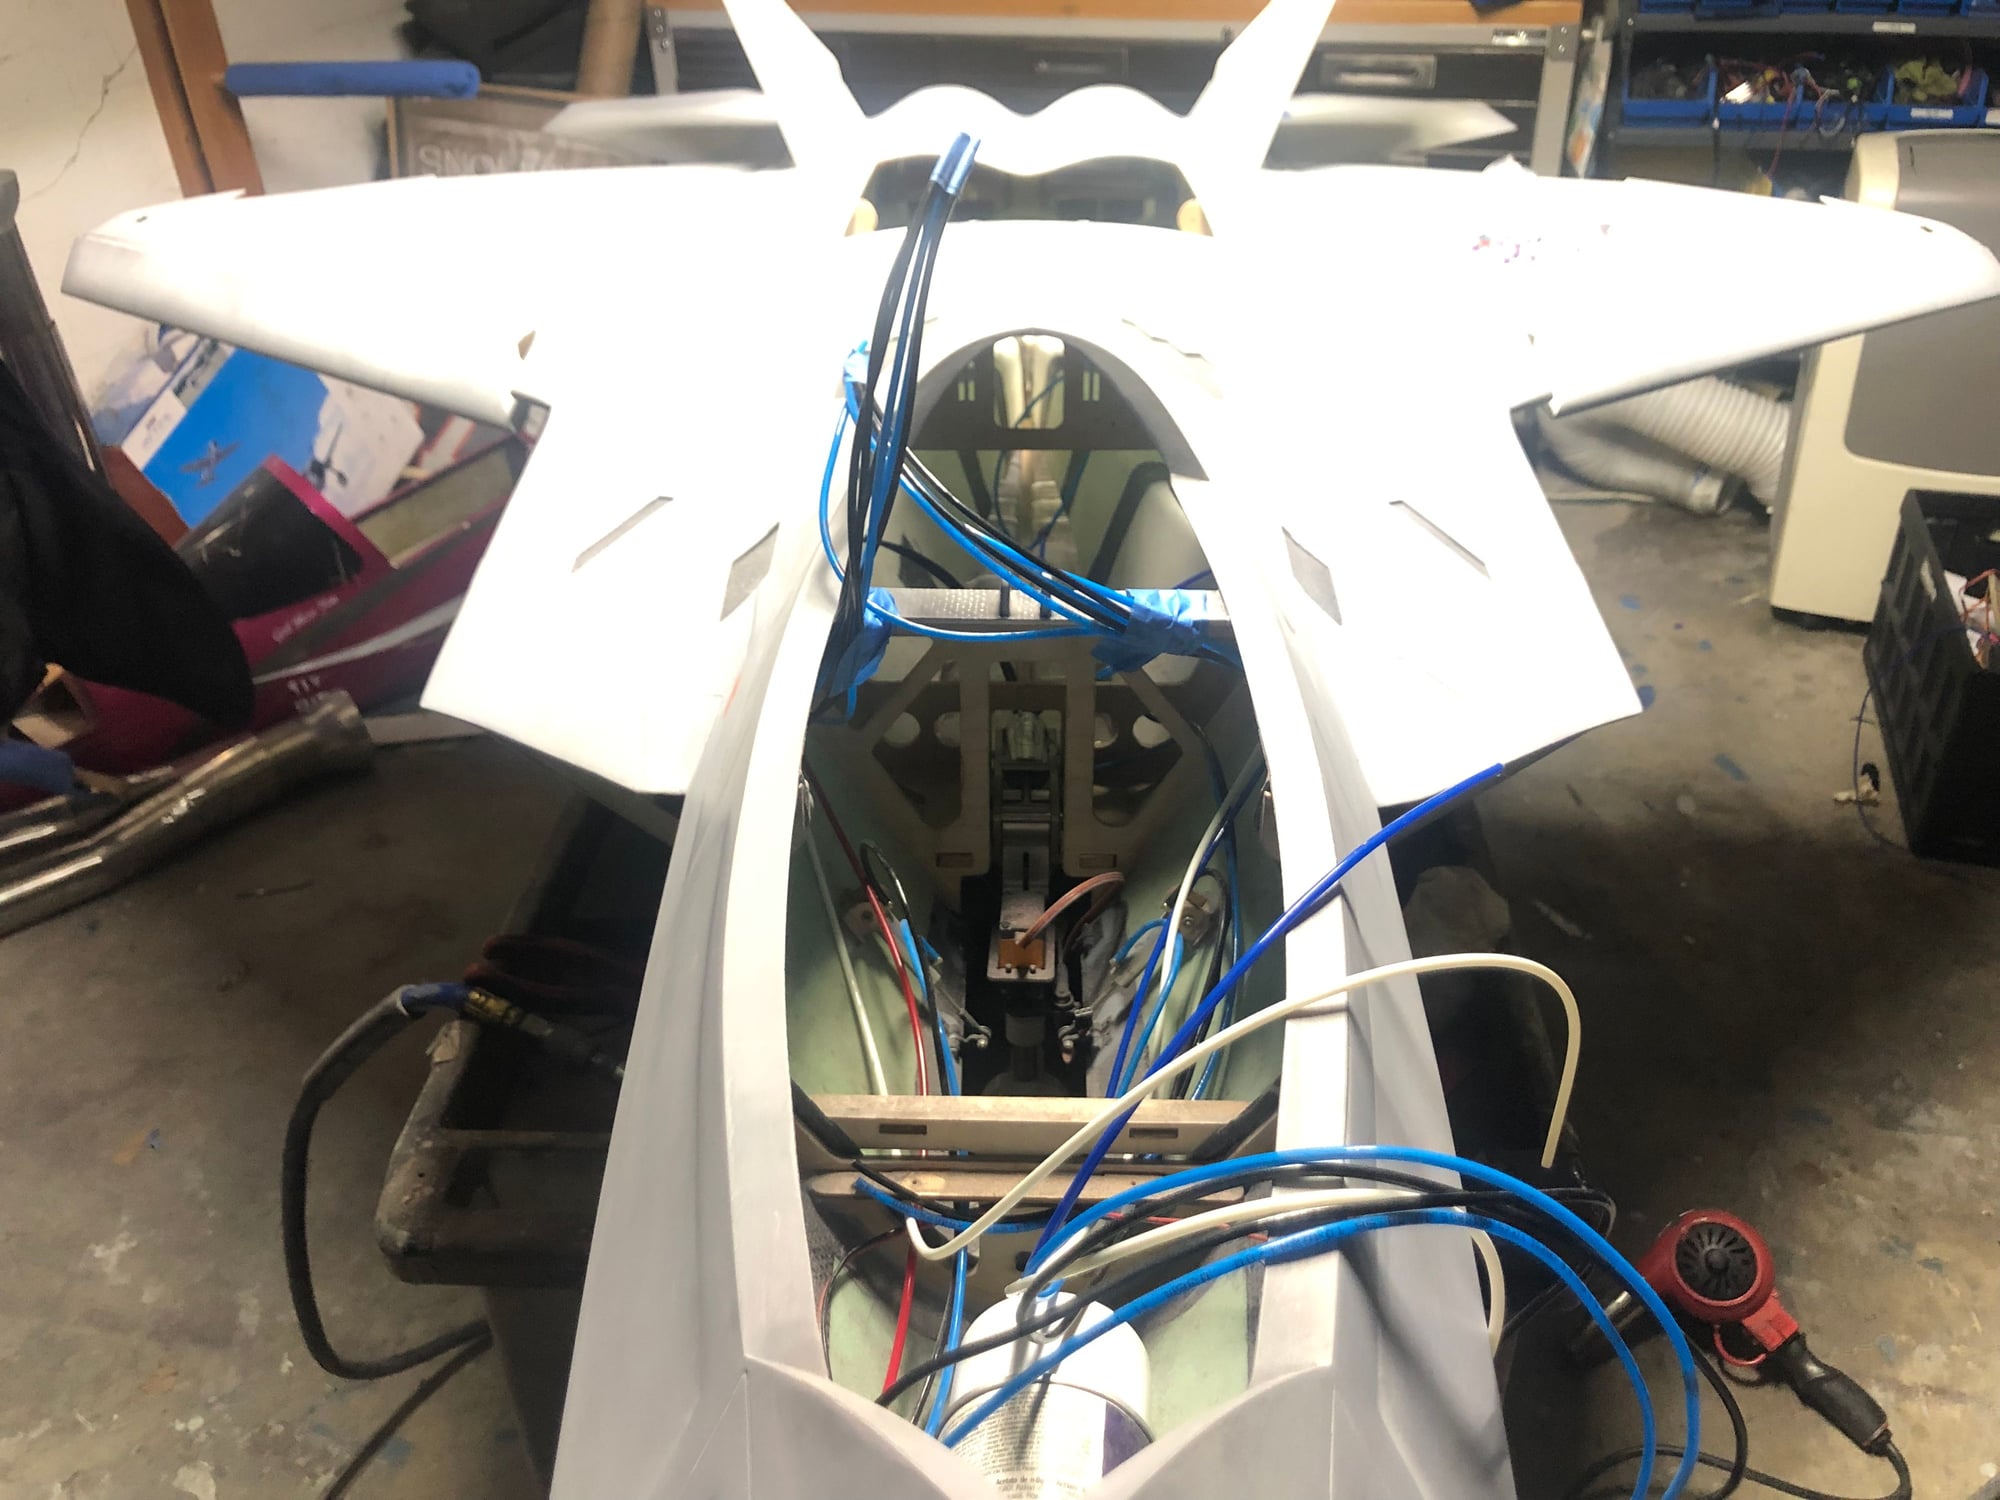
Didn’t do much last night but starting to figure out how I’m going to lay it all out. Going to install the receiver in the main hatch with the gyro. This will make the servo leads going to all the flight controls many feet shorter so less resistance. The uat I’m thinking will end up behind the cockpit since as a rule during a build the uat always goes near the tanks for me. That means the pump will end up their also.
Air system will will go in the nose along with batteries depending on cg. Last night I worked on getting all the airlines up to the nose. Lots of airlines on this bird.... the opening missile doors have 16 airlines alone. A good part is the plane includes real good airline and Ts and Ys. Not crap airline like other manufactures that you throw away. I’m going to use that new 9 valve air controller with a 9 valve block.
The controller has a port to add an on board air pump. I’m going to look into this option or maybe even take an air pump apart and install it myself. This plane will have a stupid light wing loading and having a pump on the plane would be really nice. In the end it might not work out and I can always just use a conventional air system.
02-05-2019, 04:37 AM
#55
Also a cool function is the gun door. The F22 to keep stealth has a door that opens and closes when the gun fires. The factory molds this door separately so if you wanted to make it operational you could. Unfortunately I won’t have enough channels I don’t think.
 02-05-2019, 09:01 AM
#57

Honestly Bro just the sanding of all the raised areas made it look a loooot better! I still think this will help T-1 sell more buy doing normal panel lines though, dang it man someone needs to buy my Rebel Pro so I can order one!!! LOL
I didnt know about the gun door, thats really cool as well, its a perfect spot for a charging/air fill location!
Does the gear use the larger Airline?
How are their air cylinders compared to others? I end up replacing them every time and while I sell ultra precision stuff it would be nice for once to use stock air items.
Thanks for the info
Last edited by FenderBean; 02-05-2019 at 09:06 AM.
 02-05-2019, 10:35 AM
#59
hello Arnaud
yes stabs abs come off easy. They are direct drive and only have one large bolt near the vector nozzles to take them off. Very good system. I’m waiting for the special washers so I can show that part.
Verticals also come come off easy for transport.
02-05-2019, 10:38 AM
#60
Honestly Bro just the sanding of all the raised areas made it look a loooot better! I still think this will help T-1 sell more buy doing normal panel lines though, dang it man someone needs to buy my Rebel Pro so I can order one!!! LOL
I didnt know about the gun door, thats really cool as well, its a perfect spot for a charging/air fill location!
Does the gear use the larger Airline?
How are their air cylinders compared to others? I end up replacing them every time and while I sell ultra precision stuff it would be nice for once to use stock air items.
Thanks for the info
I didnt know about the gun door, thats really cool as well, its a perfect spot for a charging/air fill location!
Does the gear use the larger Airline?
How are their air cylinders compared to others? I end up replacing them every time and while I sell ultra precision stuff it would be nice for once to use stock air items.
Thanks for the info
kieth the gear has 3mm lines. The gear is made by airbeast and looks to be very well made with a positive down lock so you can push it around without pressure. I checked all the gear cylinders already no leaks. I have not checked the doors yet but hopefully it’s fine. The euro fighter from T1 gear doors /air brake and canopy never leaked.
02-05-2019, 03:42 PM
#62

Chris, you’ve got my mouth drooling man! I ordered one a month ago and can hardly wait for it to arrive, though I’m assuming the re-fit on the panel lines will delay things somewhat...
Keep up the great work sir! Very helpful to see how you do things etc. Thanks!!!
Looking forward to each installment...
Len
Keep up the great work sir! Very helpful to see how you do things etc. Thanks!!!
Looking forward to each installment...
Len
02-05-2019, 06:07 PM
#65
Big block showed up today along with the pipe! Pipe should be out on display not inside of a jet 😎. Got the engine fitted and started fitting pipe. I need to make a rear support for the pipe. The production models will have one.
Got an idea on how to do hidden hatch latches. We will see it it works out. I’ll post about it after I do it. Not sure when I will work on that part.
So this weekend my goal is to remove the rear fuselage and get the wiring in and pipe in then reinstall. I was going to fill the gap on the rear fuselage but thinking now I might leave it so I can get in for maintenance.
02-06-2019, 05:43 AM
#66
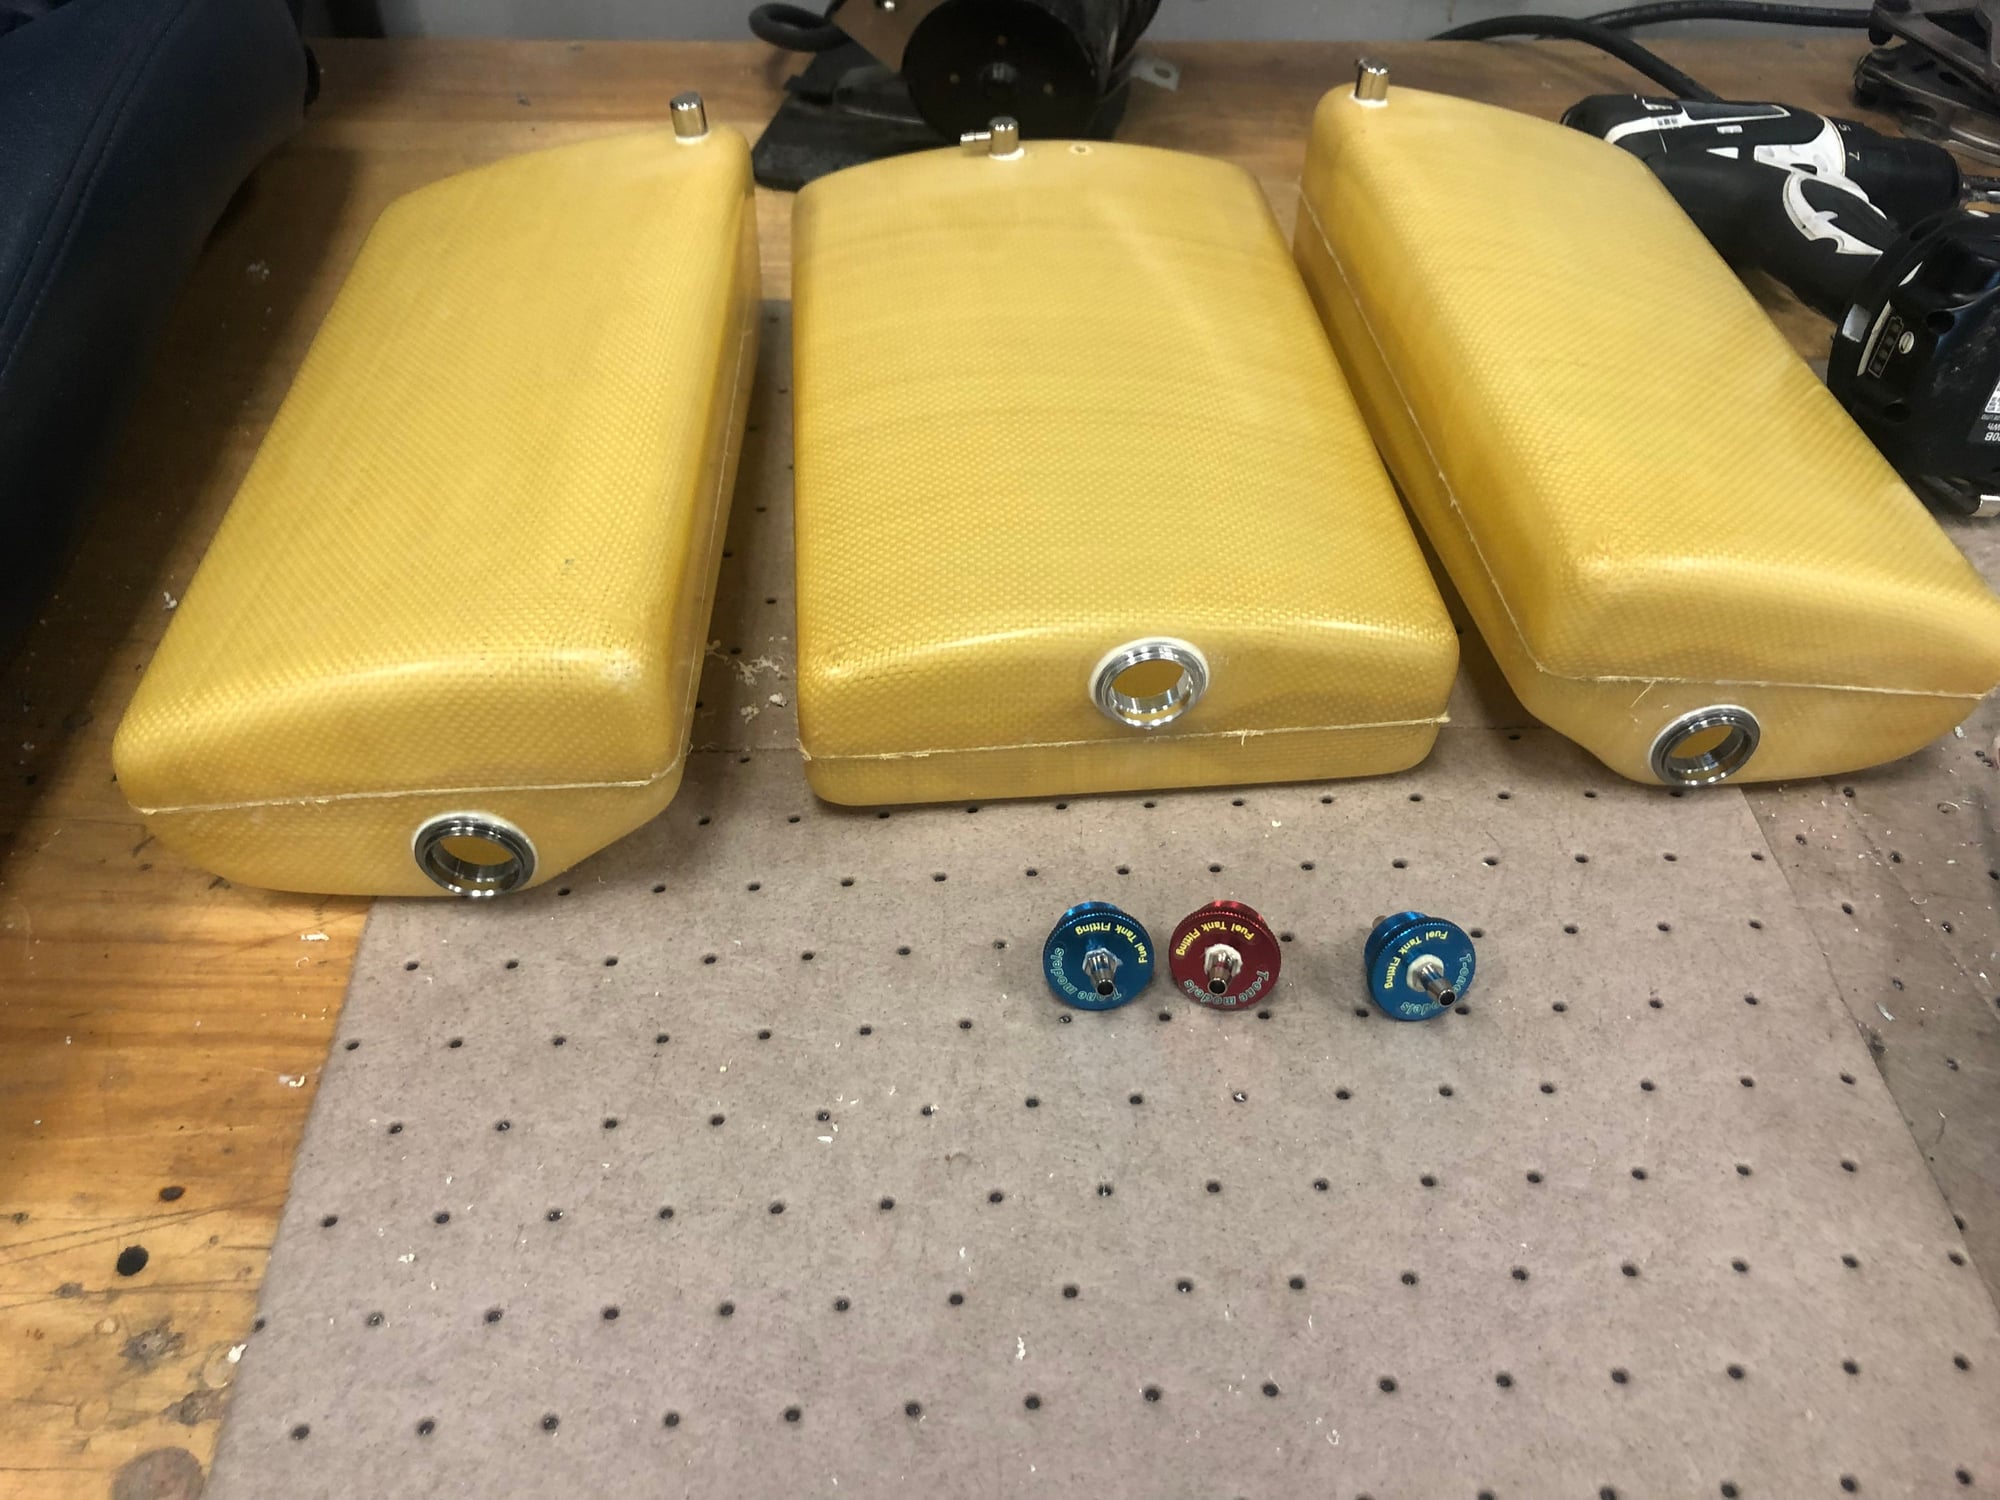
Still have one more vent to install on main tank
Started working on the fuel tanks. The plane comes with good fuel fittings not the crap you just throw away every build. It should go with out saying but you need to hysol the vents in after drilling and make sure you hysol the nipples into the main stopper.
I would say over 90% of turbine issues and flameouts are caused by the fuel system. I go the extra mile when setting mine up to avoid issues. I plan on having 2 vents plumbed into the two saddle tanks. Then both saddles will feed into the main tank with two vents installed on the main tank. The main tank will feed the UAT. I have a large UAT coming since I’m using a 260 and the main fuel tank is so long I can see it sucking some air near the end of the fligh during maneuvers.
You will I’ll never see me install a T or Y fitting in a fuel system. It creates added suction and is not necessary.
Last edited by gunradd; 02-06-2019 at 05:47 AM.
02-06-2019, 09:16 AM
#67
I agree with you here Gun, I always over size my plumbing and I have had several people comment on how low my pump voltages are from this as well...... Going out on a limb here but is it far to say the stock fittings are not hi-flow?
02-06-2019, 09:59 AM
#70
david they sent me pictures 2 nights ago on the work they are doing. They are making an entire new mold but working as quick as possible. They should be back after the Chinese New Year next Monday working. Great manufacture to work with. They listen and do great work on our feedback.
02-08-2019, 01:40 PM
#75
Servos came in!
The important high torque stuff is getting savox 1230 and the other stuff gets savox 1256’s.
So only working on it a few hours I was able to get both rudder servos and both horizontal stab servos installed. Was a very easy install on the rudders. They have a slip joint the screws on top of the servo so when you slide the rudder on it connects it self. Make sure when ordering you specify the servos you are going to use. You don’t want to have the wrong splines. I ended up drilling 2 extra holes so I could get my screw driver in to secure the servo screws. These holes will be covered up when the stabs are installed.
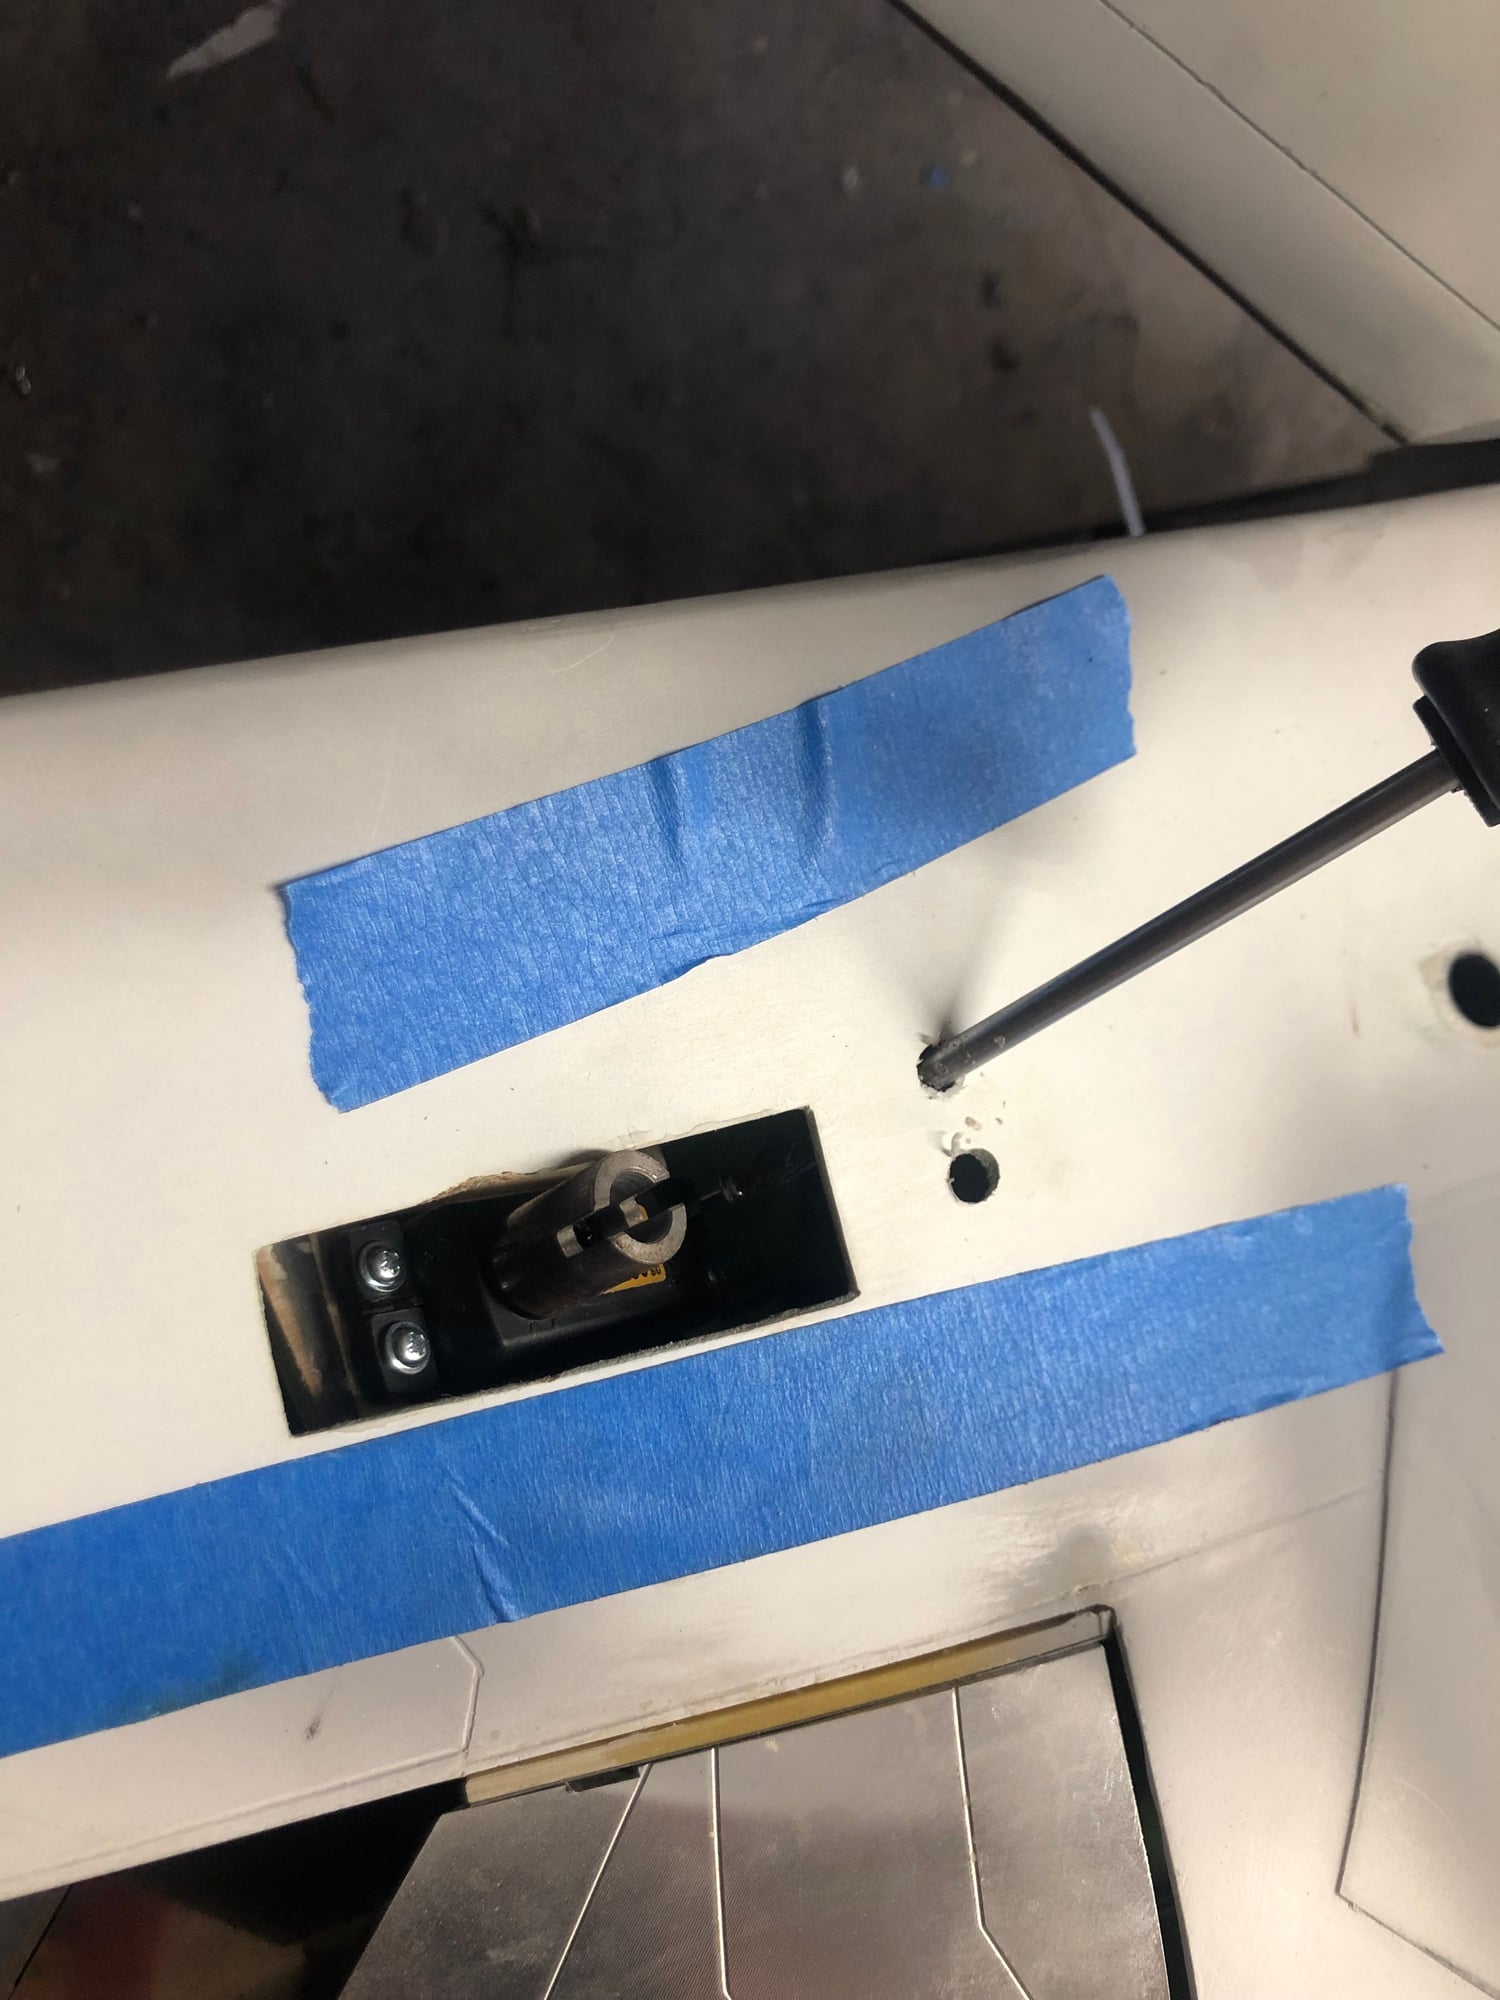
I laid tape down on the edge of where the vertical stab covers to make sure I stayed inside that to drill.
The important high torque stuff is getting savox 1230 and the other stuff gets savox 1256’s.
So only working on it a few hours I was able to get both rudder servos and both horizontal stab servos installed. Was a very easy install on the rudders. They have a slip joint the screws on top of the servo so when you slide the rudder on it connects it self. Make sure when ordering you specify the servos you are going to use. You don’t want to have the wrong splines. I ended up drilling 2 extra holes so I could get my screw driver in to secure the servo screws. These holes will be covered up when the stabs are installed.
I laid tape down on the edge of where the vertical stab covers to make sure I stayed inside that to drill.