


SIG Liberty Sport
 06-23-2019, 12:01 PM
#1

Thread Starter
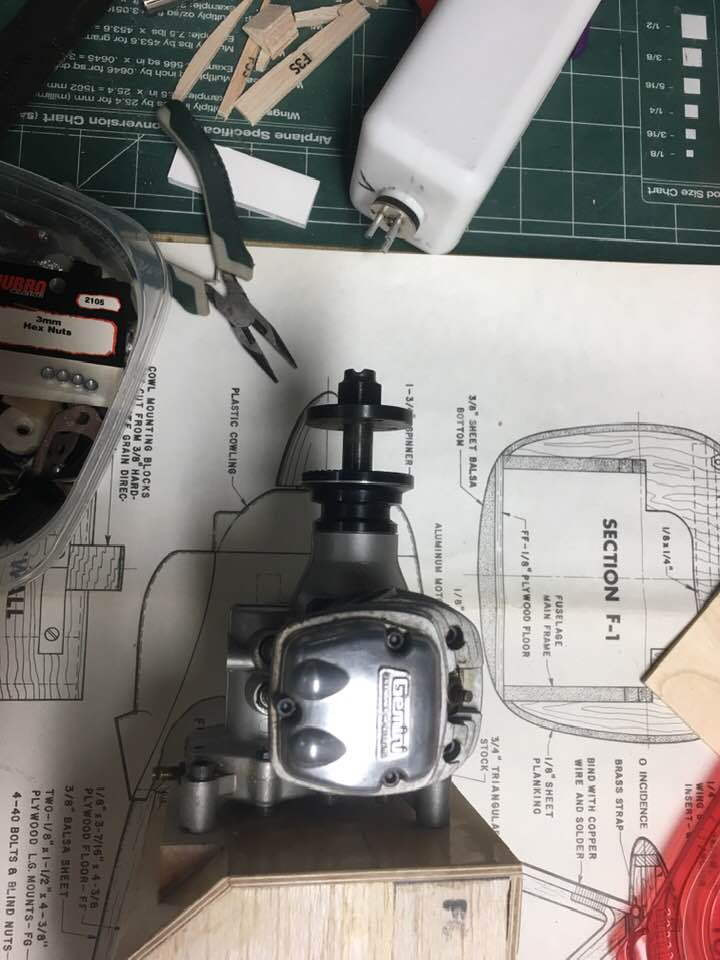
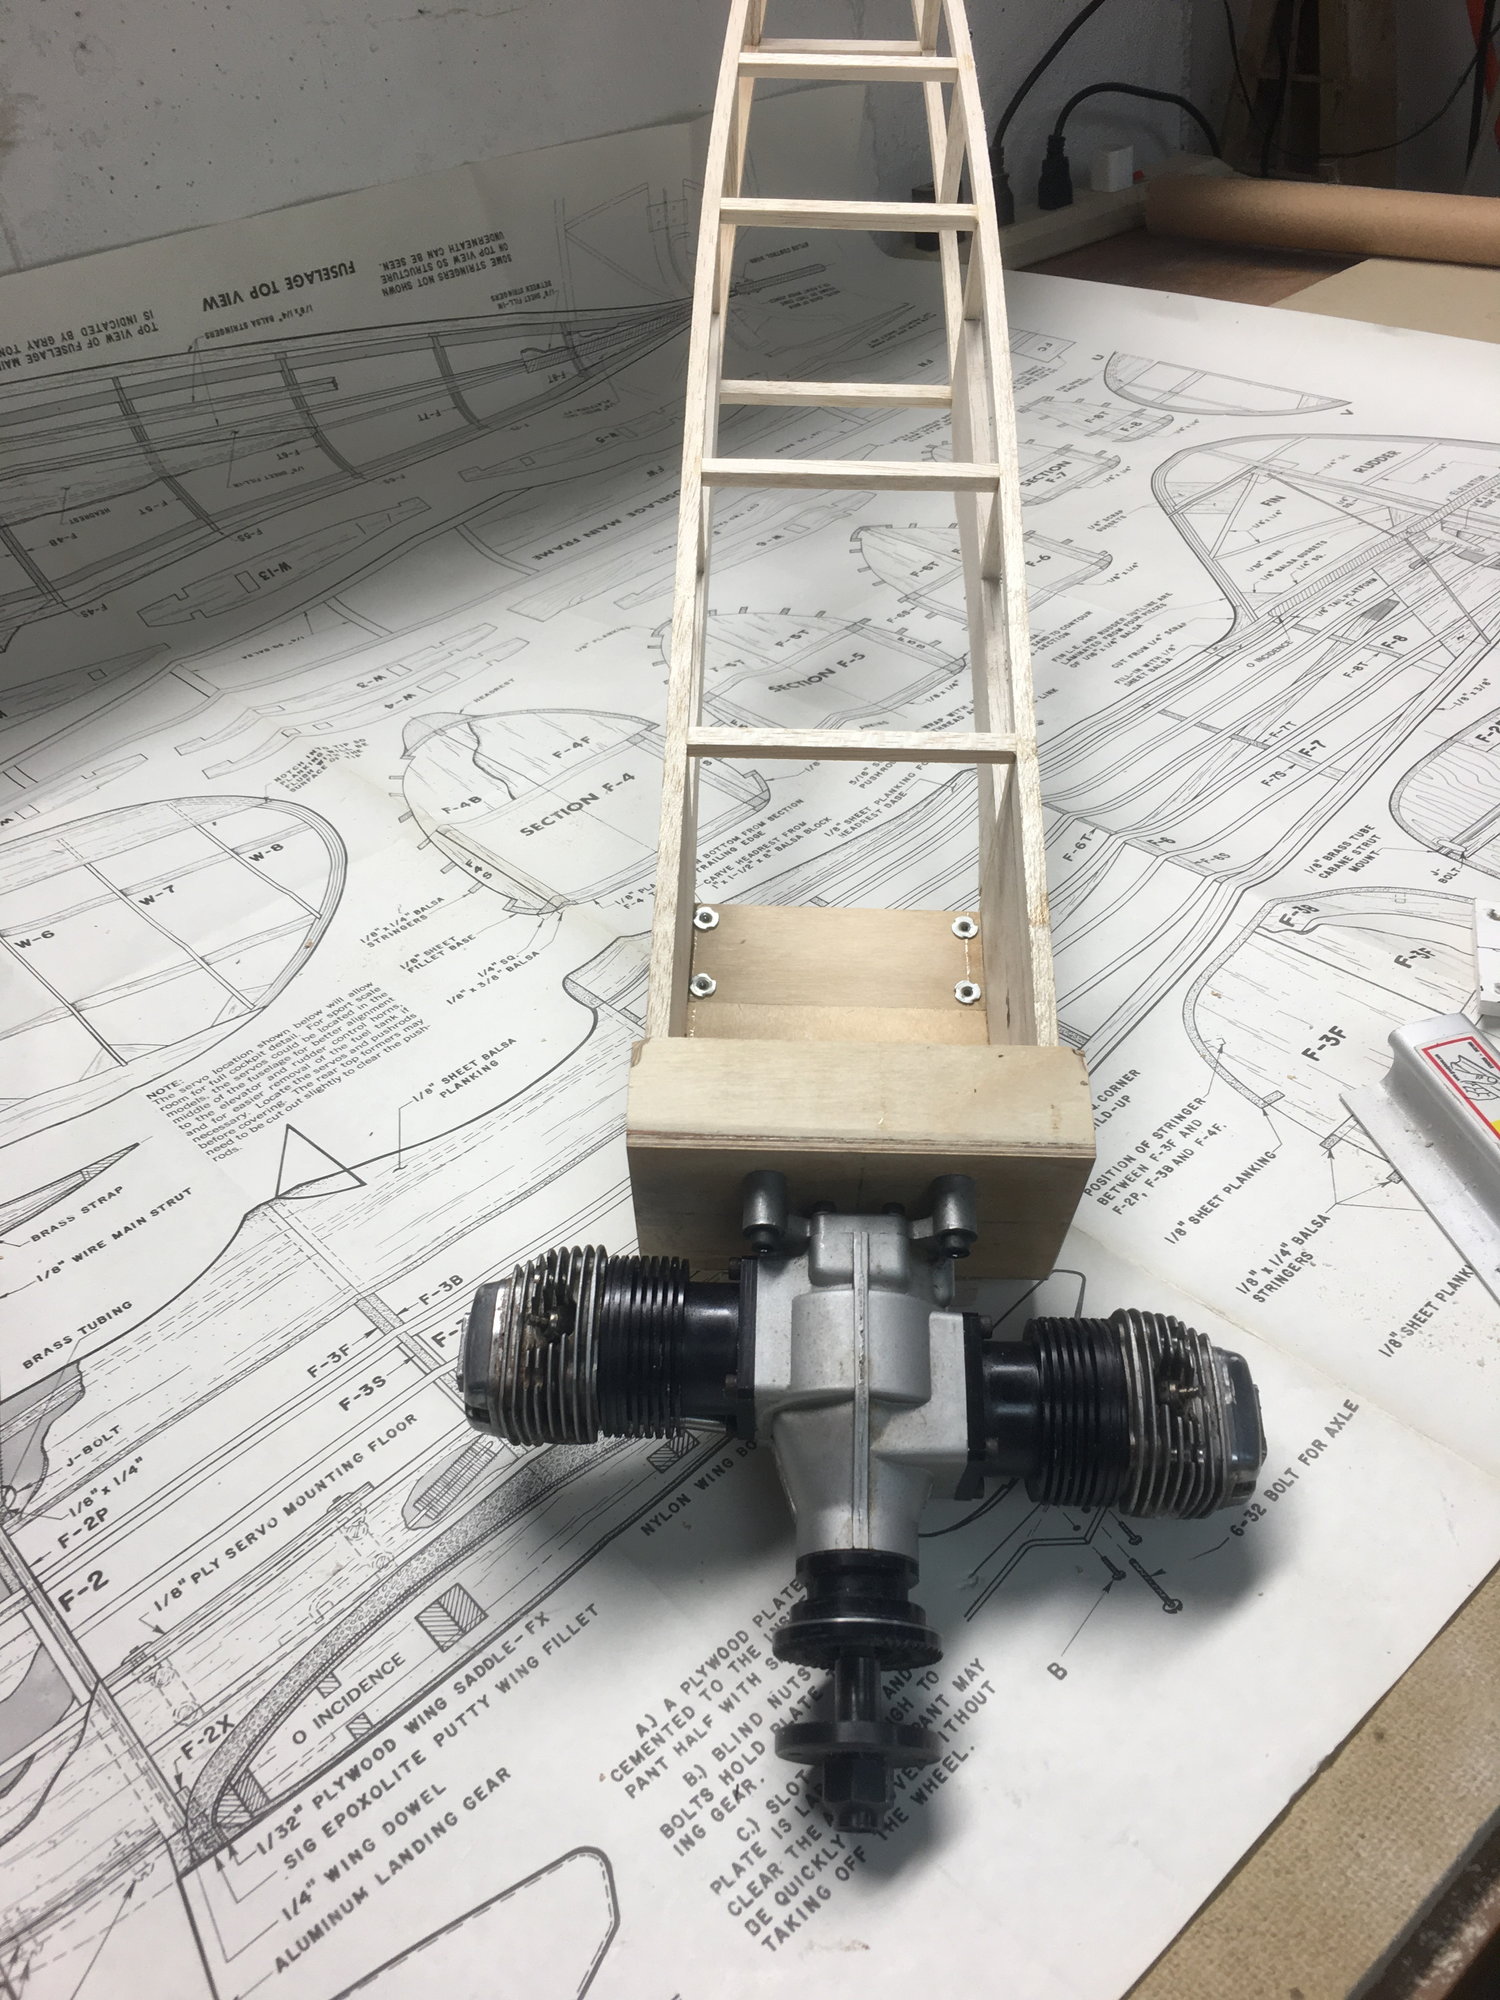
So I came across this kit for $100. Complete kit too, only one of the die crushed sheets was separated, but not by the original owner, it just came apart. Anyway I had a problem with my Ultimate Bipe where the throttle arm came loose on the OS Gemini 120, and well, bipes dont fly long or far with a tail wind, needless to say, needed a new plane for the engine. Guess what is a perfect fit, size wise. Yep the OS Gemini 120.
Something tells me it might be too much power for the plane though, Thoughts?
I would post a couple more, but Facebook images are all loading up corrupted, so have to find a different method for uploading pics from my phone.
Something tells me it might be too much power for the plane though, Thoughts?
I would post a couple more, but Facebook images are all loading up corrupted, so have to find a different method for uploading pics from my phone.


 06-23-2019, 04:18 PM
#3
Thread Starter
Not to sure on the weight though. Friend of mine has one that he got second hand. It has an OS 70 I think on it and he flew it without the cowl the first time, it was tail heavy and a handful. He got it down OK, and later discovered the cowl had 2 ounces of weight in it. He thought is was balanced without the cowl because there was a huge hunk of lead on the firewall. Powerwise, maybe, but this was for 2 stroke, and .60 2 stroke was about a 120 4 stroke. May not hold true with todays engines, but, back then it did. I will know for sure once I have the bones done and can put it on the Vanessa rig. If not I have a Magnum .91 that will work. Should fly very well with a .91, the 70 was adequate, but not enough if power was needed in a hurry.

 07-02-2019, 07:07 AM
#5
Thread Starter
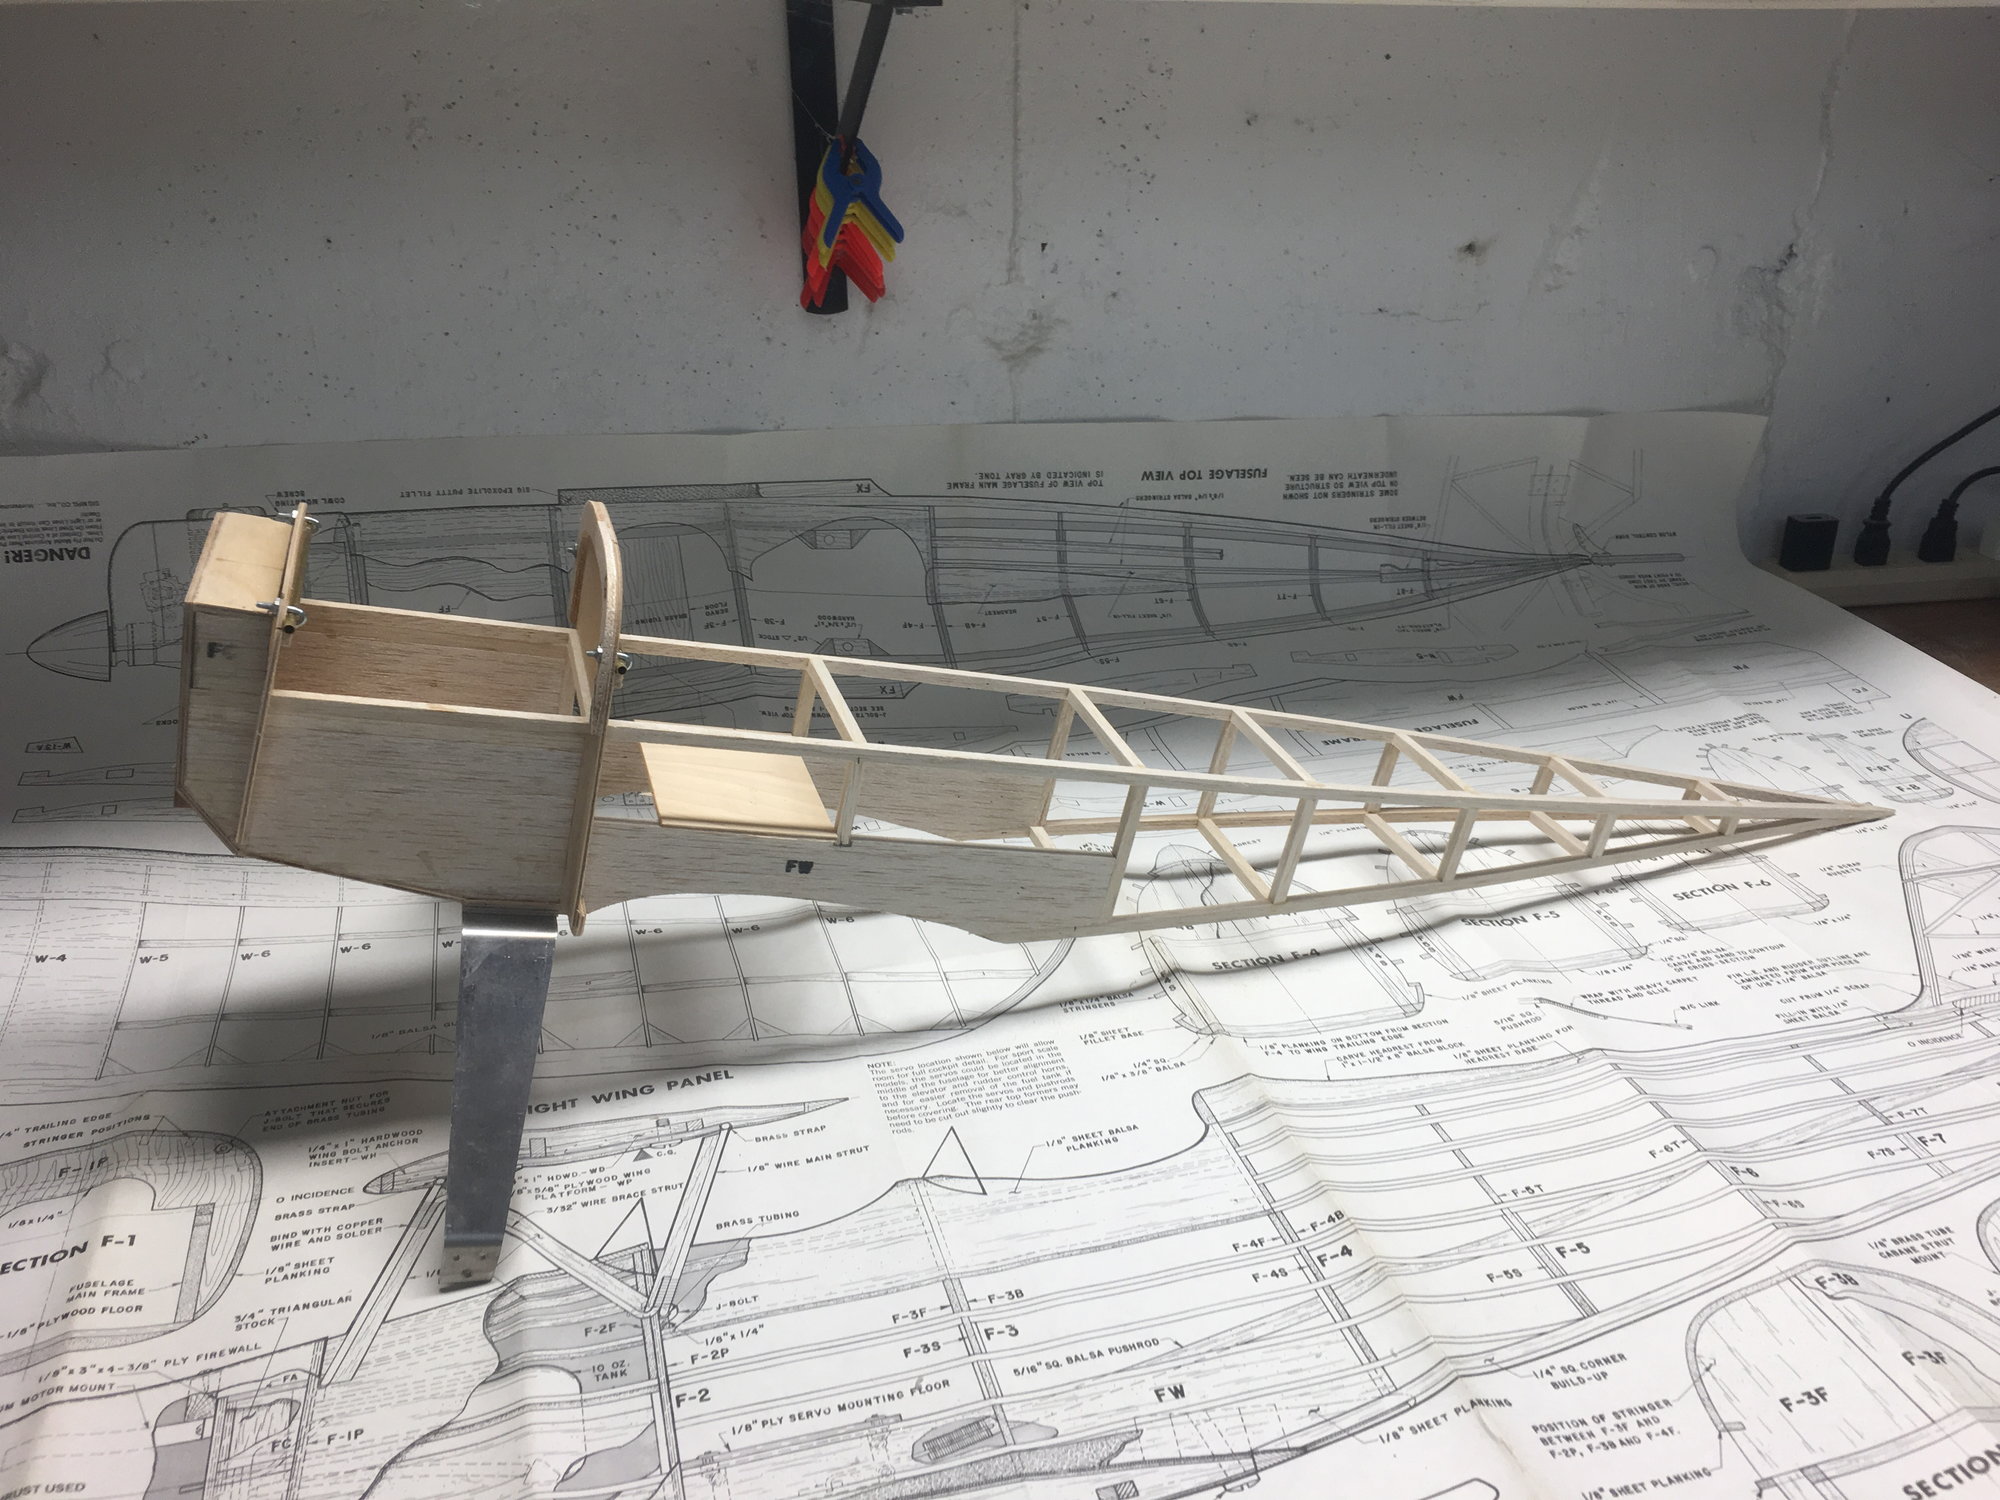
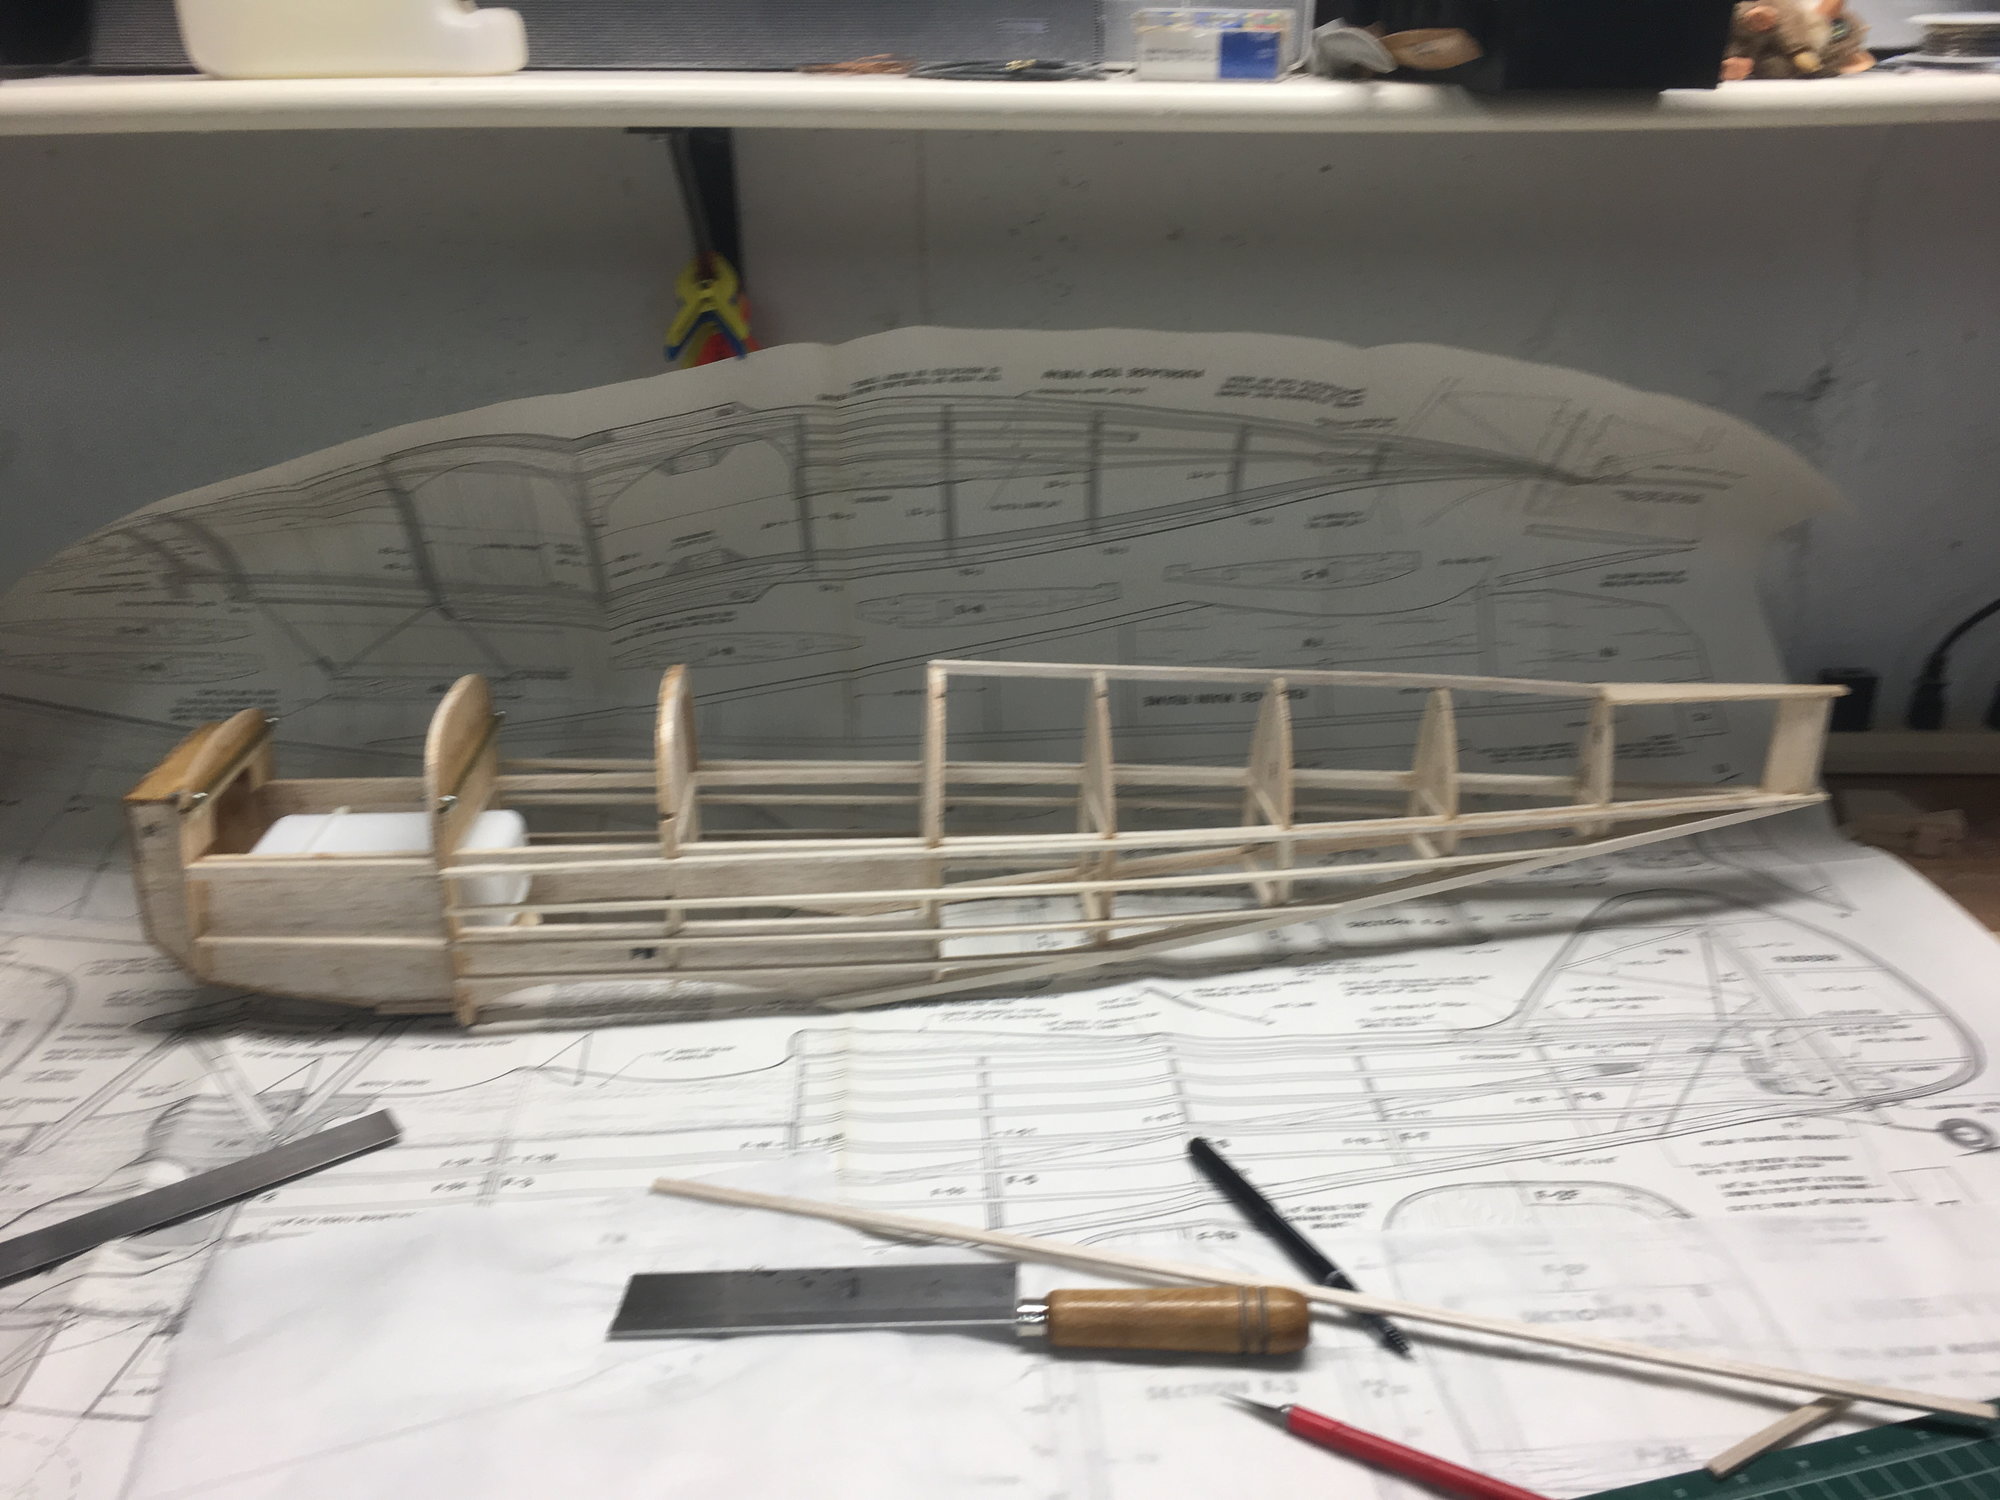
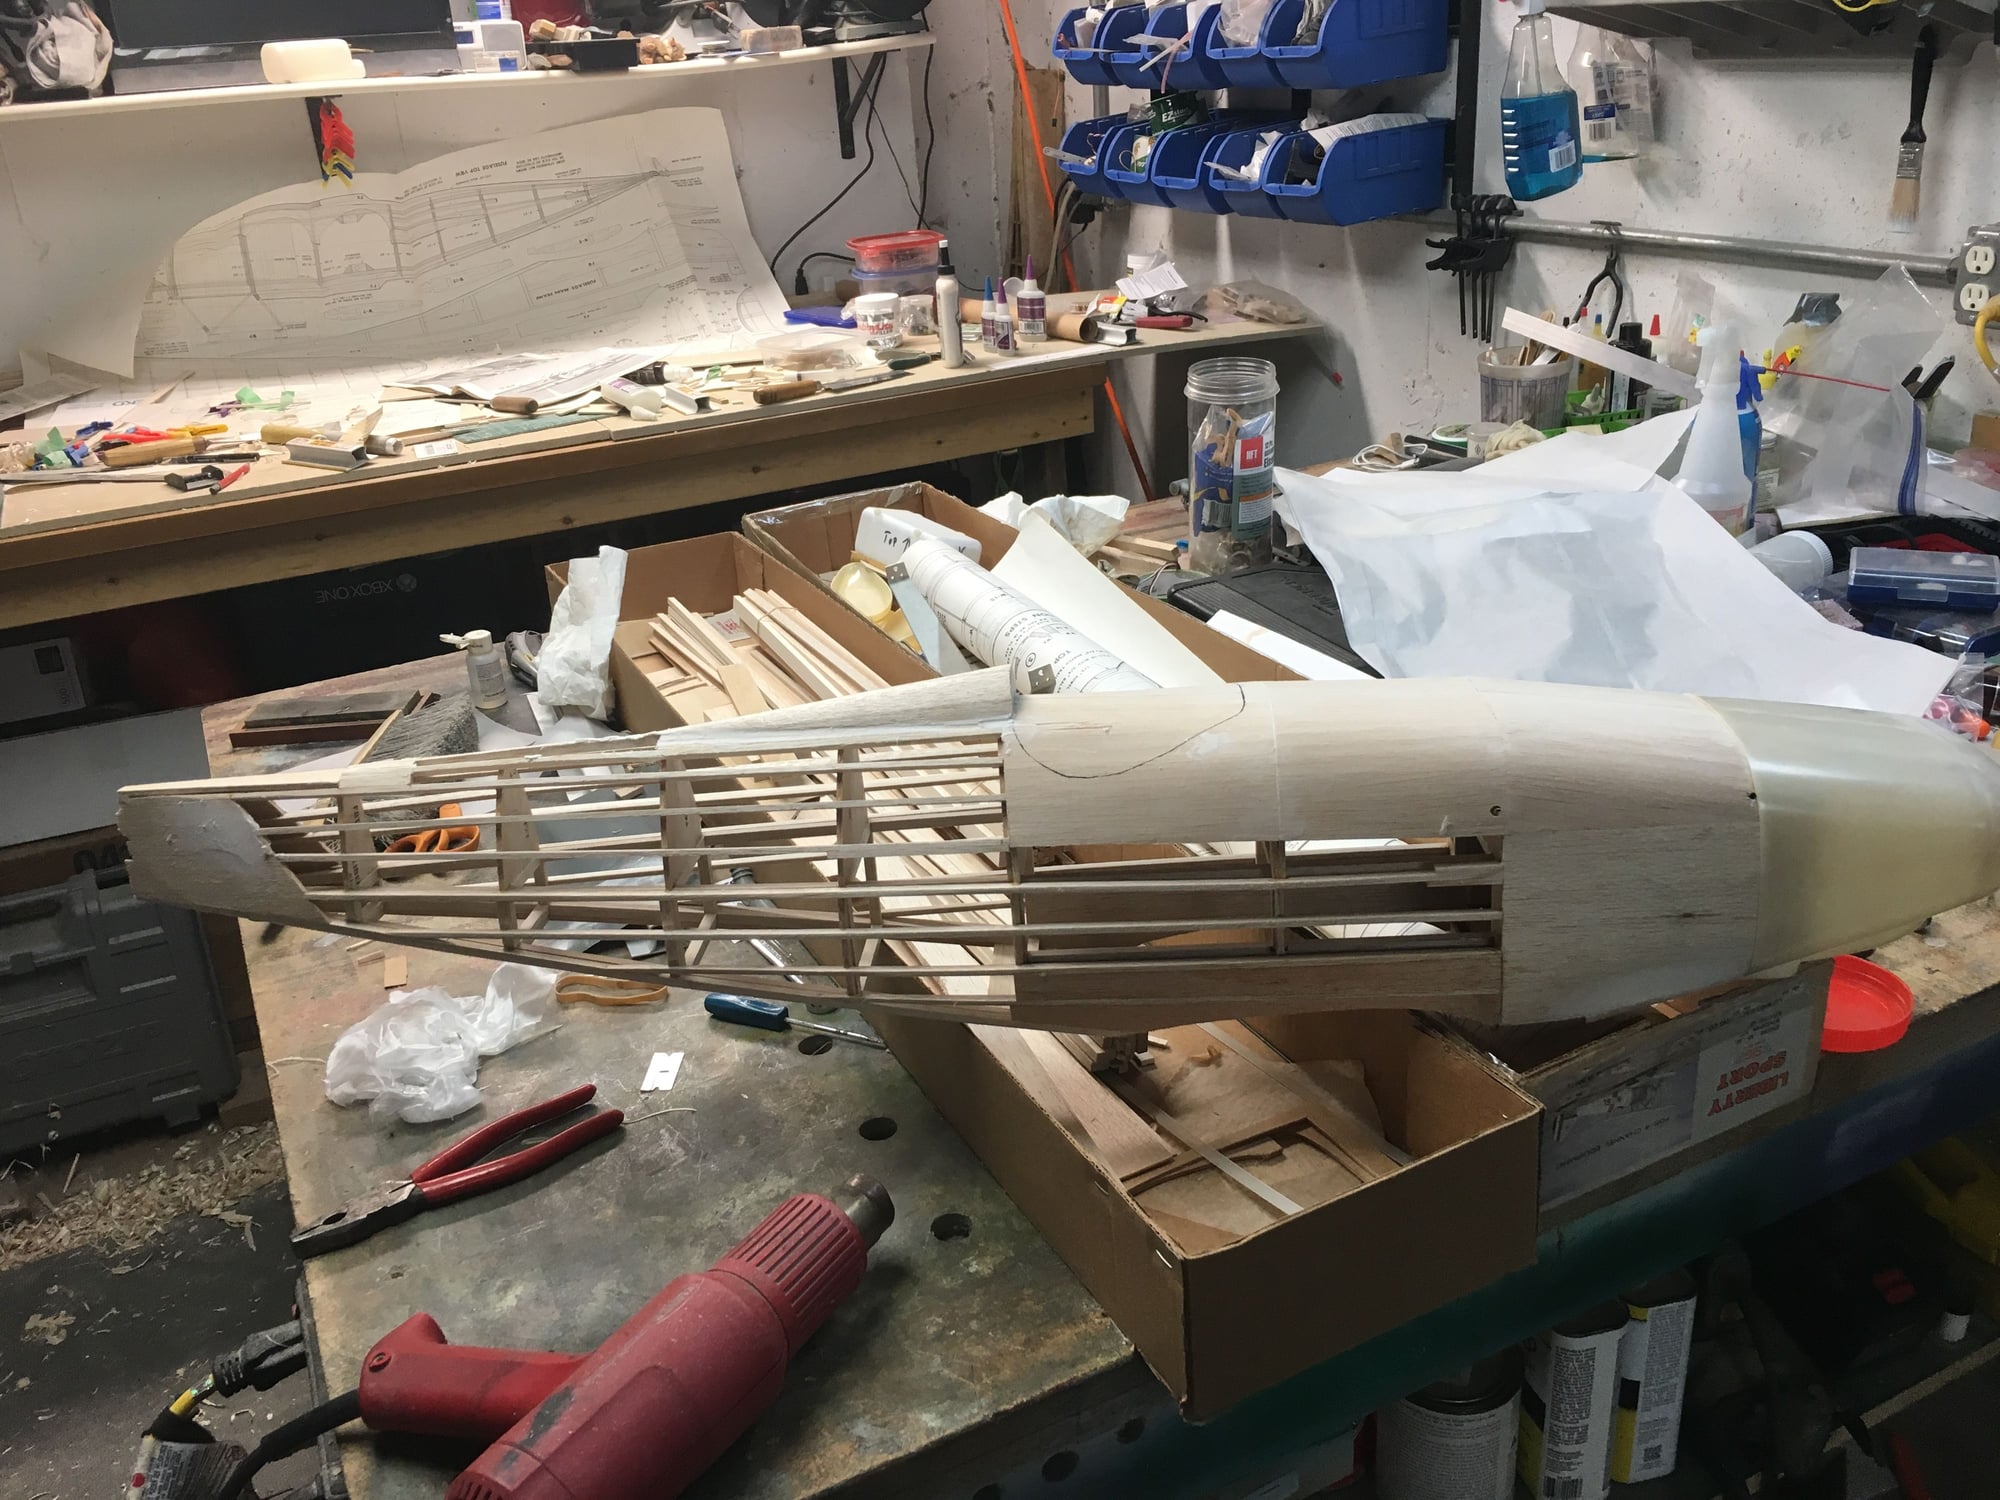
So far I have the fuse assembled, doing the sanding on it, and got the cowl assembled and glassed inside. I found that Polyester resin has a very short shelf life and will not cure unless a LOT of hardener is added, so had to strip out all I had applied and used epoxy resin instead. Only reason I went the poly route was it usually cures quickly, when it cures. I have some pics, but they keep coming up corrupted when I try to load them from FB, so have to find an alternate way to upload them without connecting the phone to the PC first.
07-02-2019, 07:20 AM
#7
Thread Starter
Yeah, it does stink something awful, discovered my vent fan needs a cleaning, squealed and howled when I turned it on. I also have the Deluxe stuff and have used it. Works pretty good, but expensive. I use it to seal and apply the first layer of cloth, then switch to Minwax WB poly after that to fill the weave. The Sport will be fabric covered with Koverall and dope, old school style.
07-02-2019, 09:38 AM
#9
Thread Starter
I did my Corsair with it, came out great. I painted it with latex paint and clear coated with automotive clear. Need to finish the wing, hell need to finish the whole plane, who am I kidding!
07-20-2019, 06:21 PM
#11
Thread Starter
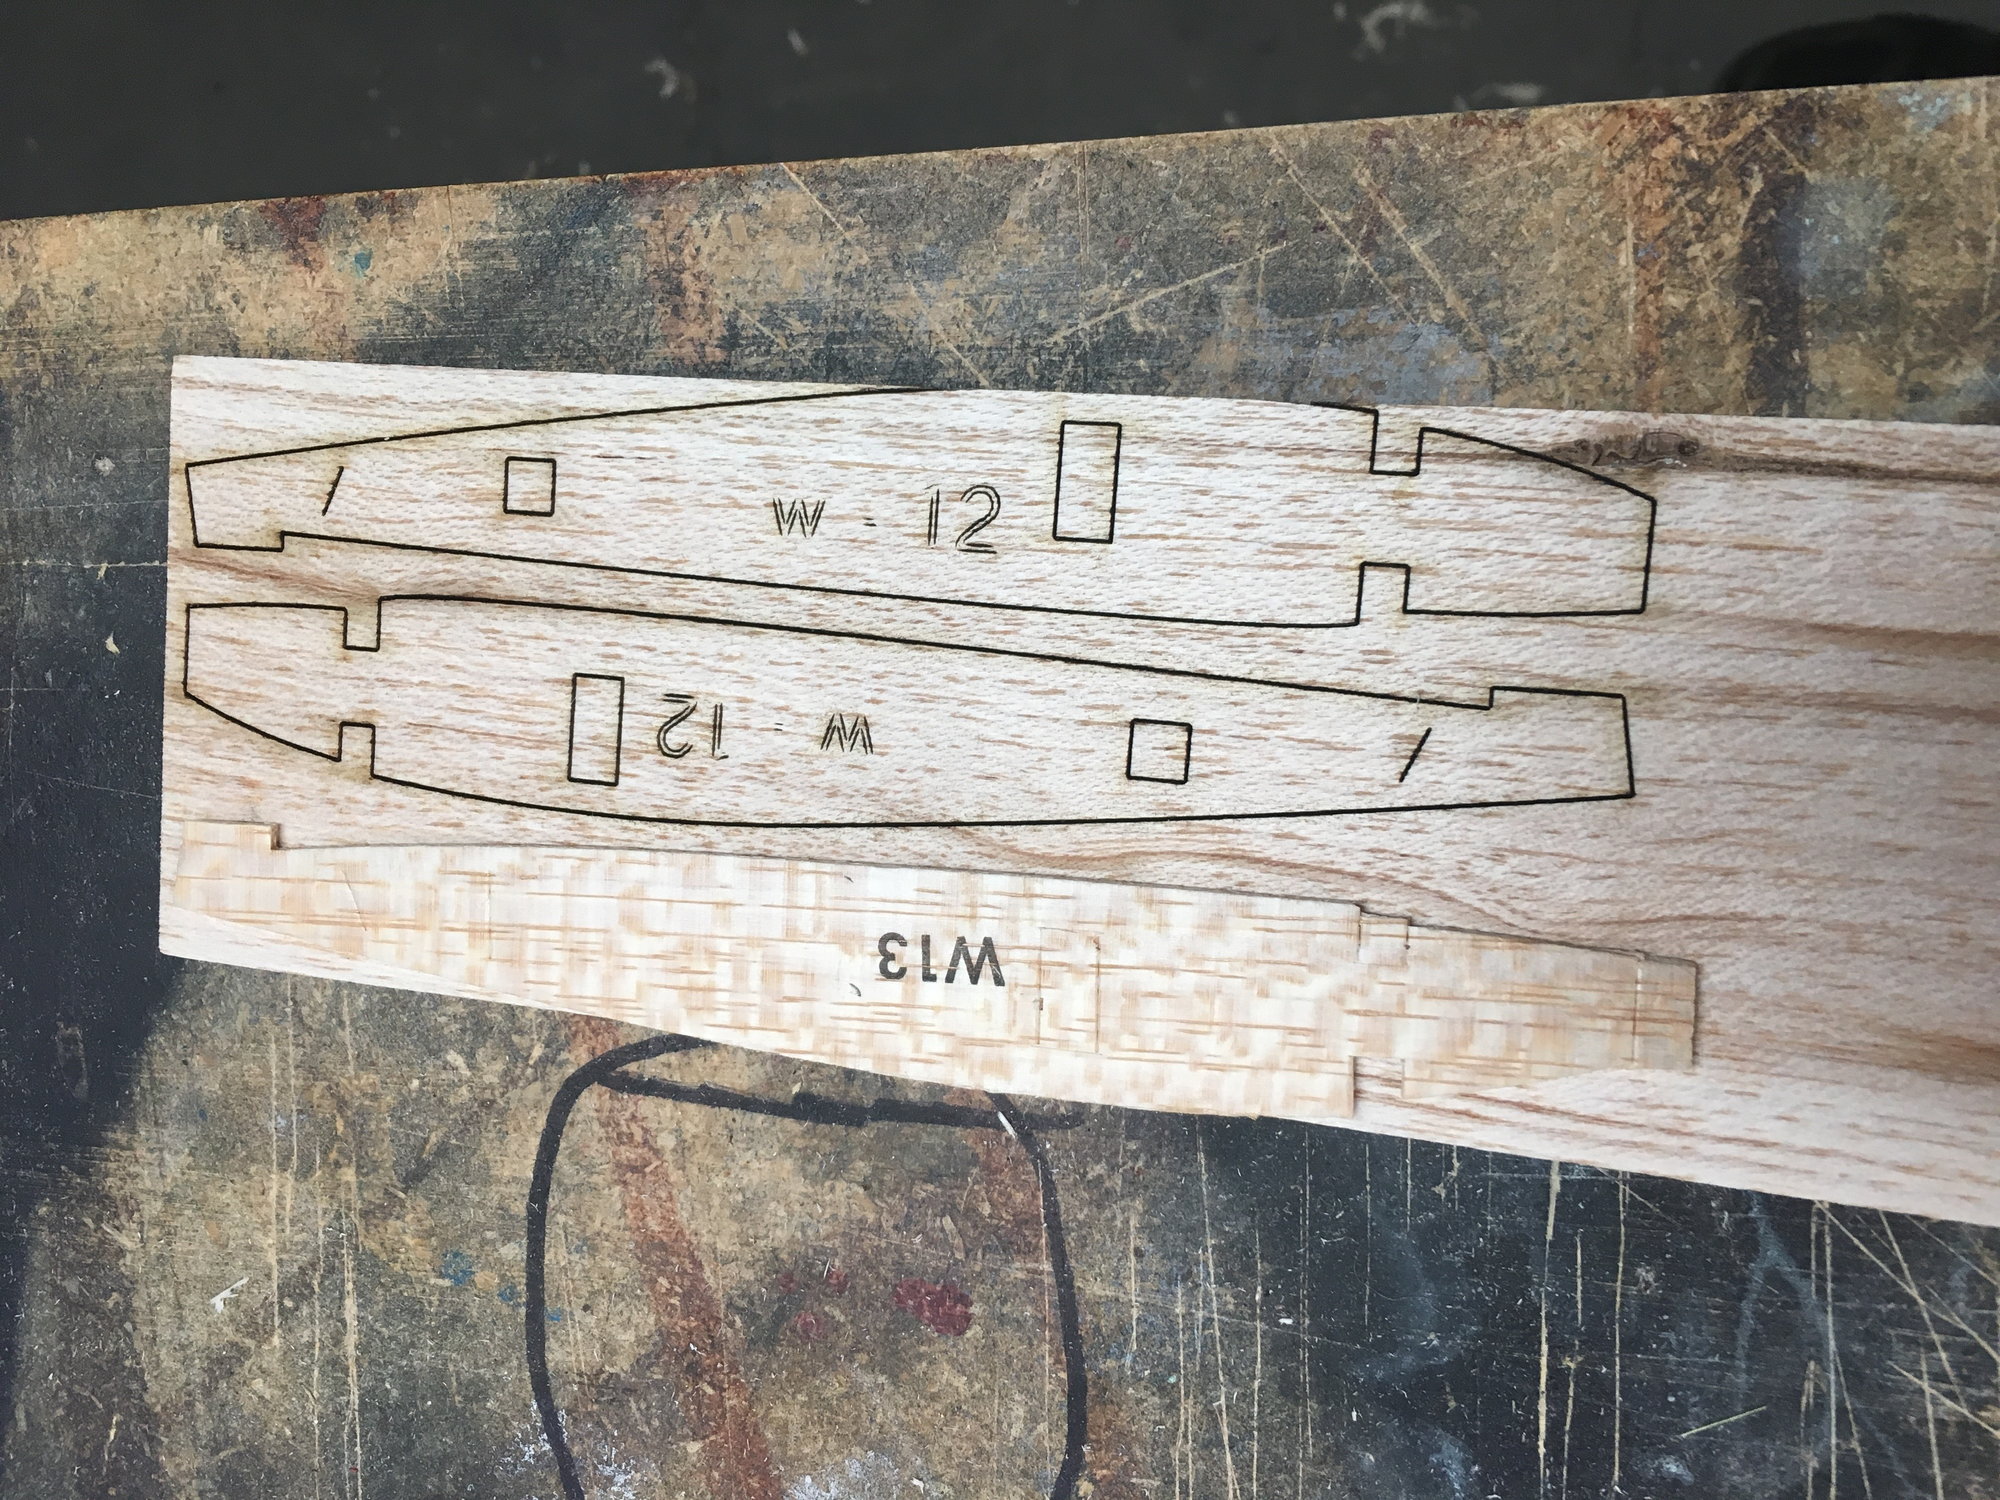
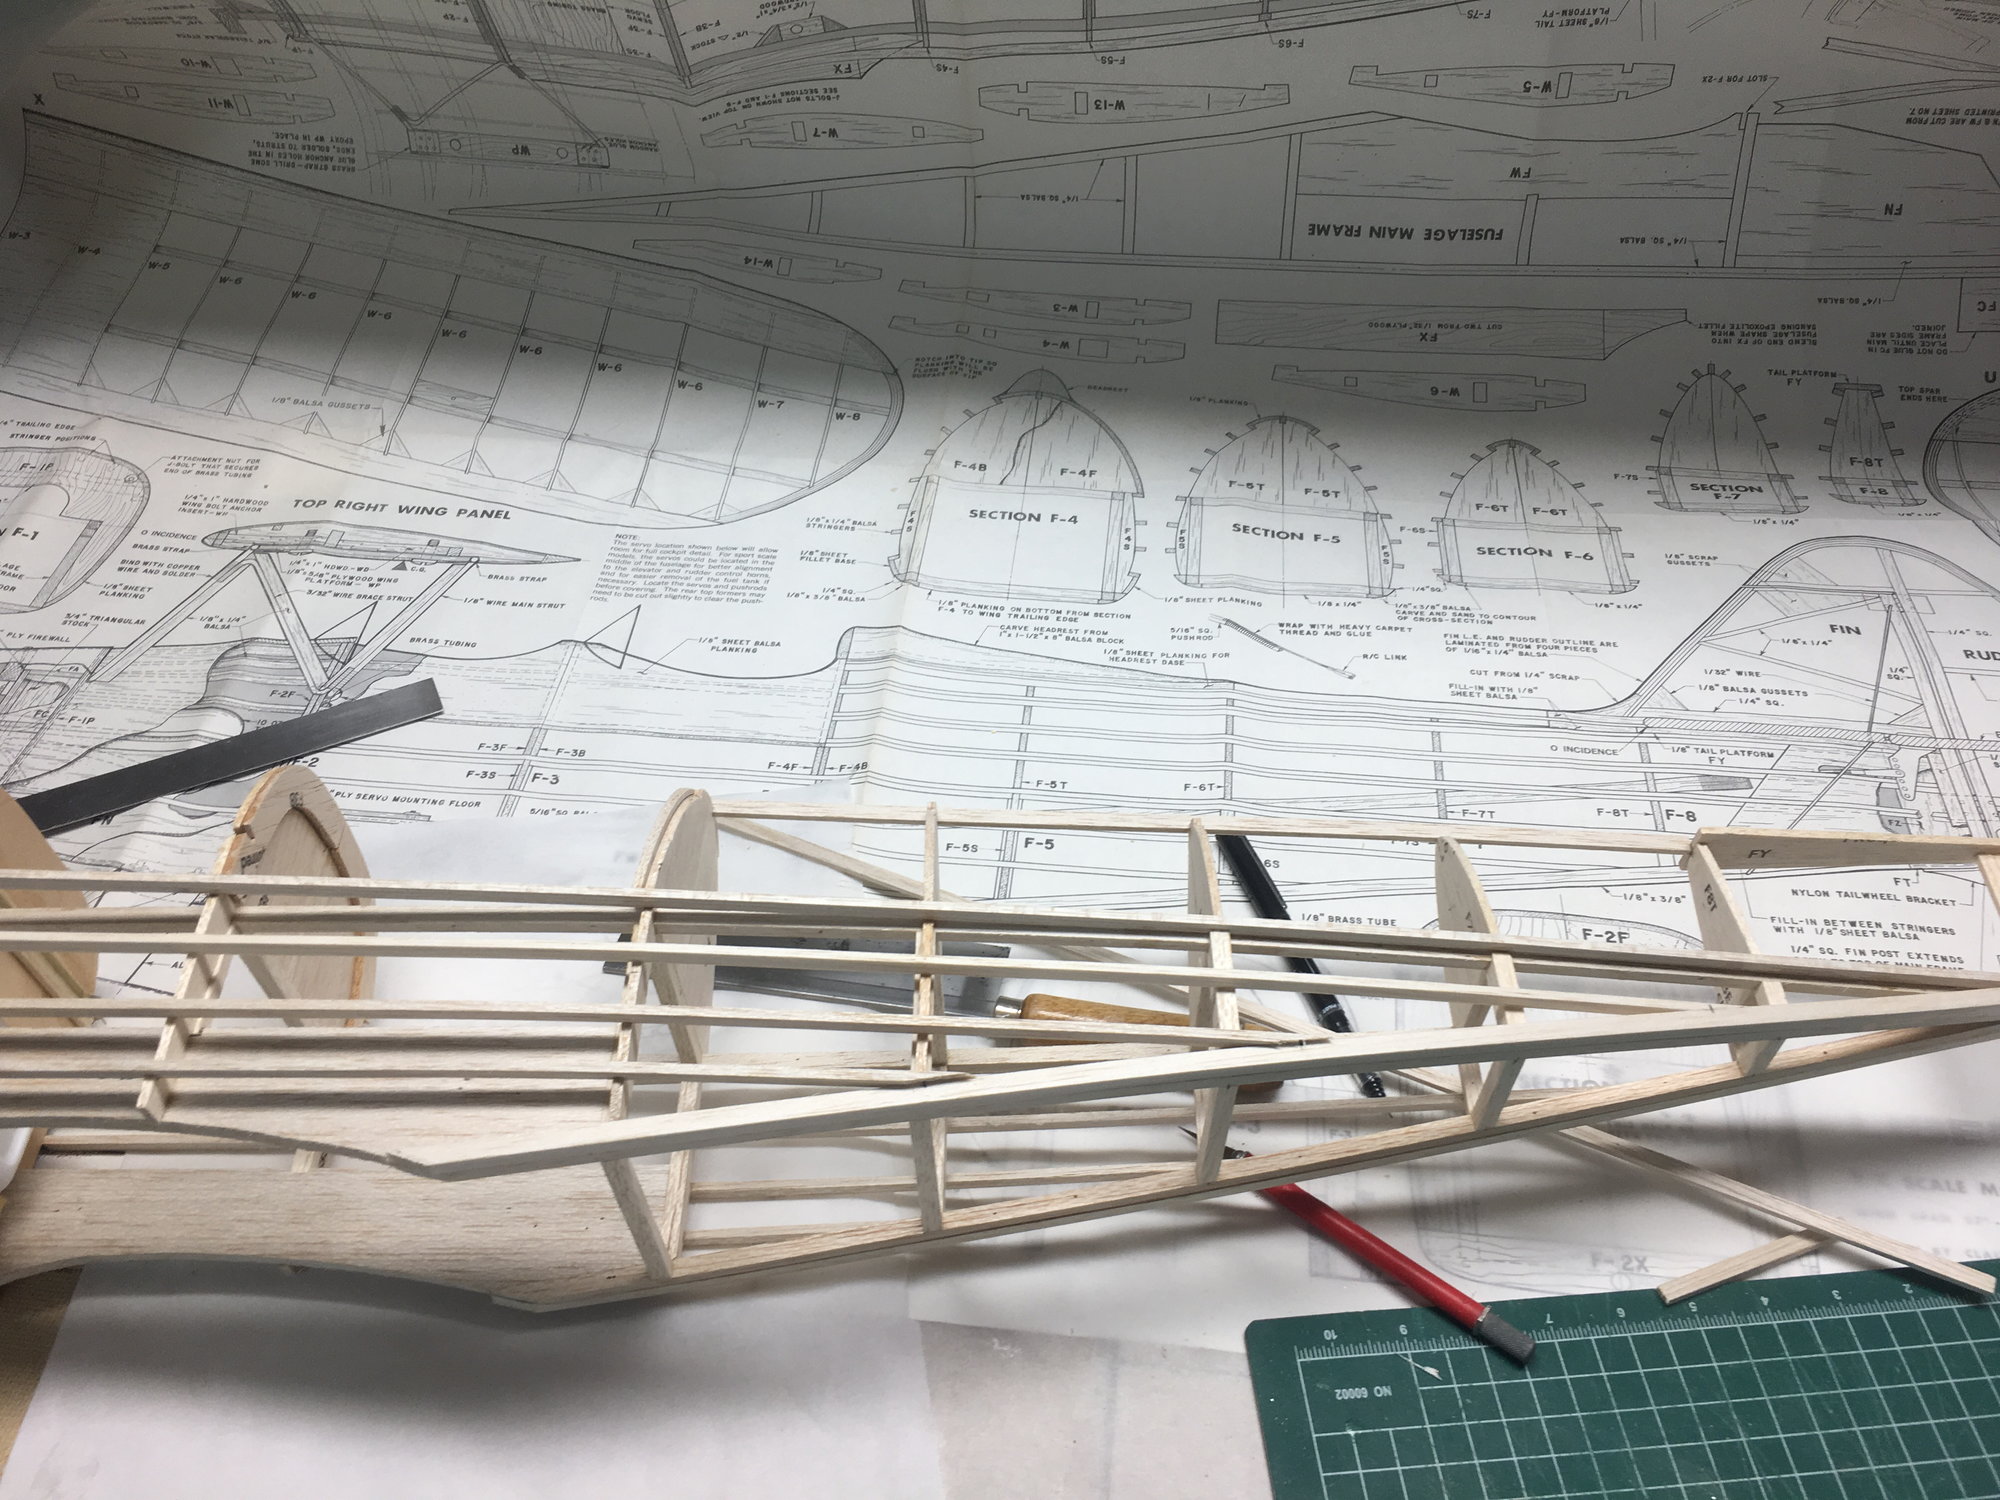
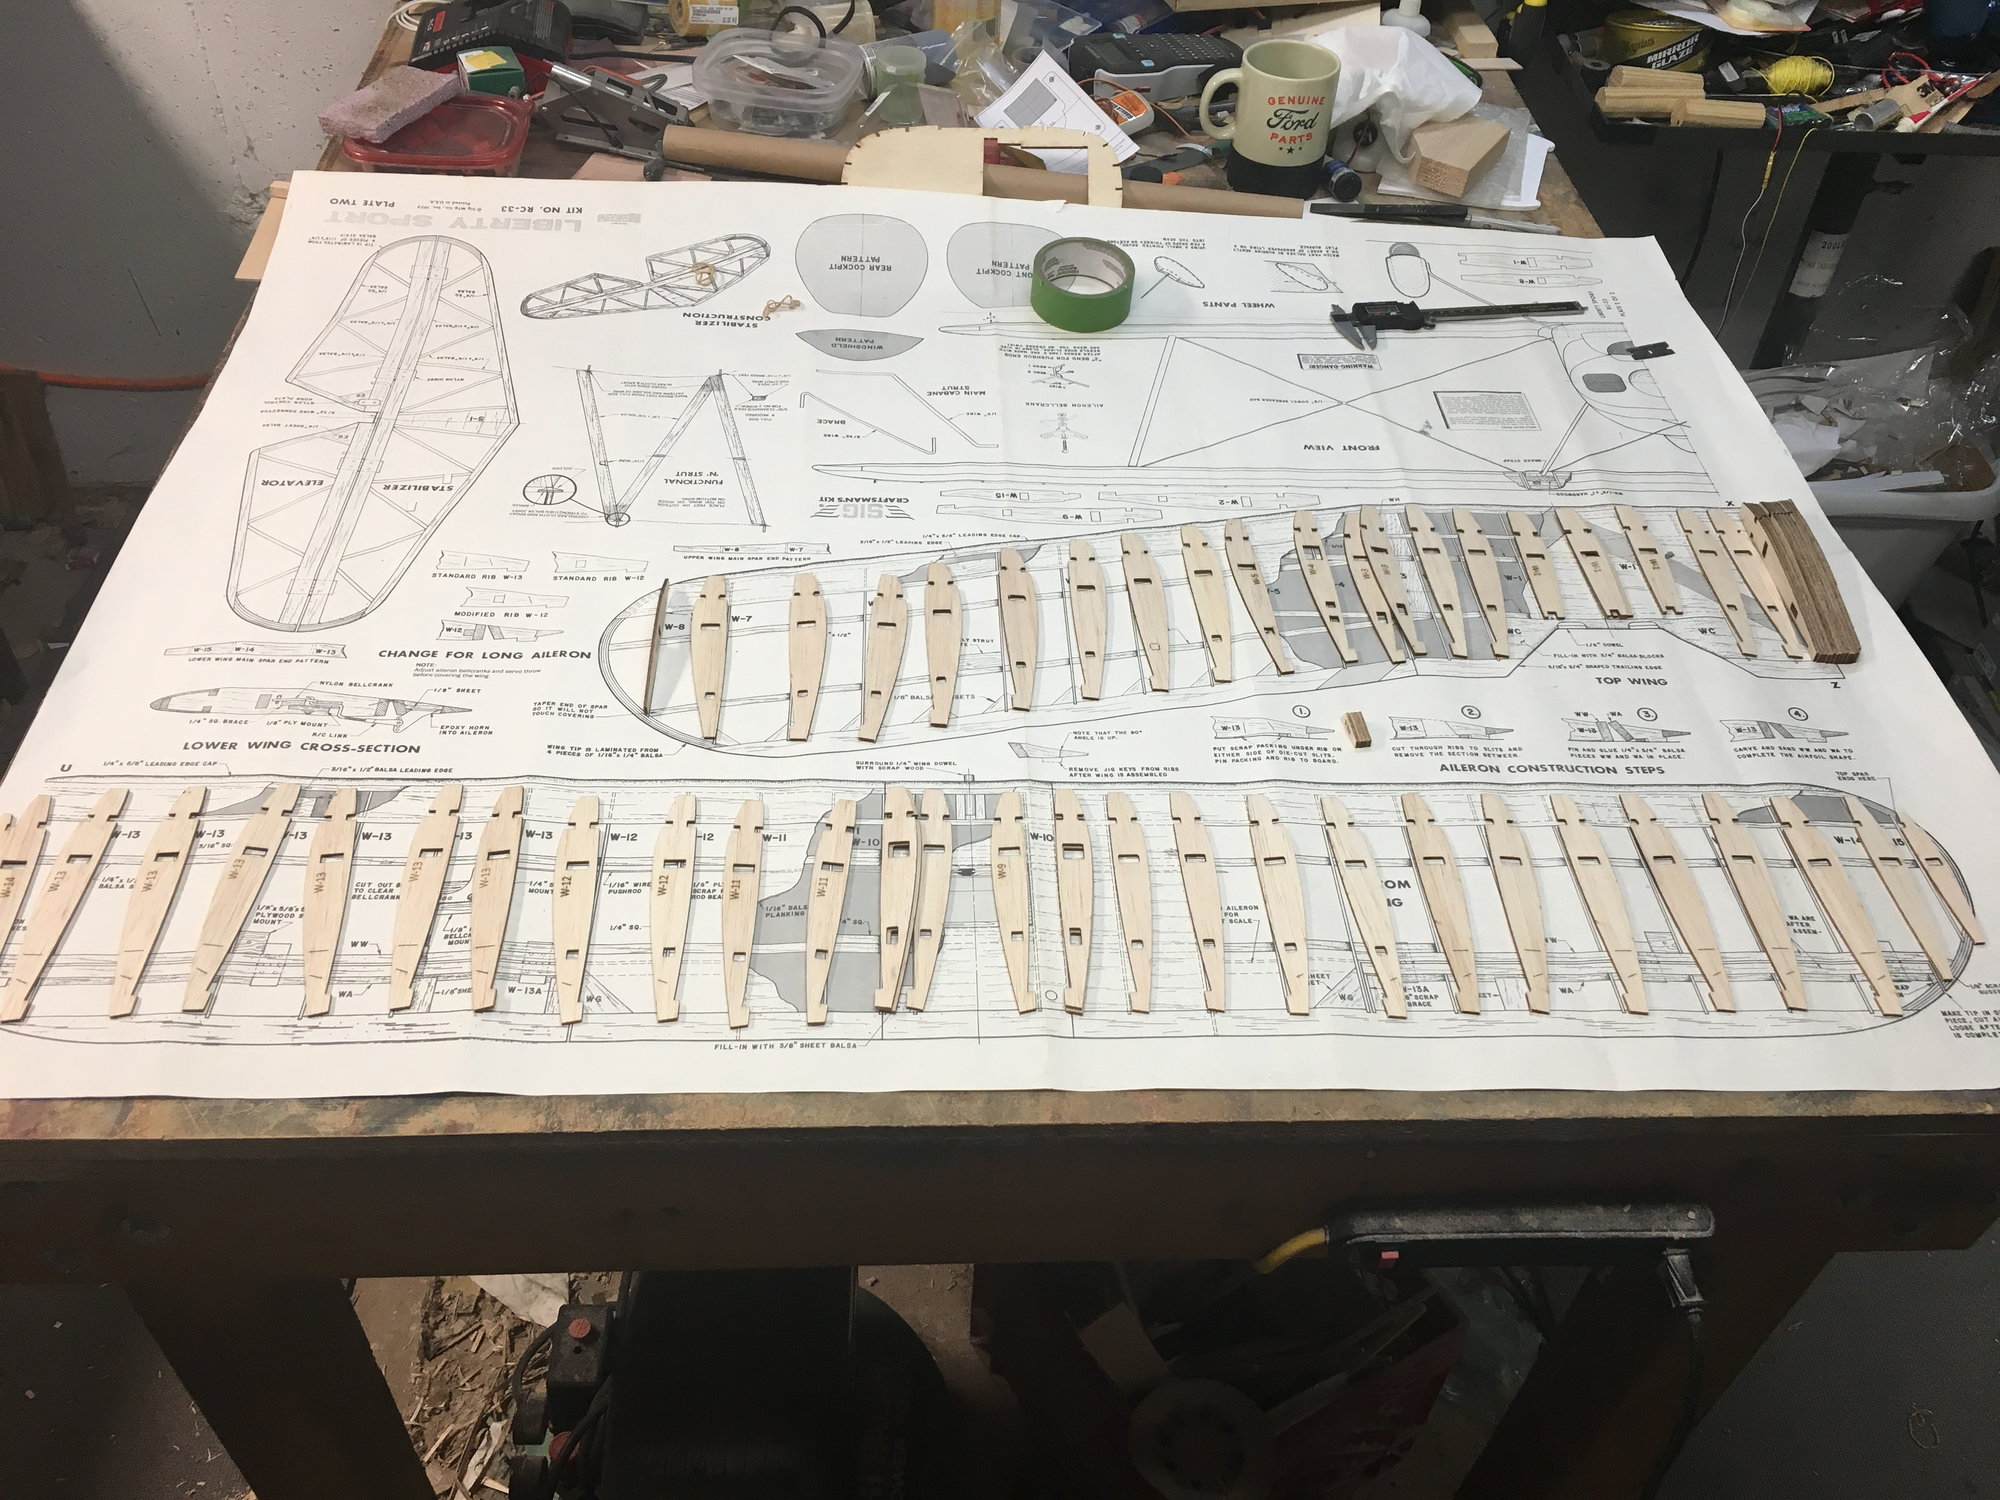
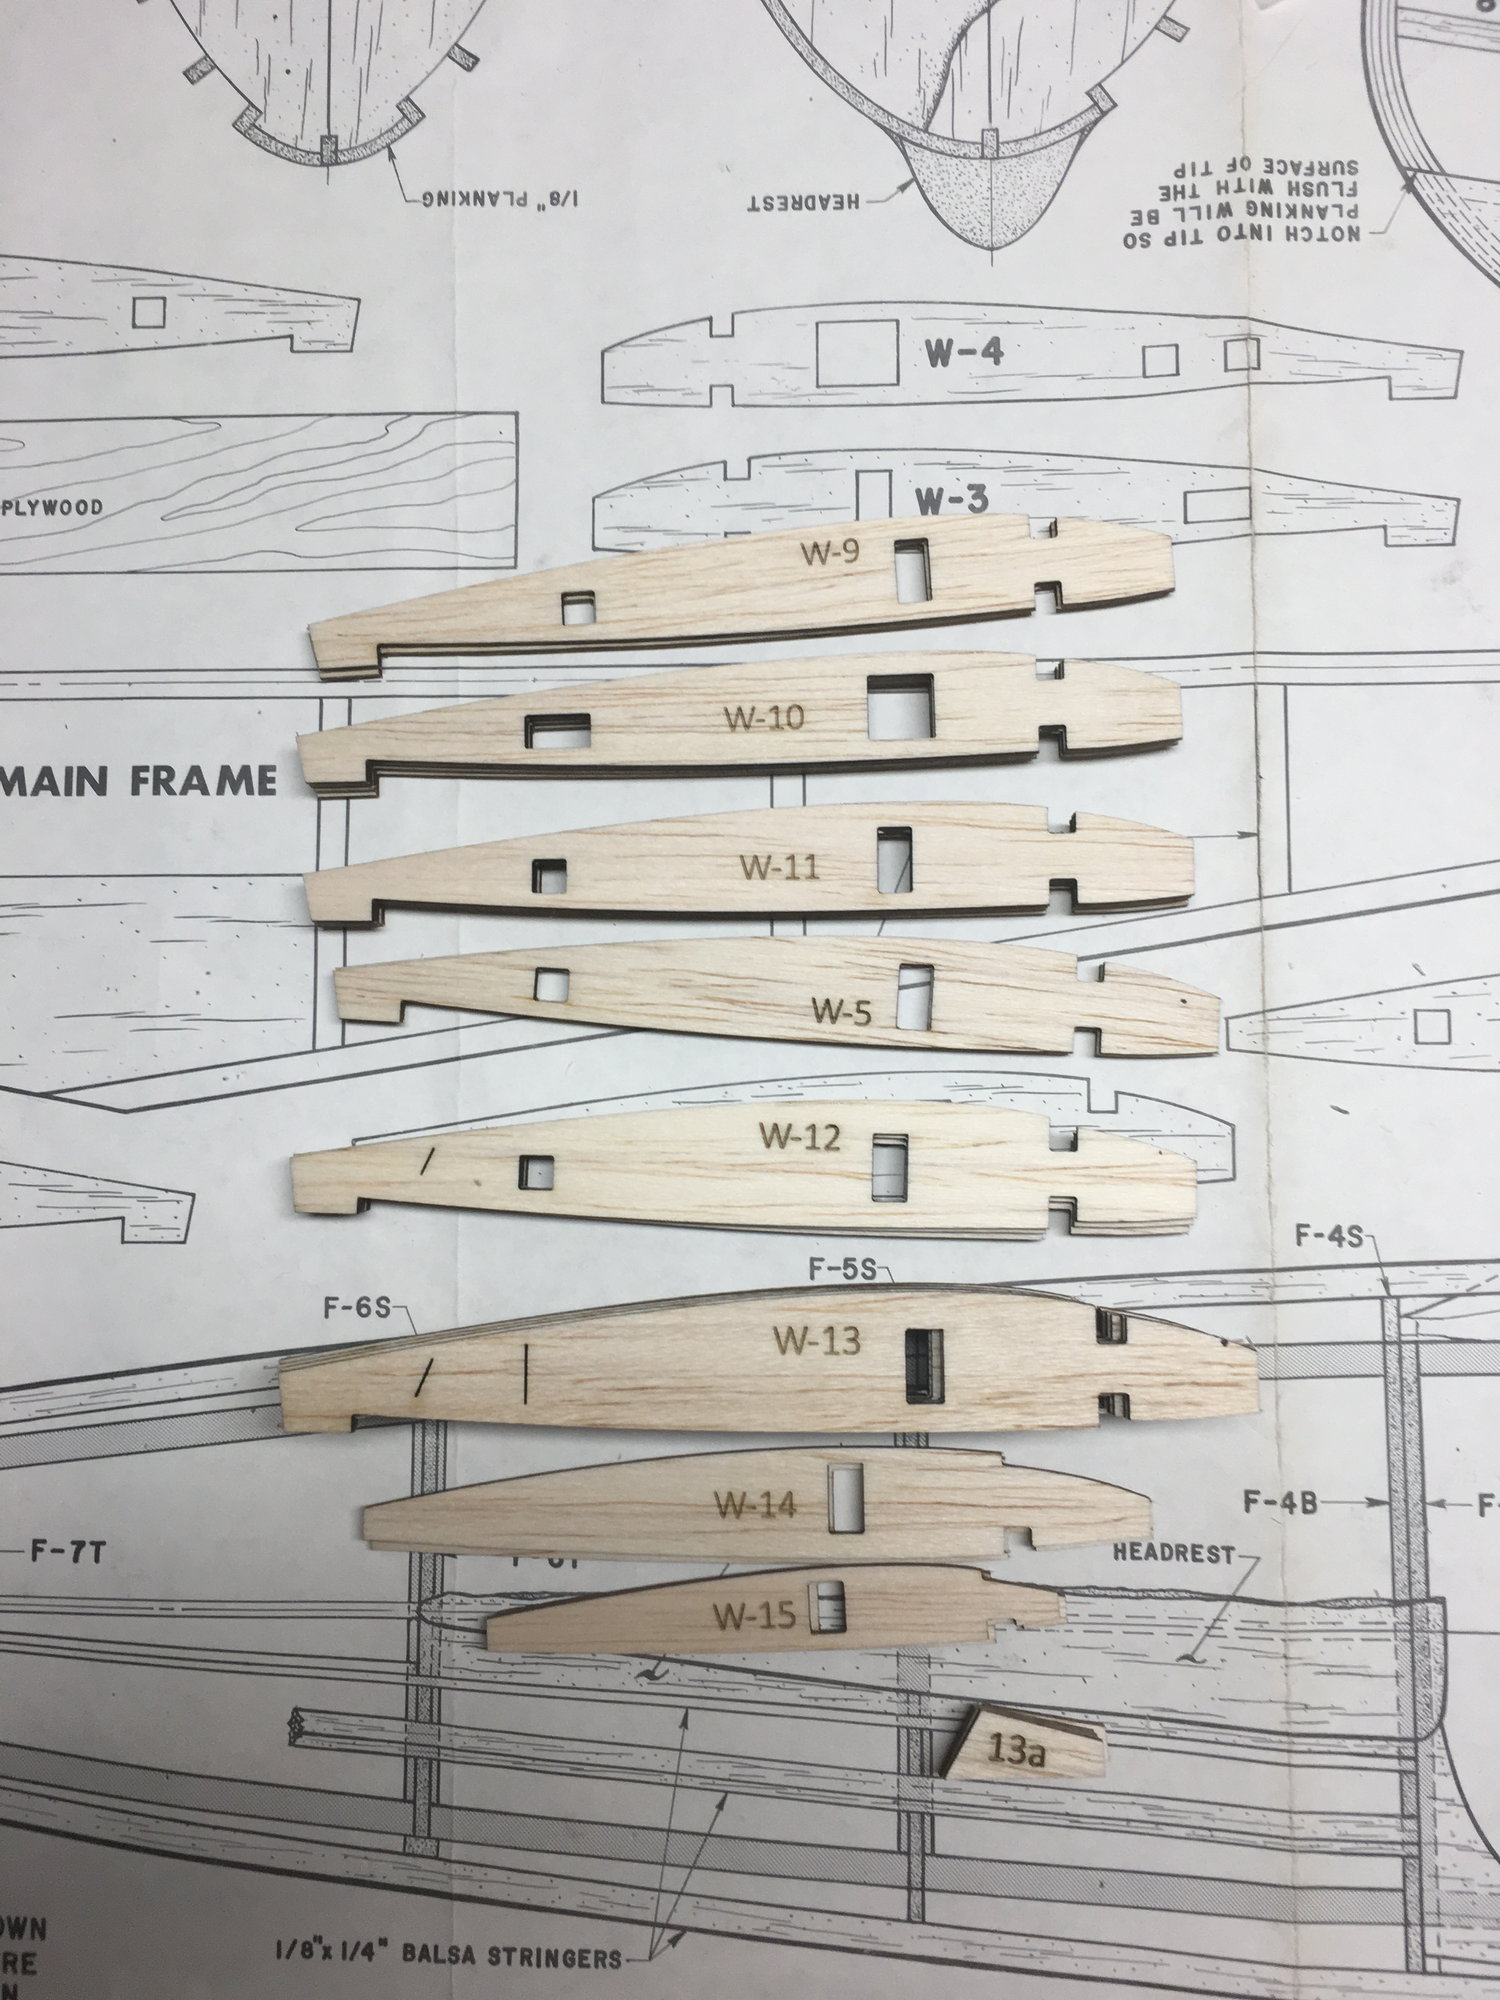
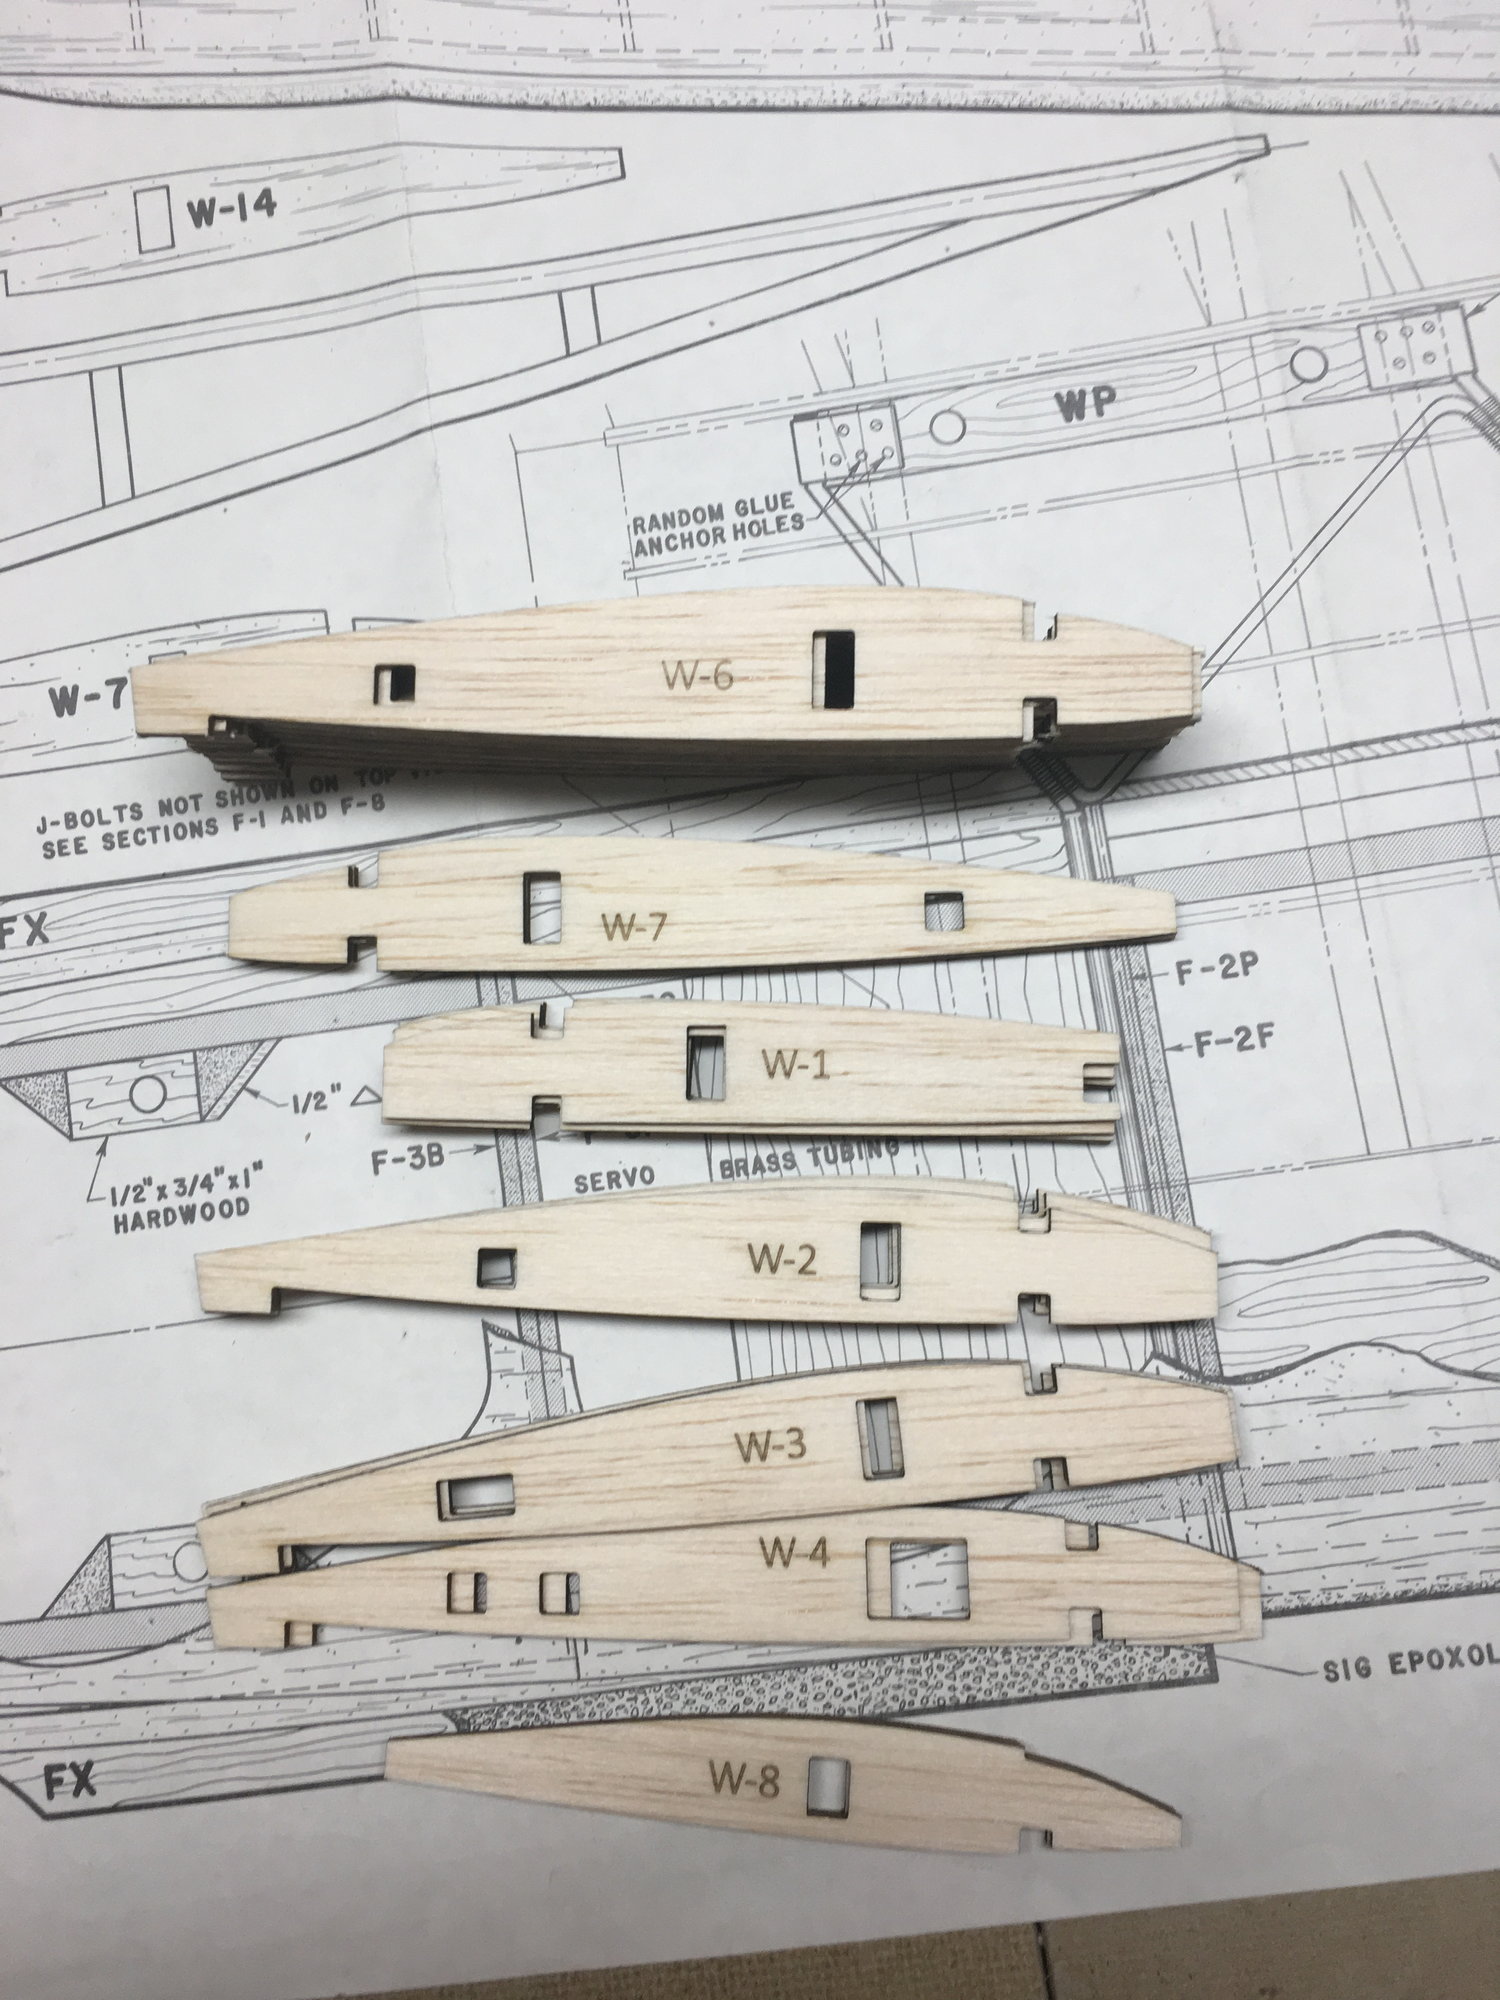
Small update, the fuse, and tail pieces are all assembled, but waiting on the lower wing before I can sand to shape and mount the tail. Need to align the stab to wing before I can put it all together to sand. I am cutting out new ribs using my laser, so it is taking time to draw out the parts on cimputer, cut out samples from heavy card stock to make proofs against the kit parts to make sure they are accurate, and then will build the wings. I will get some pics up in a few days.
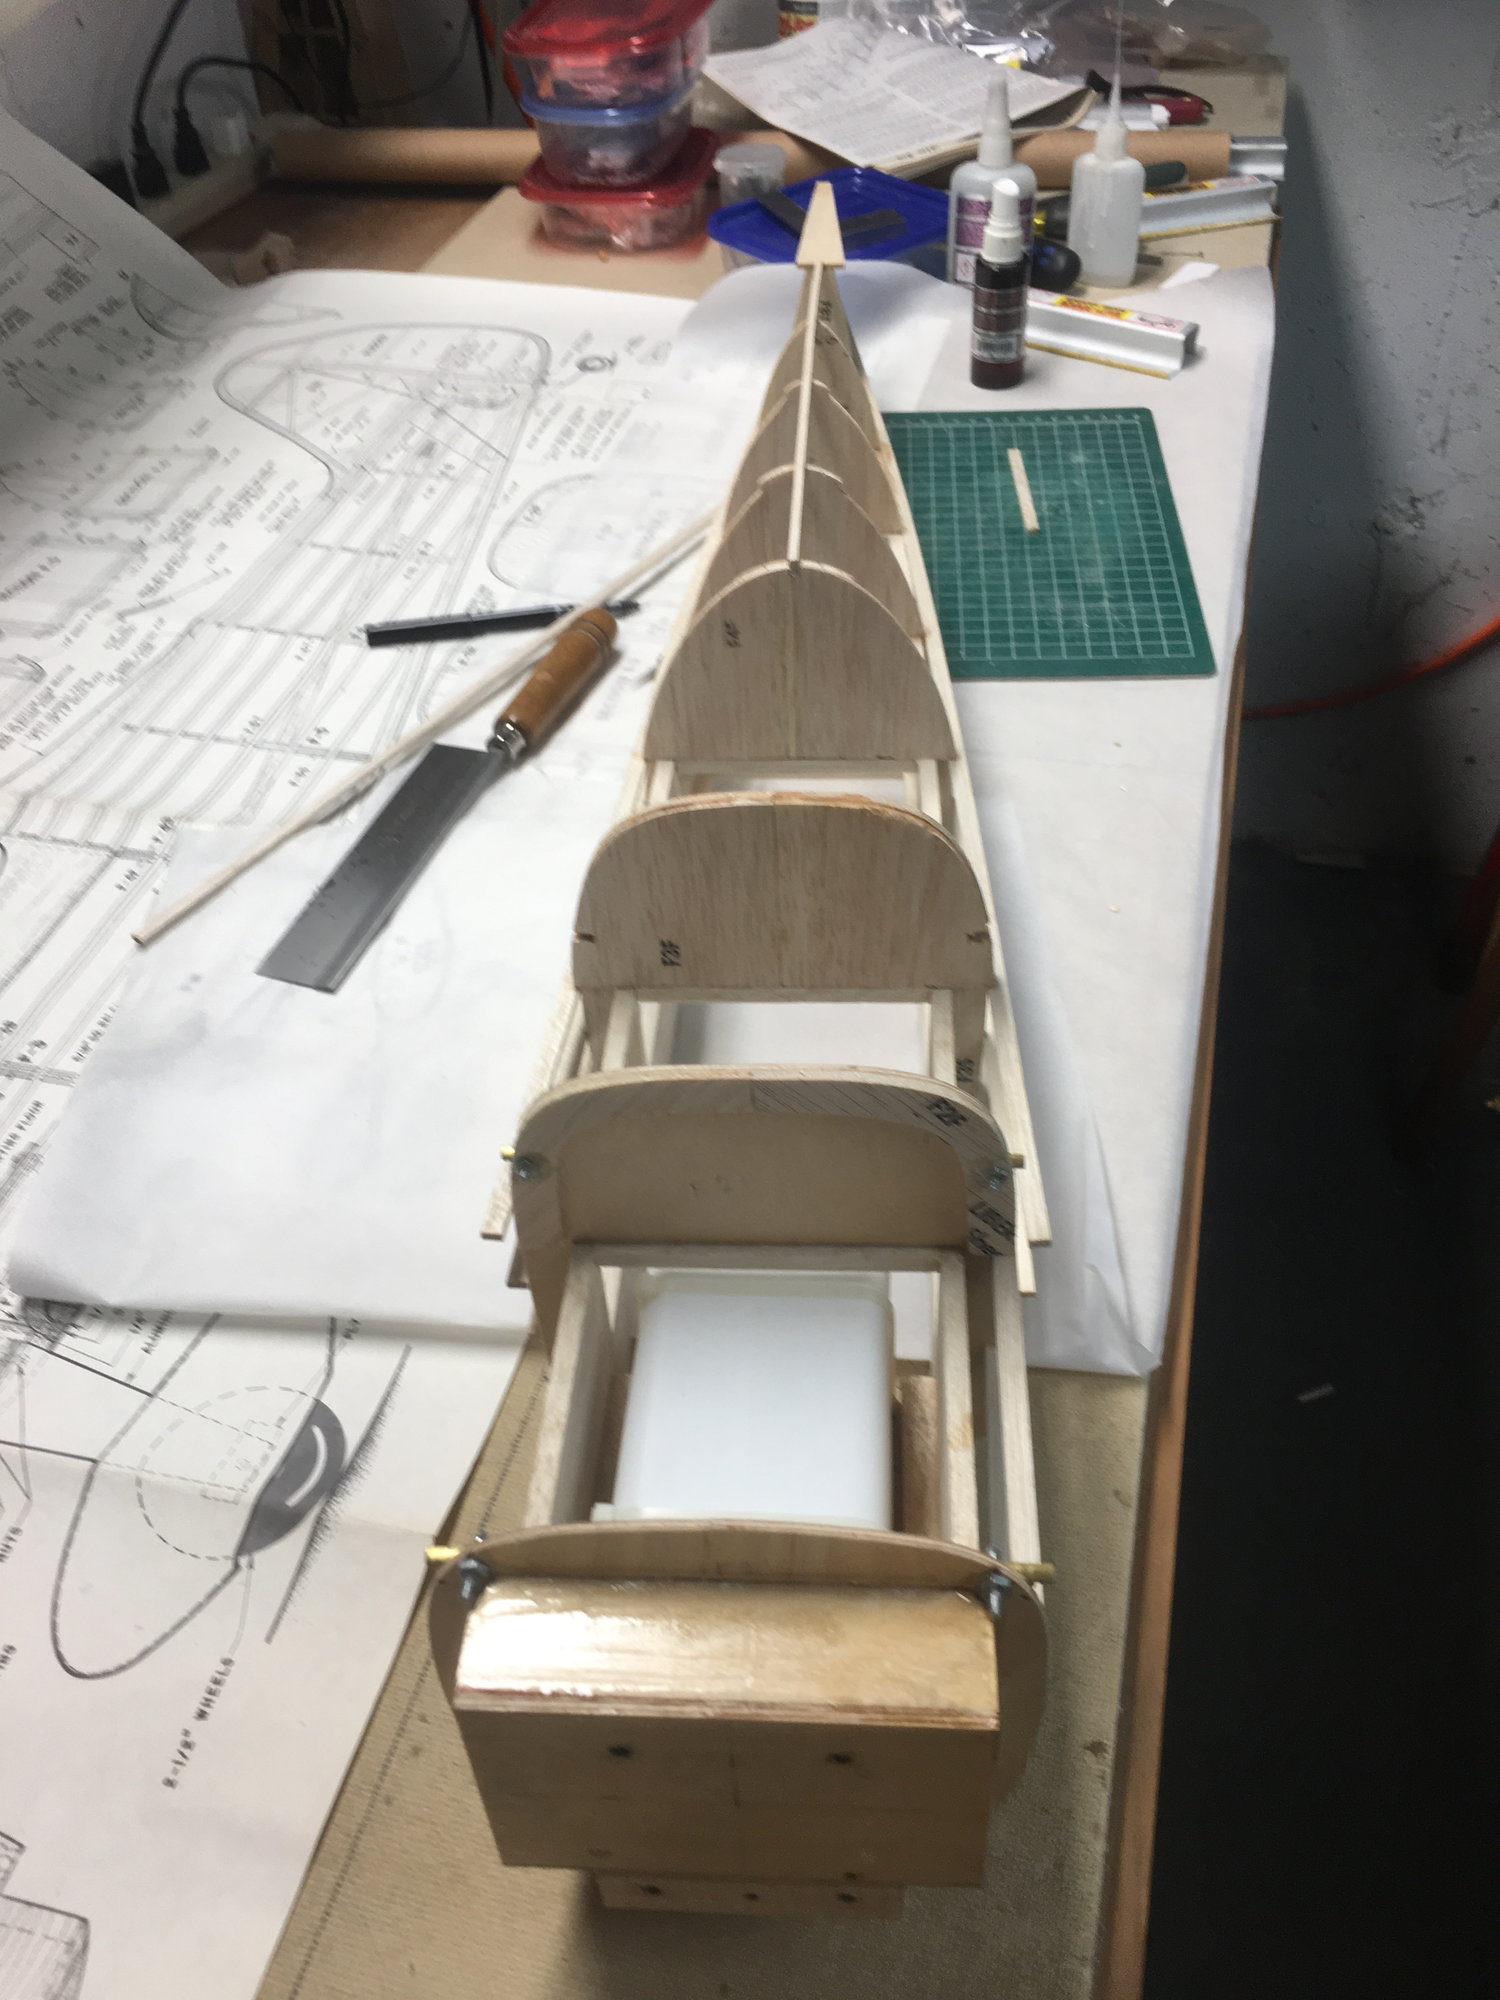
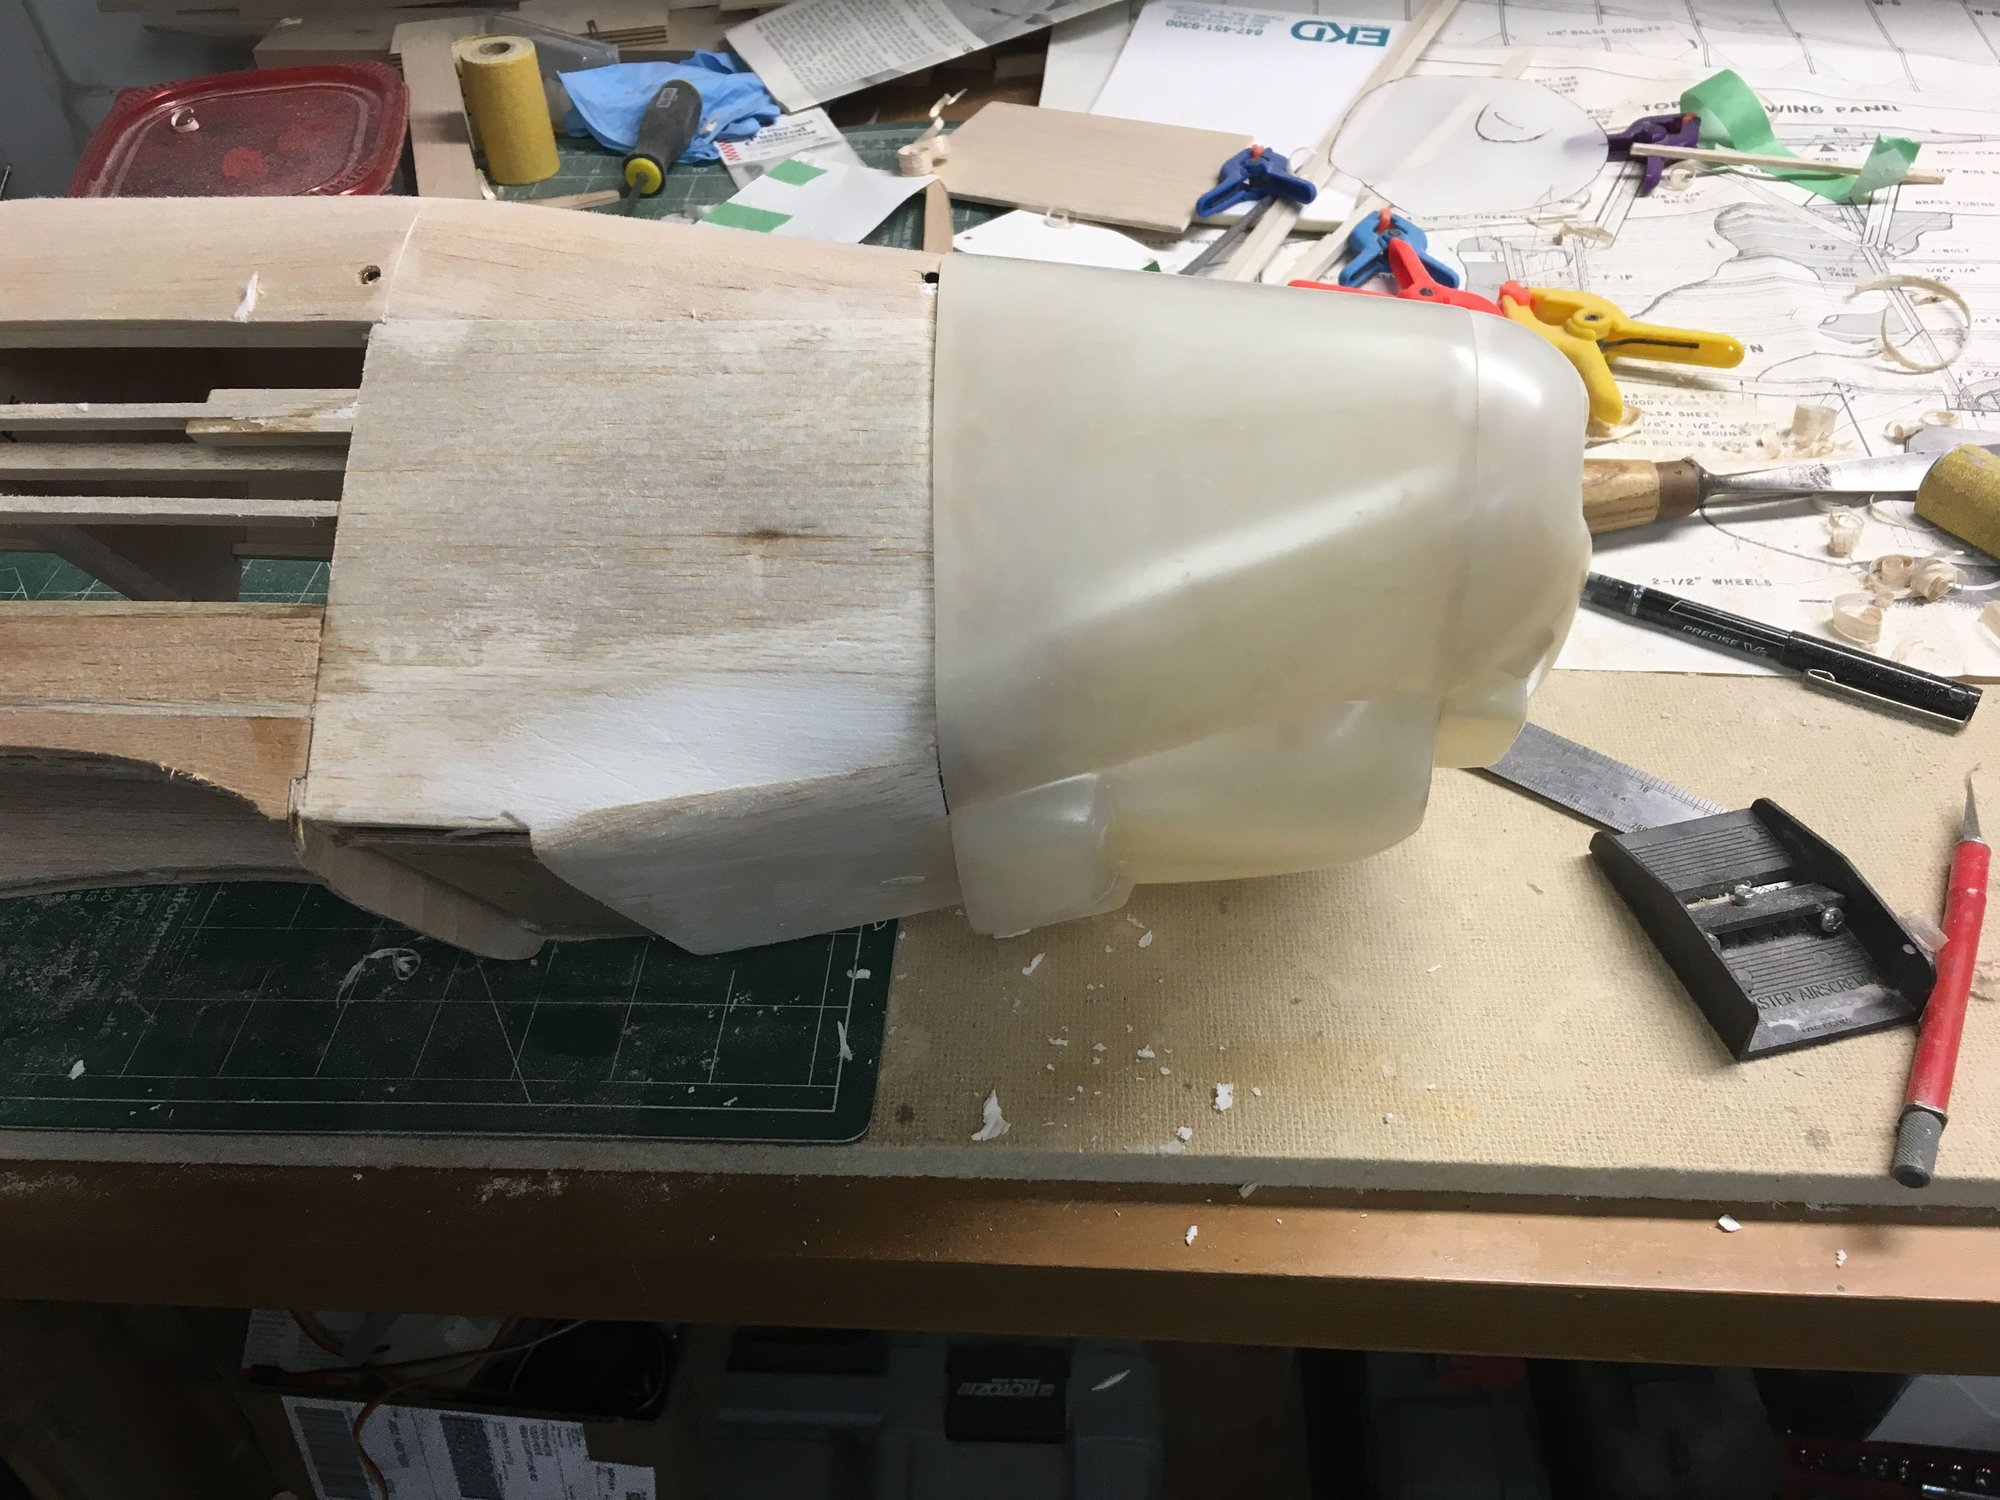
The cowl came out OK after discovering the poly resin I had was bad. I recoated with Epoxy after wiping out the poly resin, and it is all done and solid. When I mount the engine I will halve the cowl to make an upper and lower section instead of trying to force the whole cowl over the engine.
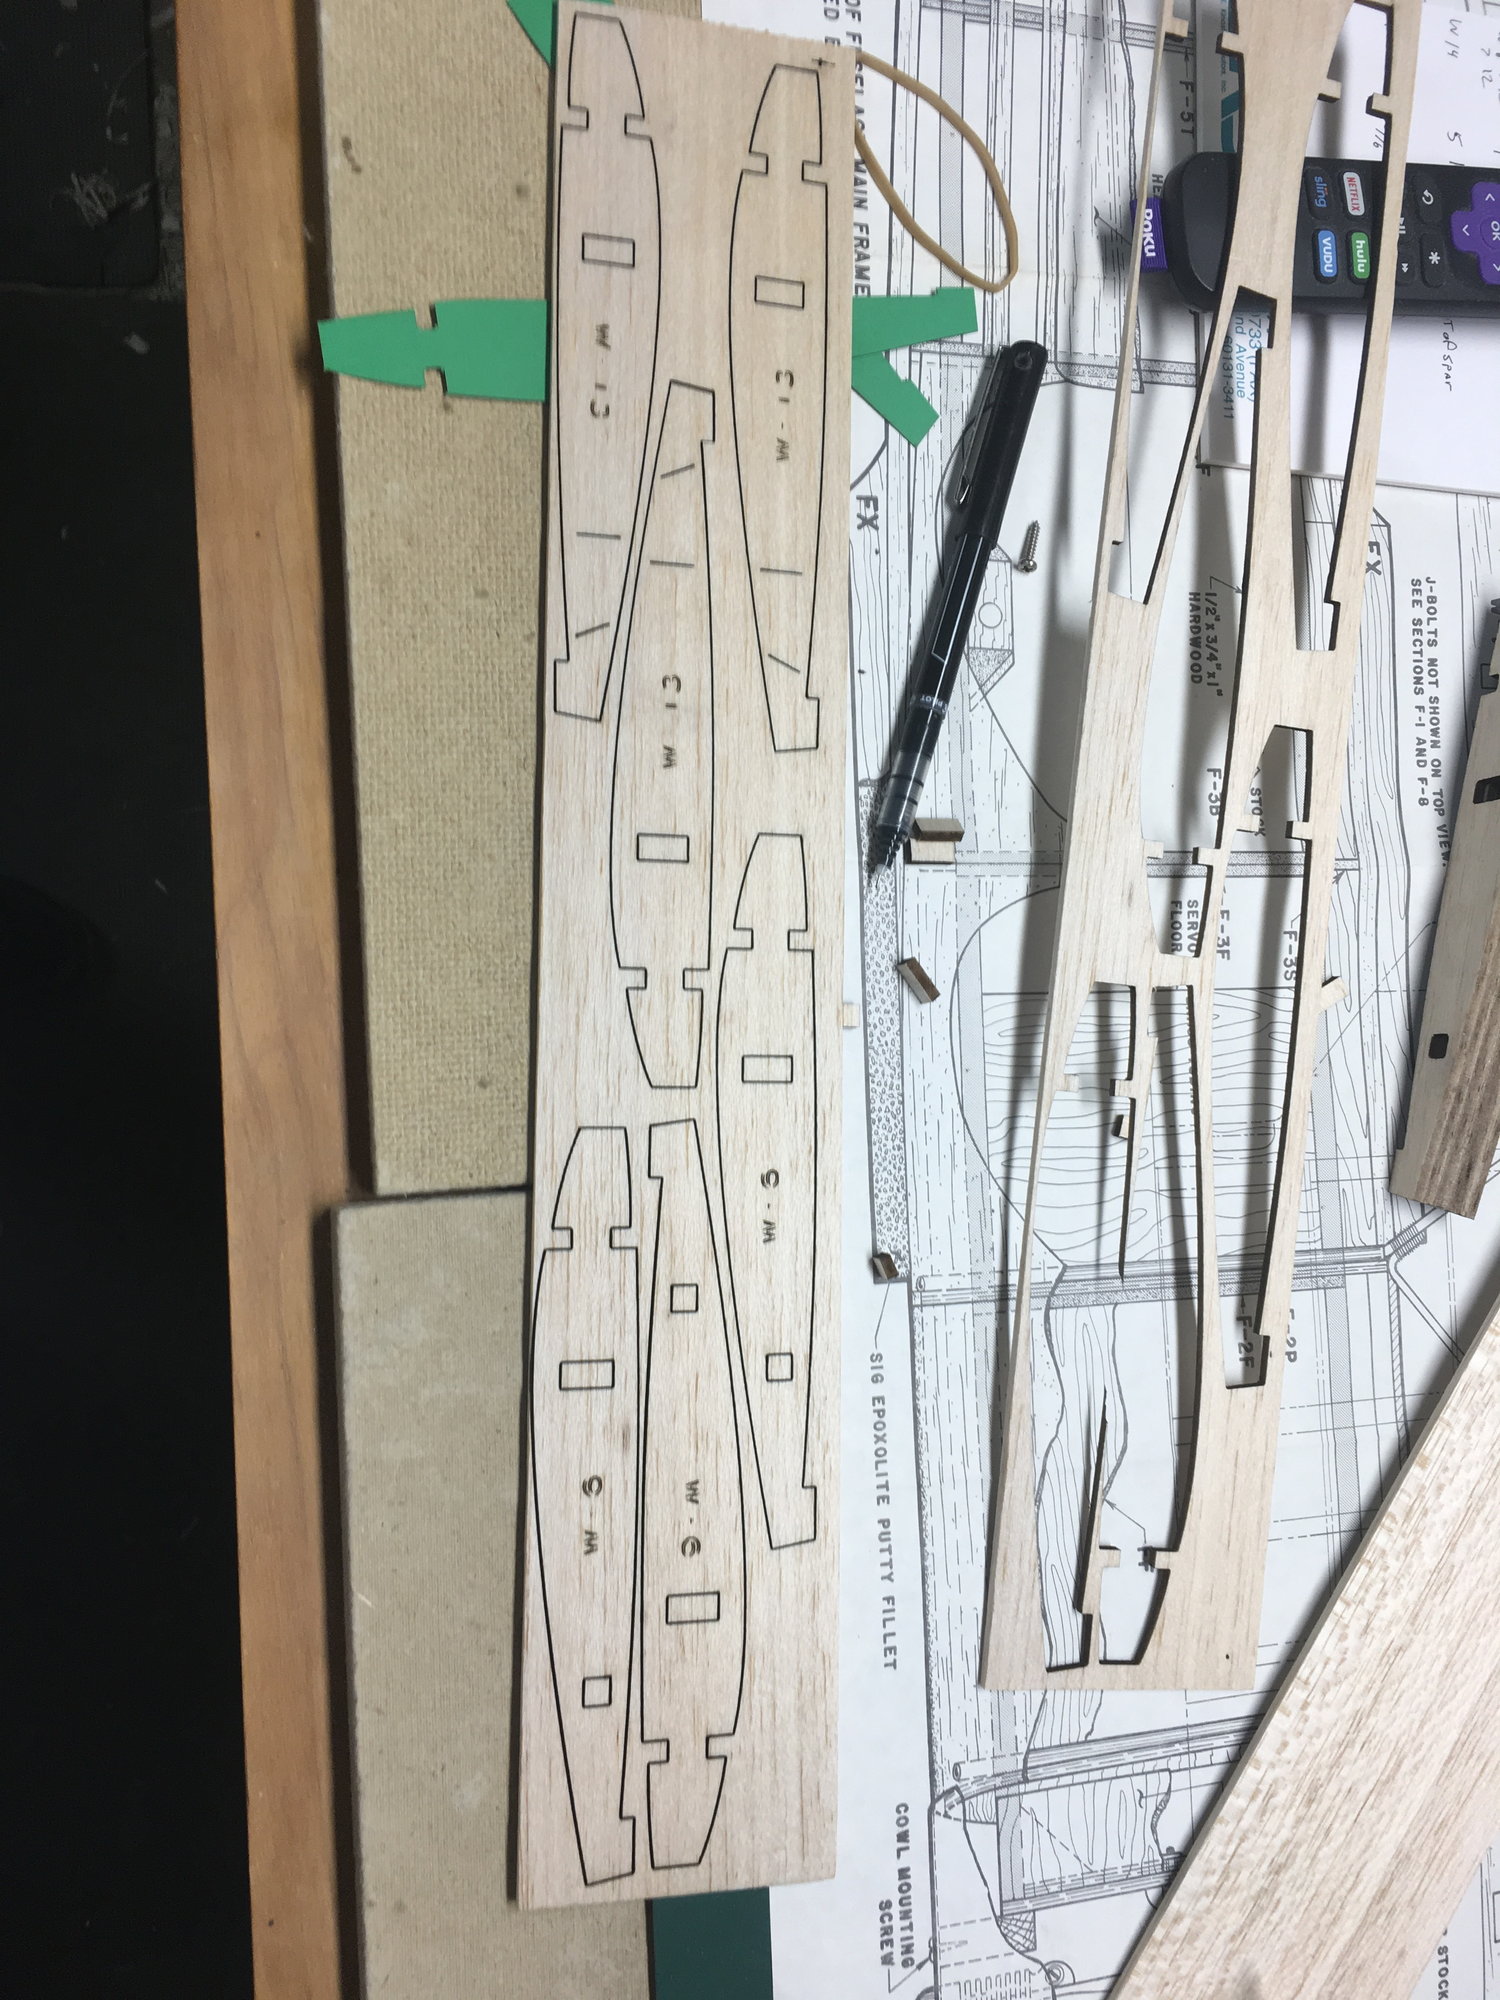
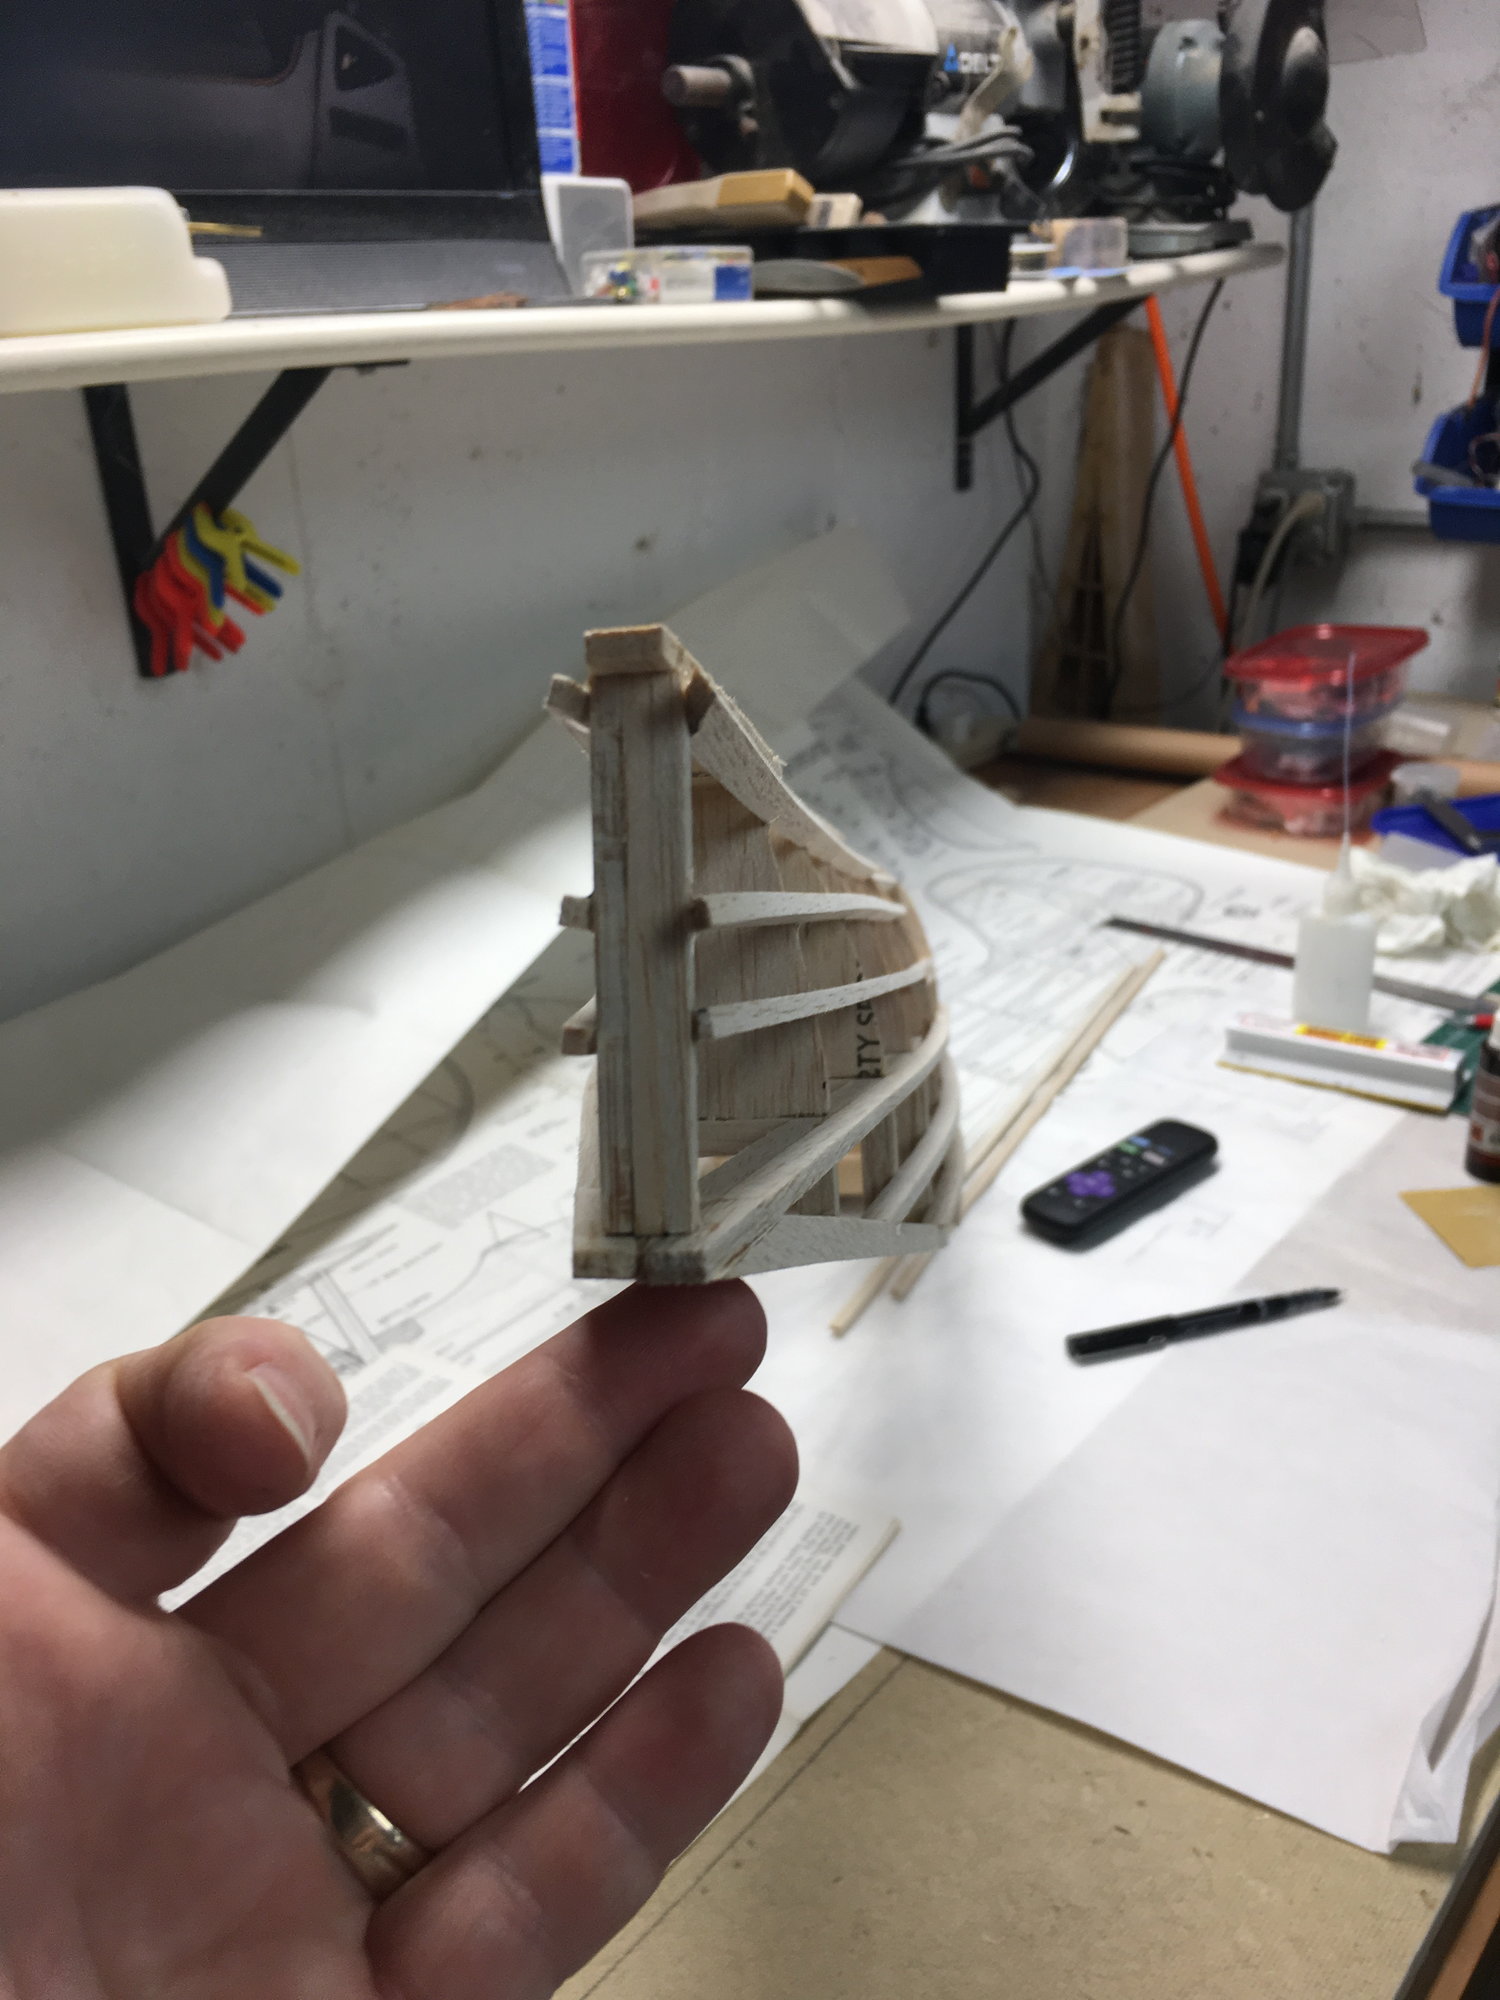
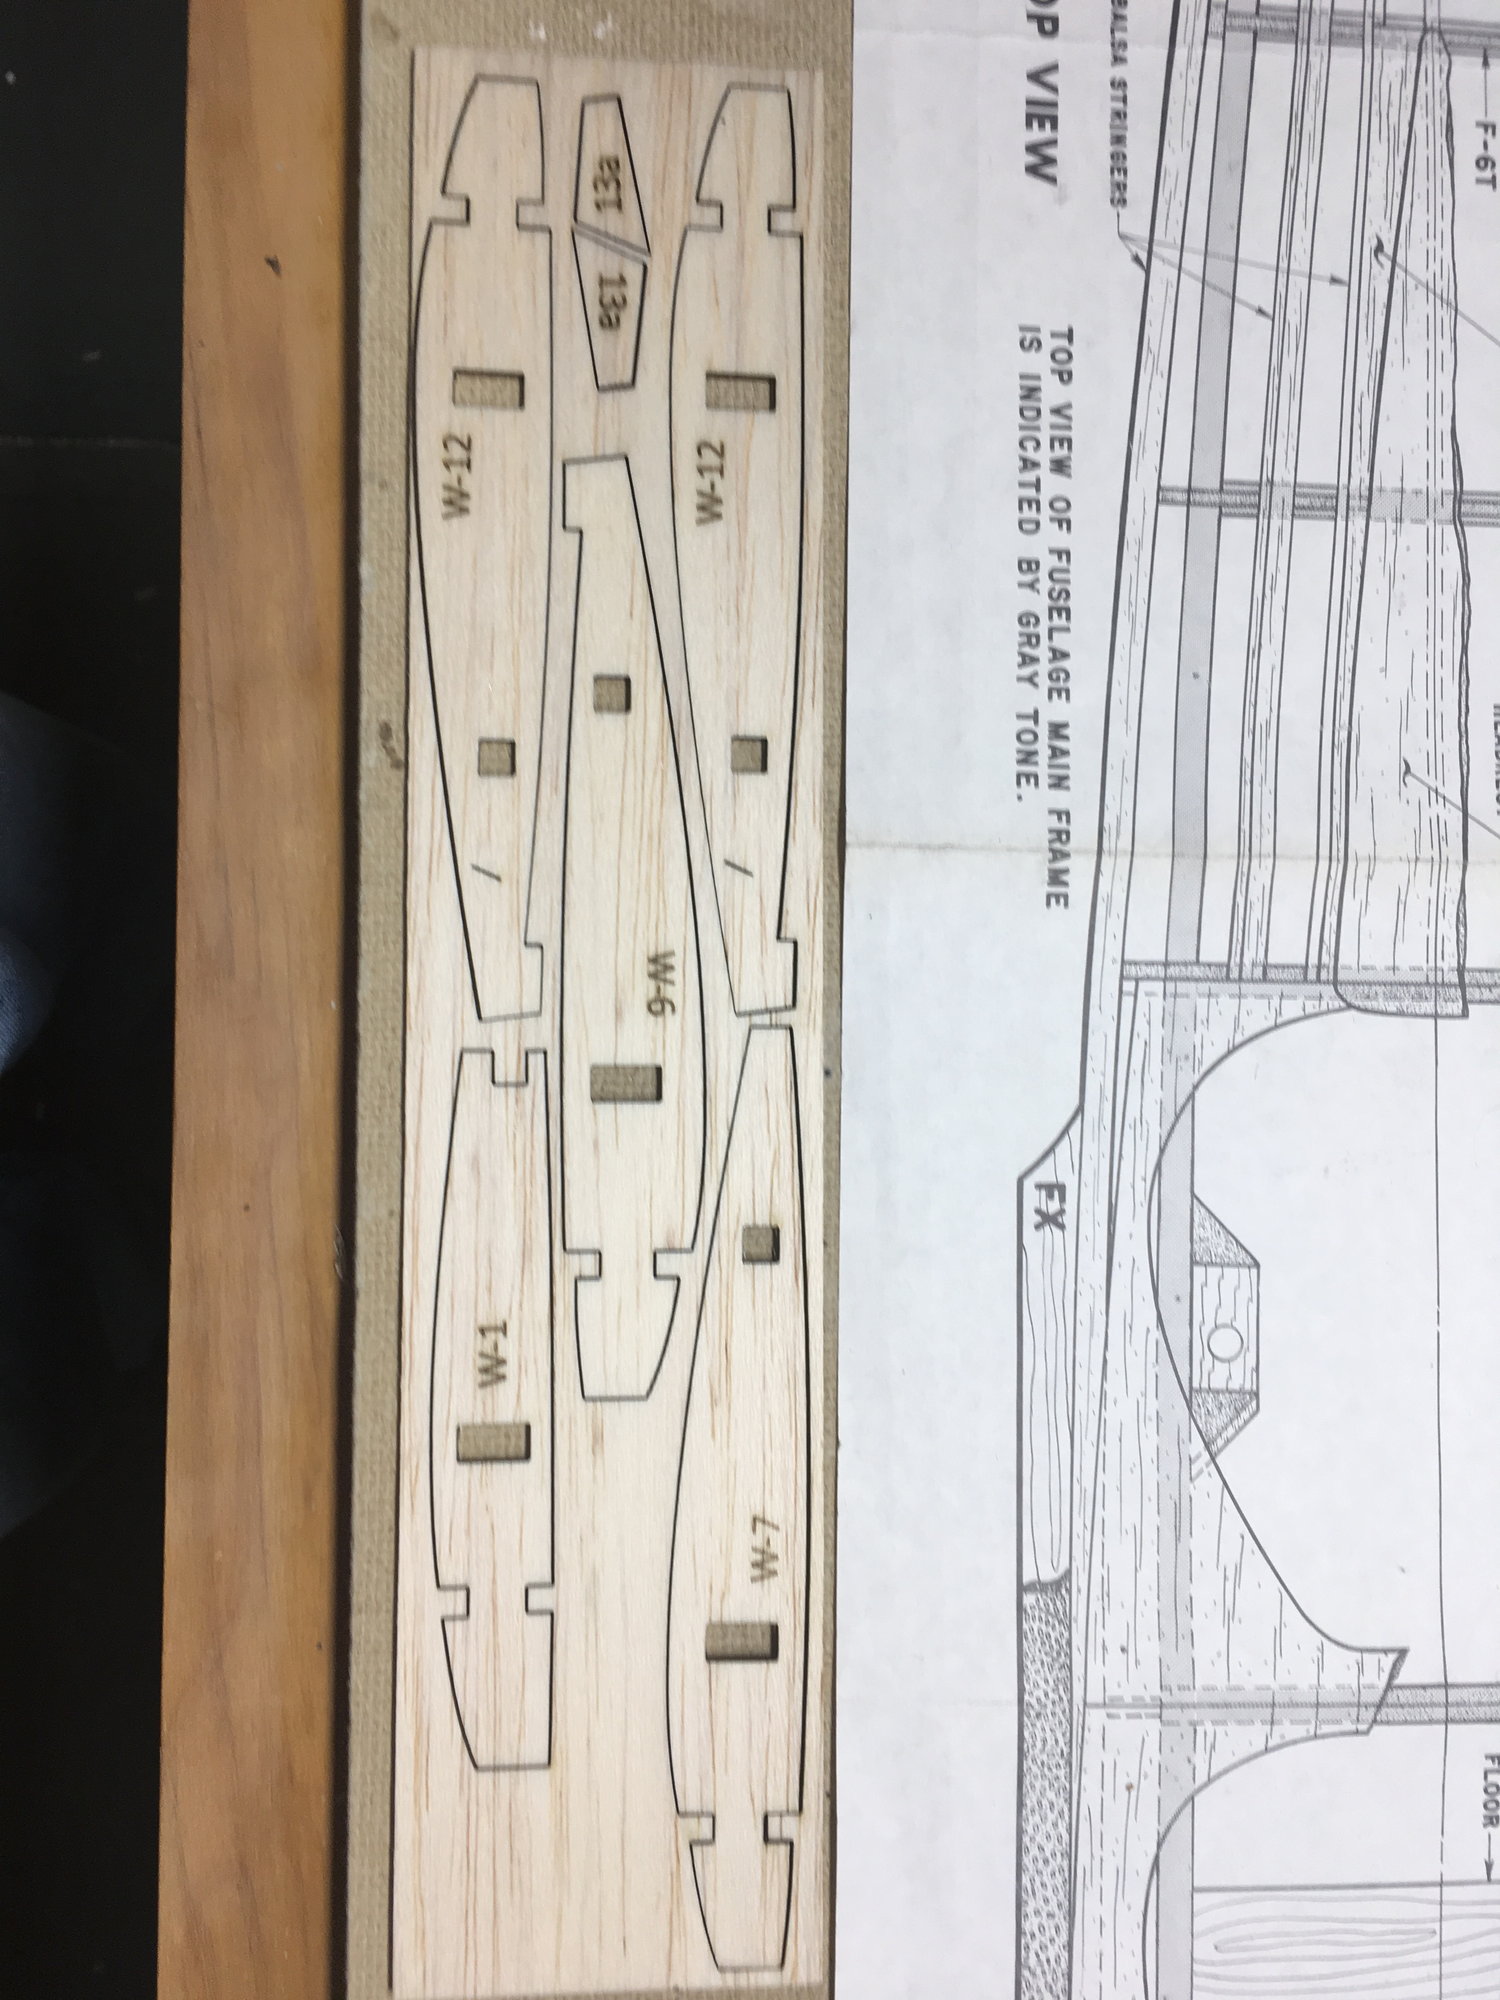
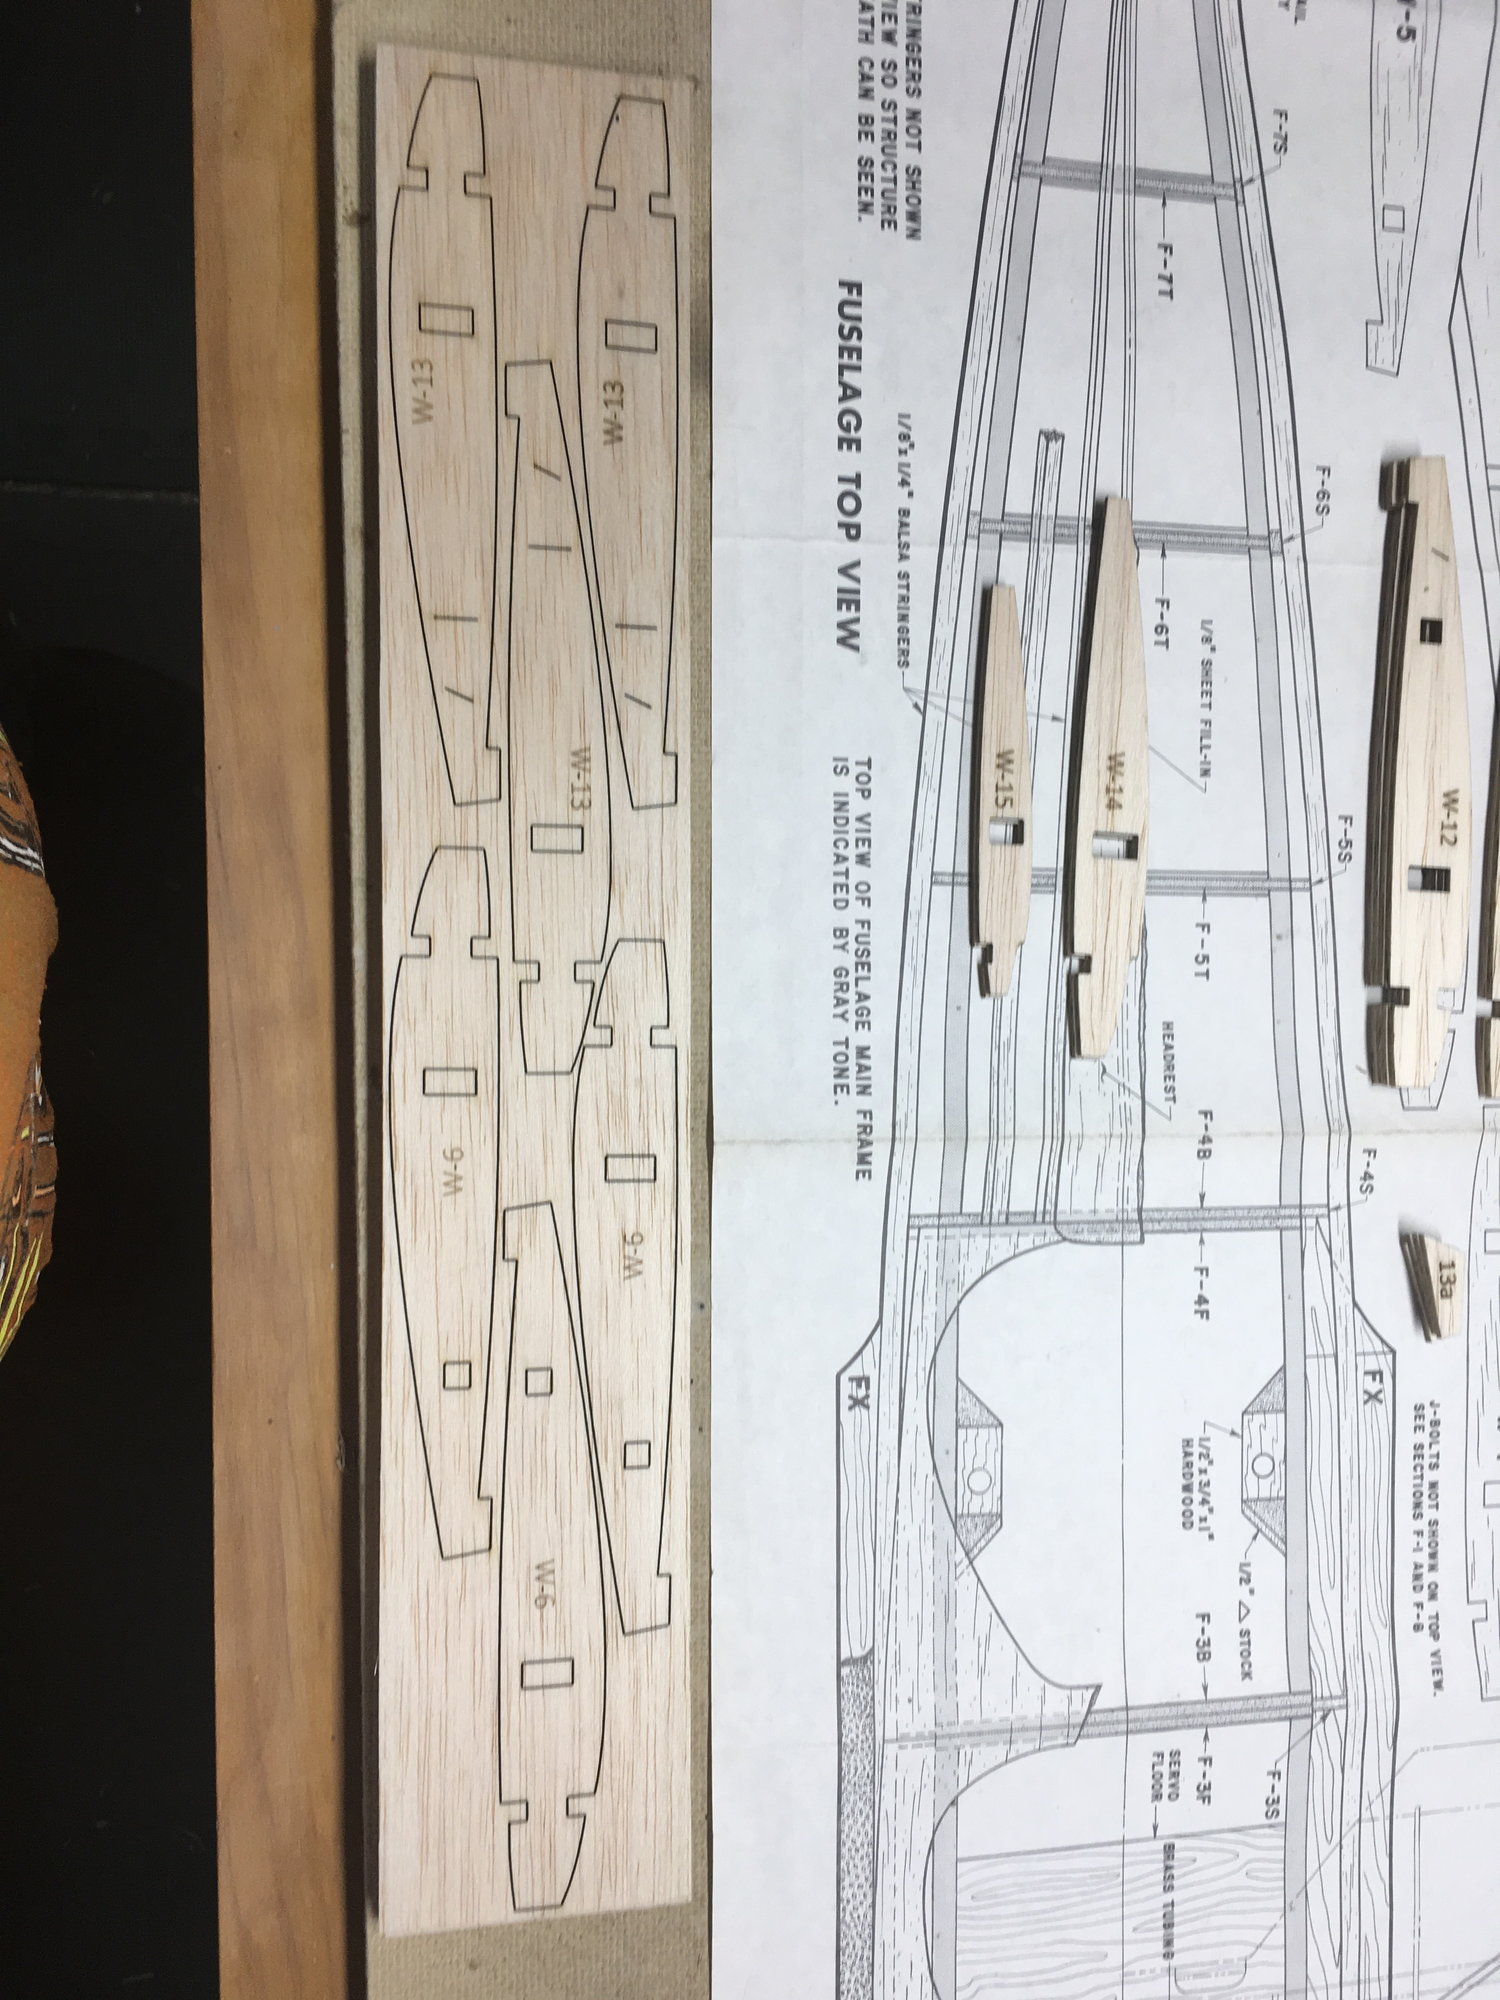
Here is one sheet #4 I cut out, there are 4 of these which I cut from 1/8th" instead of 3/32, though I am considering starting over with the proper thickness. After trial and error I found a better method for drawing out the ribs in CorelDraw and they are more accurate now.
The cowl came out OK after discovering the poly resin I had was bad. I recoated with Epoxy after wiping out the poly resin, and it is all done and solid. When I mount the engine I will halve the cowl to make an upper and lower section instead of trying to force the whole cowl over the engine.
Here is one sheet #4 I cut out, there are 4 of these which I cut from 1/8th" instead of 3/32, though I am considering starting over with the proper thickness. After trial and error I found a better method for drawing out the ribs in CorelDraw and they are more accurate now.
08-02-2019, 07:47 AM
#13
Thread Starter
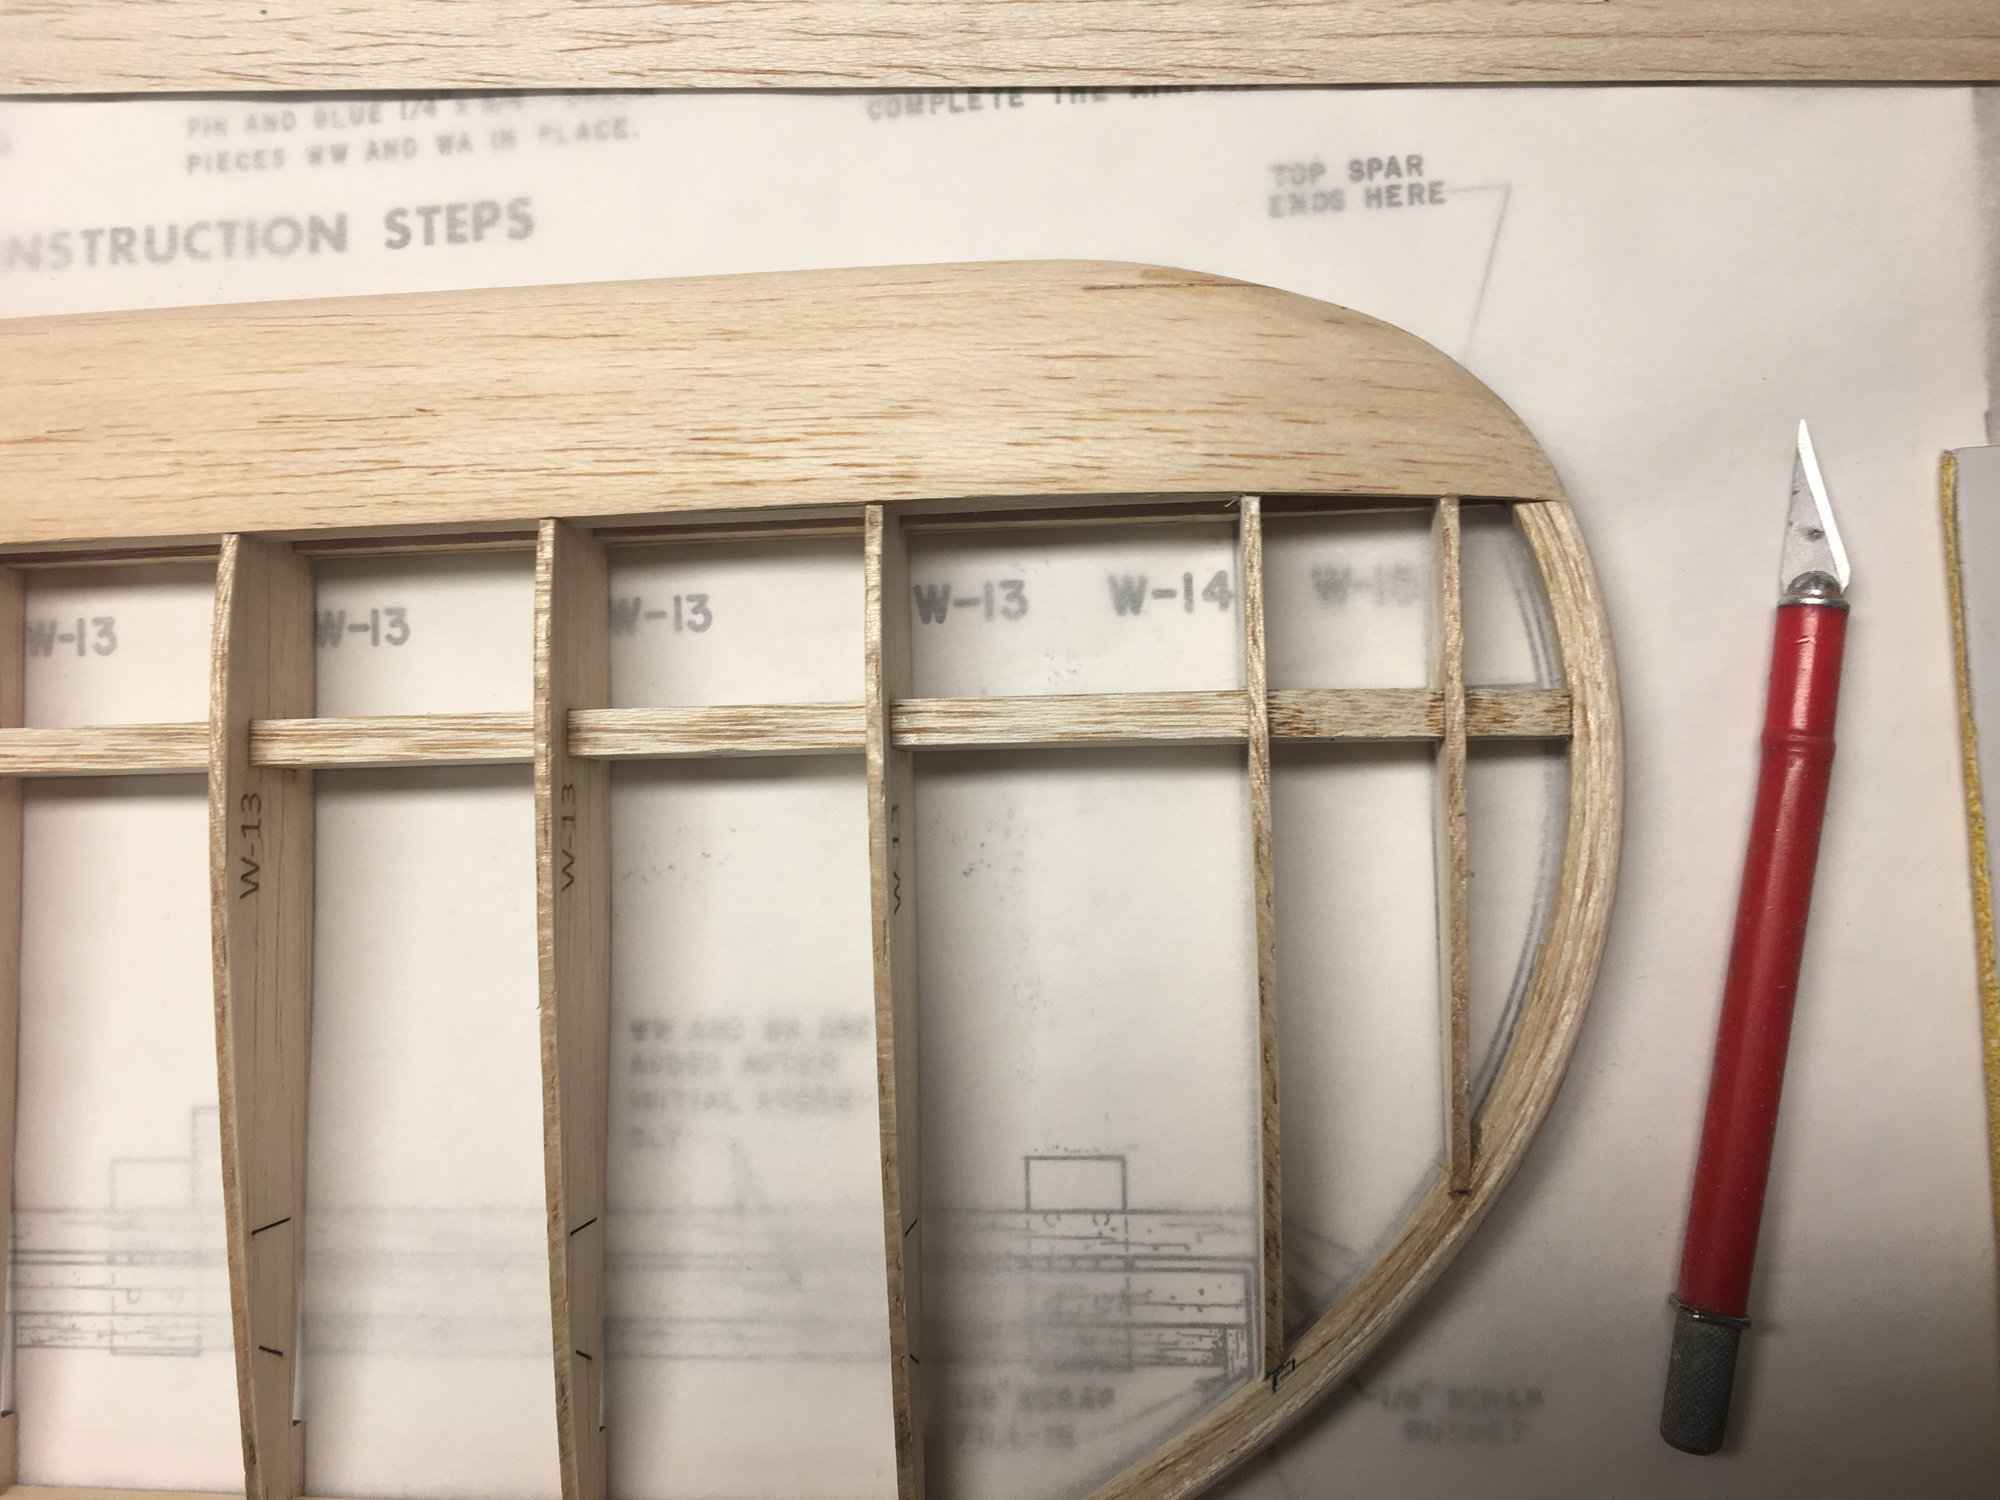
I have all the ribs done and started building the lower wing. I am taking my time because of how it is constructed. The full wing is built, then the dihedrahl is done, so have to be careful not to glue the spars and ribs #10 together until the entire wing is built.
Does anyone know what colors are used? Gray, red, yellow and blue with white stripes, but which ones? I don't think I can use SIG dope this time around since the colors they have don't match.
Does anyone know what colors are used? Gray, red, yellow and blue with white stripes, but which ones? I don't think I can use SIG dope this time around since the colors they have don't match.


 08-14-2019, 04:49 PM
#17
Thread Starter
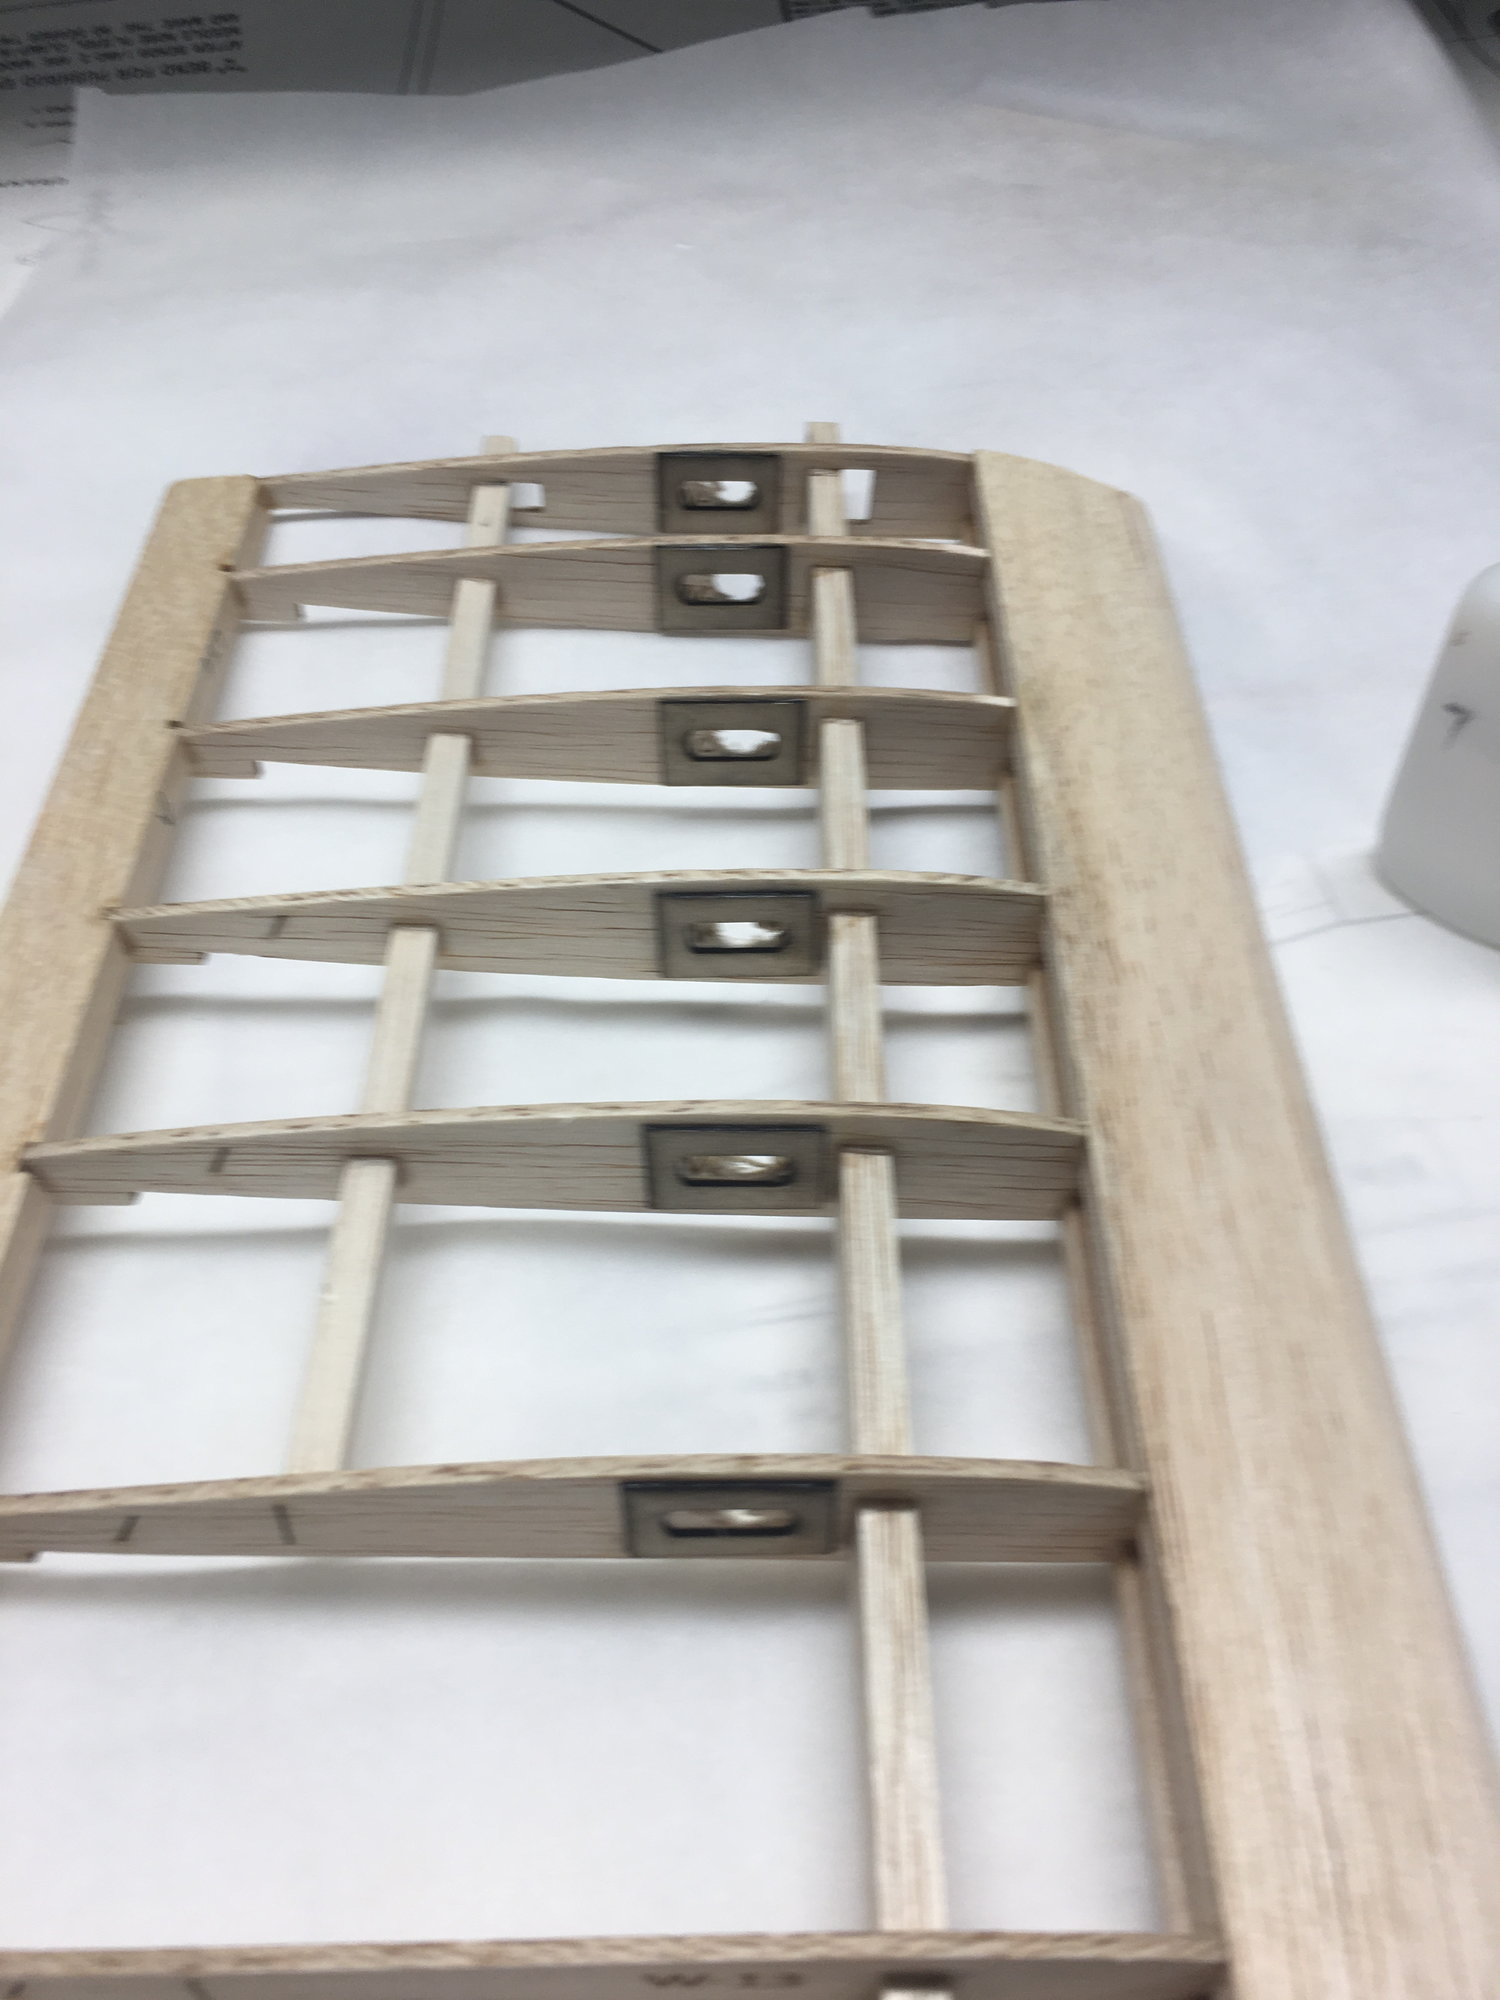
And after I got the left panel built, I realized i didn't cut any lead throughs for the servo wires in the ribs and went back to the trusty ol laser and within 20 minutes had 12 reinforcements cut out from 1/32" plywood.
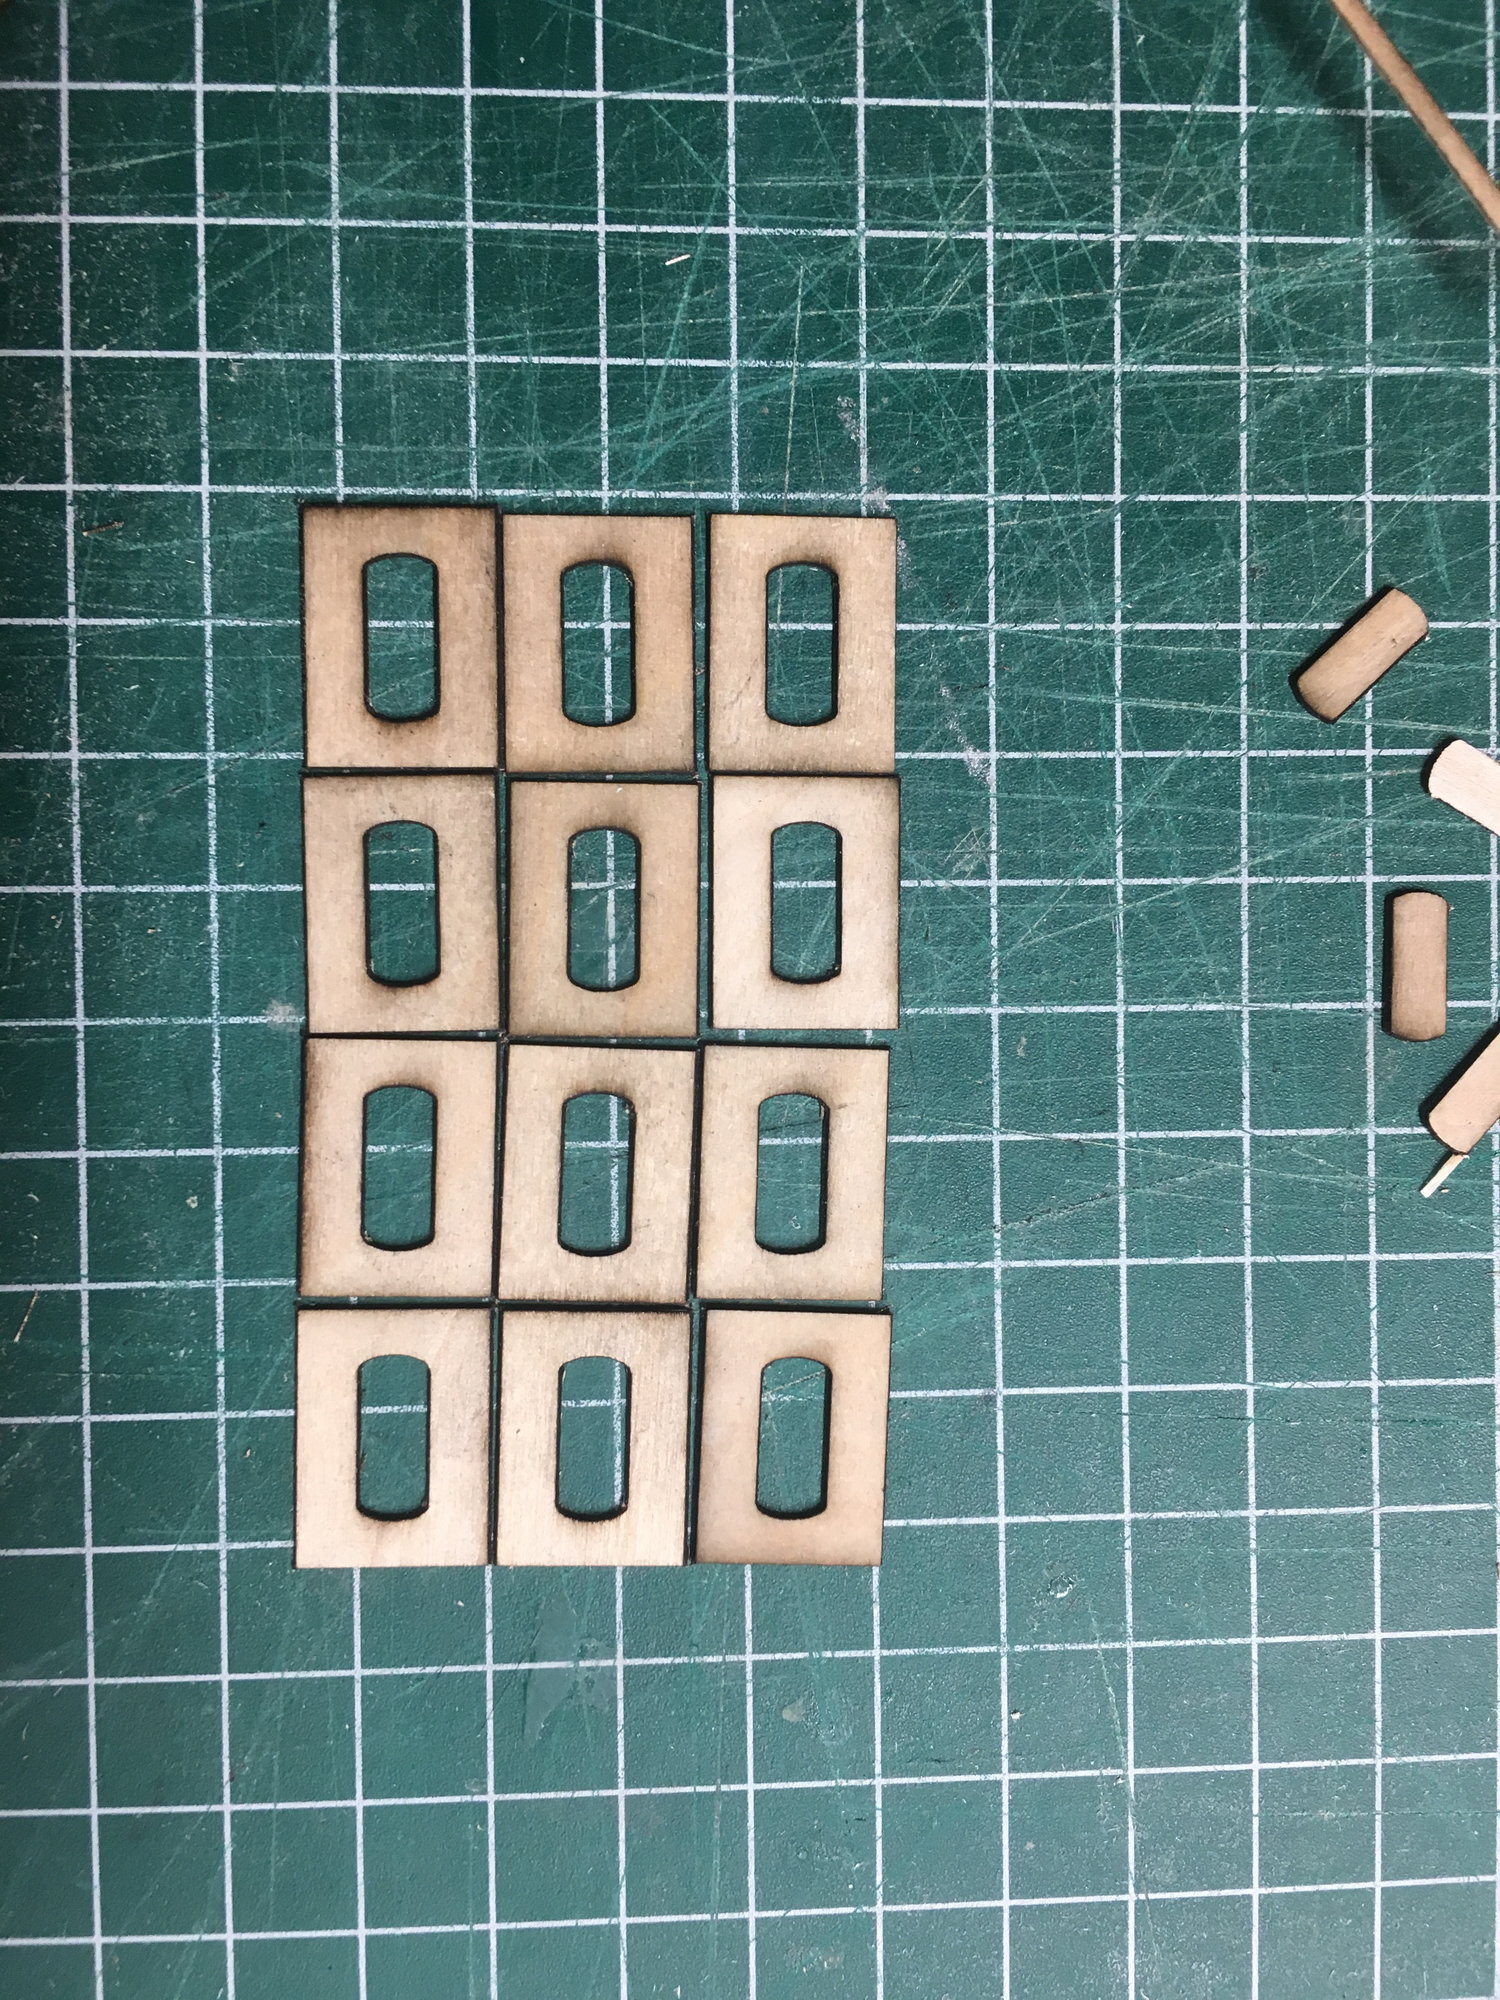
Don't know why some of these came out blurry.
Next step on the lower sing is to build and cut out the ailerons, then go over all the glue joints one more time, add any webbing as needed, since I think I missed a few, then epoxy the end panels to the center section so I can fit it to the fuse. Once that is done then I can set the tail section, form the filet over the lower wing and sand the fuse to shape.
The laser is coming in really handy as I can quickly make parts that are not part of the kit, or the plans, such as the servo hatches for the wings, the reinforcements above, and anything else I may need as I build. Best part is I have the parts saved so I can quickly and easily reproduce them if I ever were to create a short kit.
Last edited by acdii; 08-14-2019 at 04:54 PM.
08-15-2019, 07:02 AM
#19
Thread Starter
Sad thing is, I don't have a flying field to go to. I was hoping to get some flying in this week while on Vacation, and one of the guys who maintains the field I have been flying at is having eye surgery, so the field is out of service until he can get back and cut it. I also don't fly alone, not after what happened to one of the other members when his plane slipped off the run up stand and chewed his arm up.
So I just build, I actually enjoy it more than the flying.
So I just build, I actually enjoy it more than the flying.
08-15-2019, 07:28 AM
#20

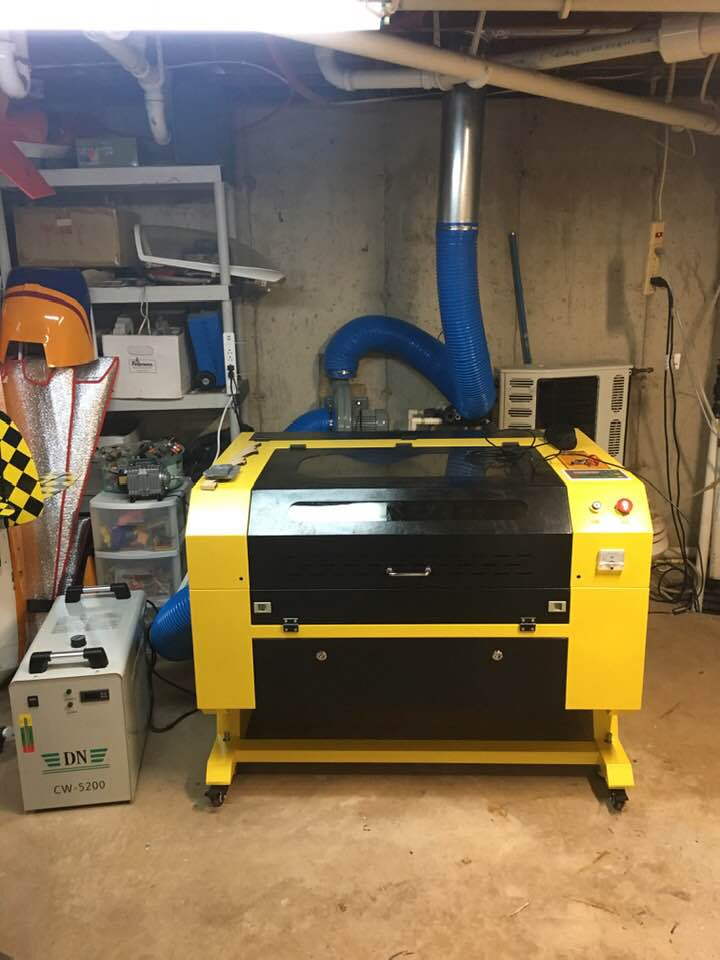
Great thread, I've always thought that the Liberty Sport was a good looking airplane. I may have missed it as I was skimming through the thread but what laser setup are you using?
 08-16-2019, 07:43 AM
#22
Ooooh! Spiffy. I just got one of the "little" K 40 style lasers this summer. It takes up a lot of floor space as compared to the cutting area but it has been handy so far. I won't be giving up on my local laser service anytime soon. Looking forward to more of the Liberty.
08-16-2019, 08:10 AM
#23
Thread Starter
I got a 20 x 28 bed on this one, was thinking of a smaller bed, but the difference in price was not enough to warrant it. $200 bought a lot more bed. All in I invested ~$2500 for it. Did a ton of research and have it setup to the point that to buy one from a US company to be the same would cost upwards of $10K. The tube is cheap though, only rated at 50 watt max, sold as a 60 watt, but I knew that going into it. They don't last very long either, but the life can be stretched out if the current is managed, so I installed a milliamp meter to make sure to keep it under 18 ma, which is the max the tube should handle. When it does give up the gas, I will get a good tube in 80 watt, with a good power supply, and then it will be a very good machine. I expect that to cost about $700 or so at some point, but then it will last a whole lot longer than the cheapo one it came with. The unit itself is what I mainly paid for, it would have cost me a lot more had I bought the individual components and built my own gantry, bed and box, and the cabinet on this is very well made, it weighs nearly 300 pounds.
08-16-2019, 01:05 PM
#25
Thread Starter
For the wings I am foregoing the basic center servo with rods and cranks and installing thin wing servos instead. Guess how this dude will do them.
Yep, you guessed it, Laser cutting!
Laying out the hatch now, but need 1/16 ply for the material, have 1/32, 1/64, 3/32, 1/8, but no 1/16. darn, guess I have to make a trip to the LHS.
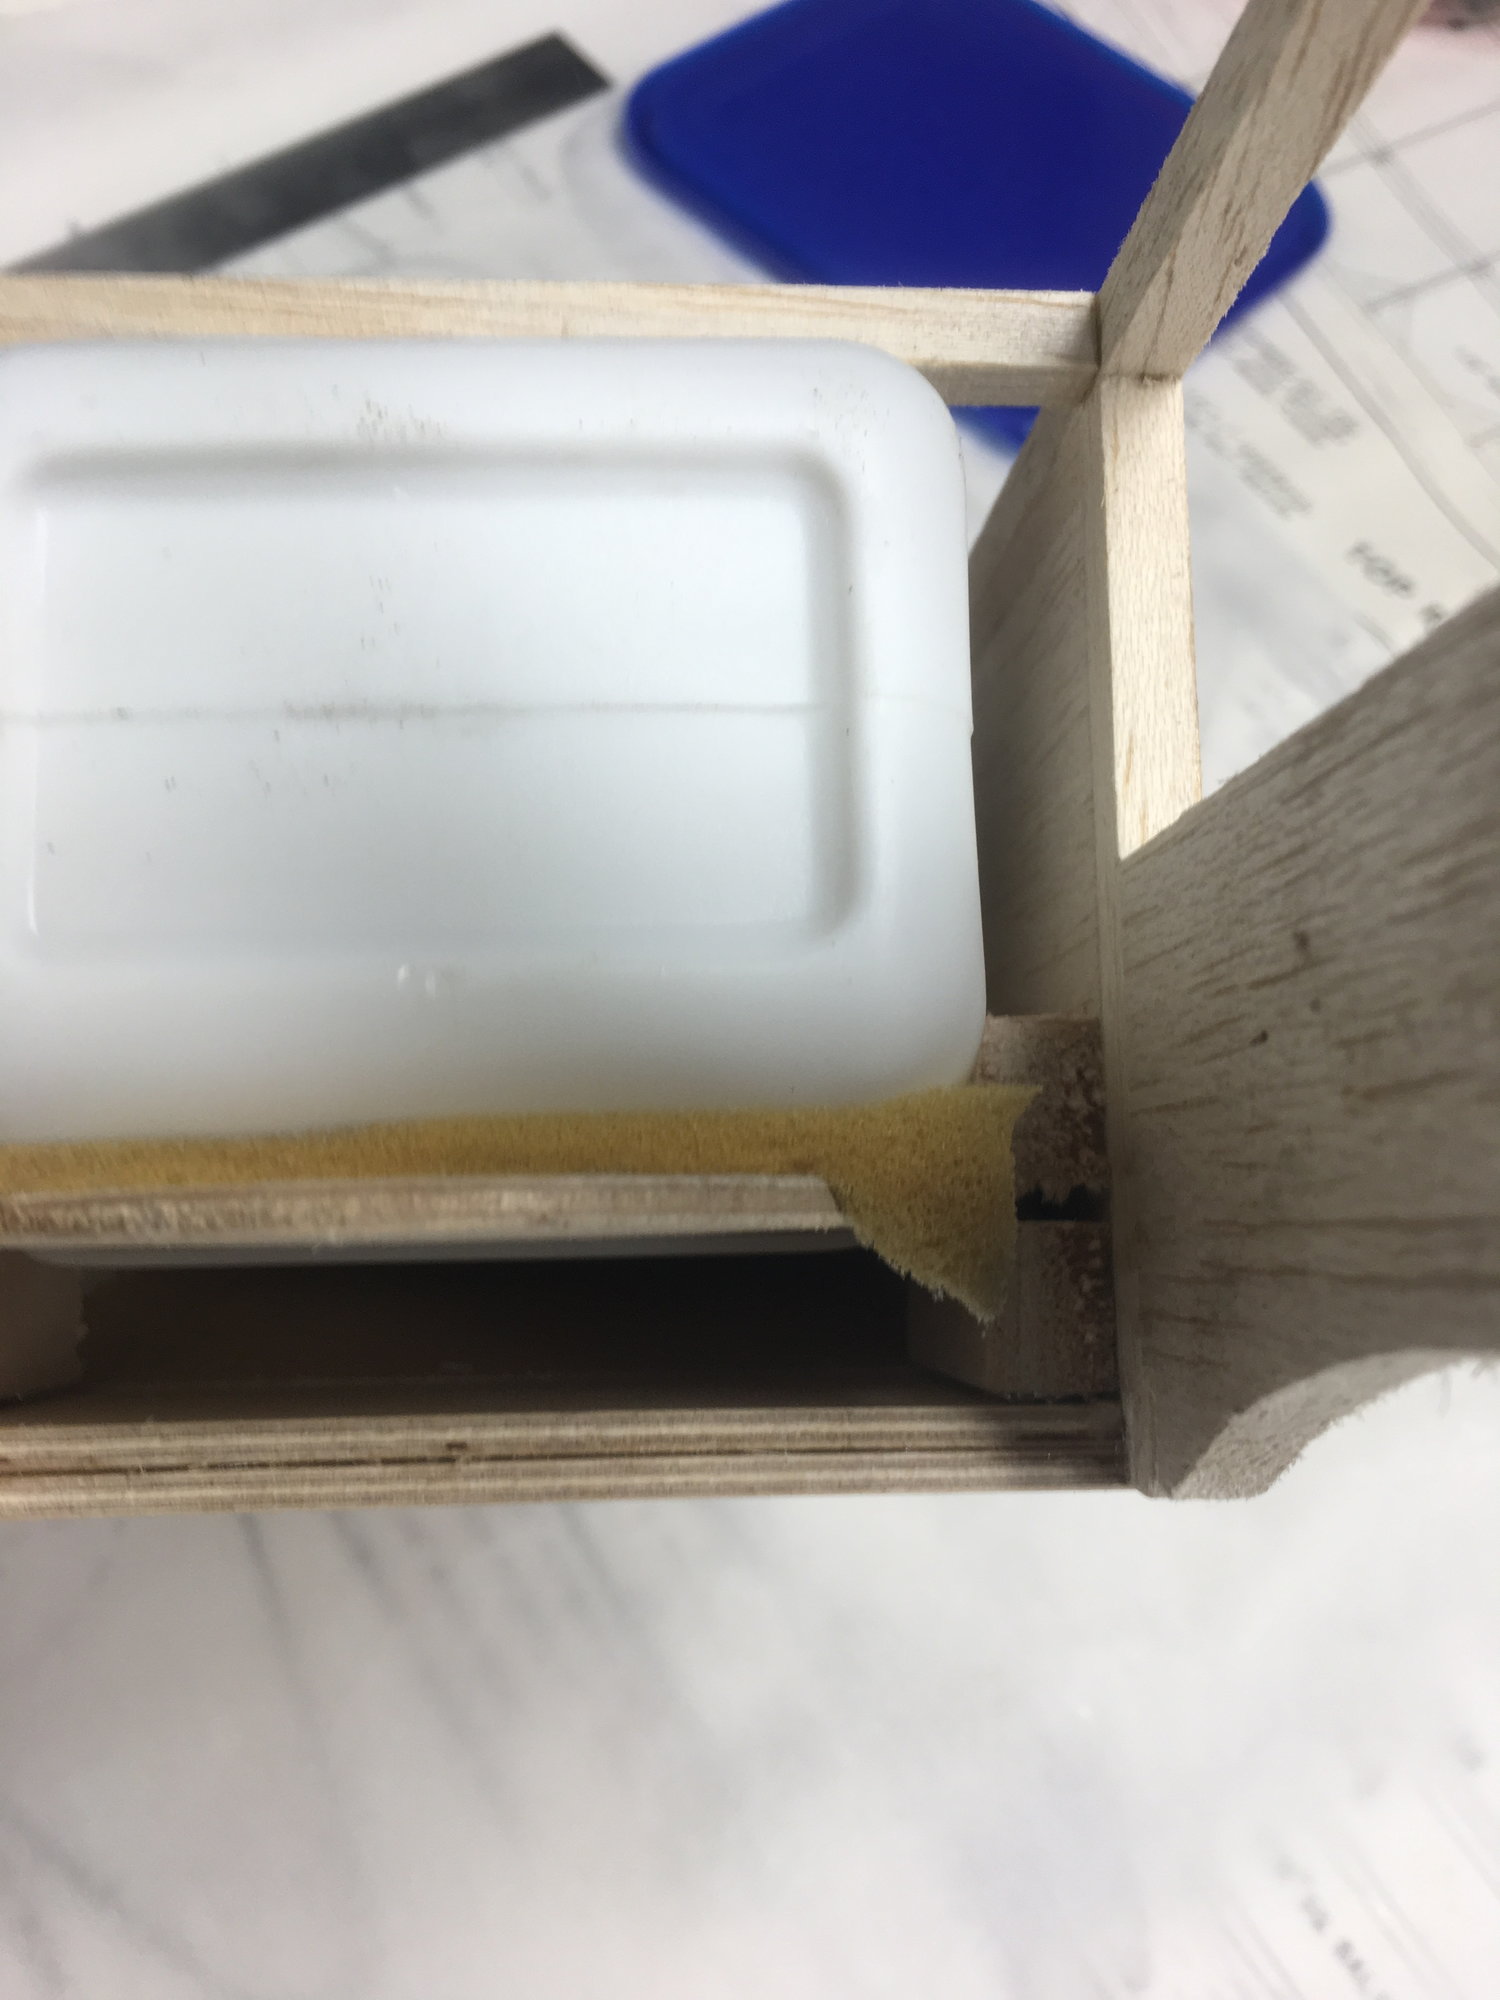
What I plan to do is take 3/8 x 1/4 hardwood, and etch a 1/16" shelf in it for the hatch to sit in, and then glue 3 hardwood blocks for the mounts. The laser will create the small slot for the arm to extend through, and the entire thing will weigh about an ounce or less.
Now to go look through some other shelving to see if I happen to have a piece of 1/16 before I head out.
Yep, you guessed it, Laser cutting!
Laying out the hatch now, but need 1/16 ply for the material, have 1/32, 1/64, 3/32, 1/8, but no 1/16. darn, guess I have to make a trip to the LHS.
What I plan to do is take 3/8 x 1/4 hardwood, and etch a 1/16" shelf in it for the hatch to sit in, and then glue 3 hardwood blocks for the mounts. The laser will create the small slot for the arm to extend through, and the entire thing will weigh about an ounce or less.
Now to go look through some other shelving to see if I happen to have a piece of 1/16 before I head out.