


SIG Liberty Sport
 08-17-2019, 07:35 AM
#26

Any more, dual wing servos is just the easier way to go. It's nice when you don't have wing mounting plates, push rods and aileron torque rod arms all squeezing into the same place.
I agree with your point about laser tube life. My tube is nominally a 40 watt but conventional wisdom is that it either won't last long at full power or it is a higher wattage tube that didn't meet spec. That being info from the internet you can take it for what it is worth. I've been running relatively low power. Just enough to trigger the laser will blow through small stuff like 1/16 ribs. I can even double the cut speed. Lite-ply and hard balsa take more power and birch ply may take multiple passes. That $2500+ price tag is the main reason I went with the K-40. It's hard to justify that much of a hit to my hobby budget on something that I wasn't sure I could master. I do envy your cutting area though.
I agree with your point about laser tube life. My tube is nominally a 40 watt but conventional wisdom is that it either won't last long at full power or it is a higher wattage tube that didn't meet spec. That being info from the internet you can take it for what it is worth. I've been running relatively low power. Just enough to trigger the laser will blow through small stuff like 1/16 ribs. I can even double the cut speed. Lite-ply and hard balsa take more power and birch ply may take multiple passes. That $2500+ price tag is the main reason I went with the K-40. It's hard to justify that much of a hit to my hobby budget on something that I wasn't sure I could master. I do envy your cutting area though.
 08-17-2019, 08:24 AM
#27

Thread Starter
I was tempted to get a K40 to start with, but needed the larger bed size, majority of things I plan to cut are up to 24" long. Have a few large scale projects in the pipeline, including an 1/8th scale B-17E.
I played around a bit with it last night trying out etchings.
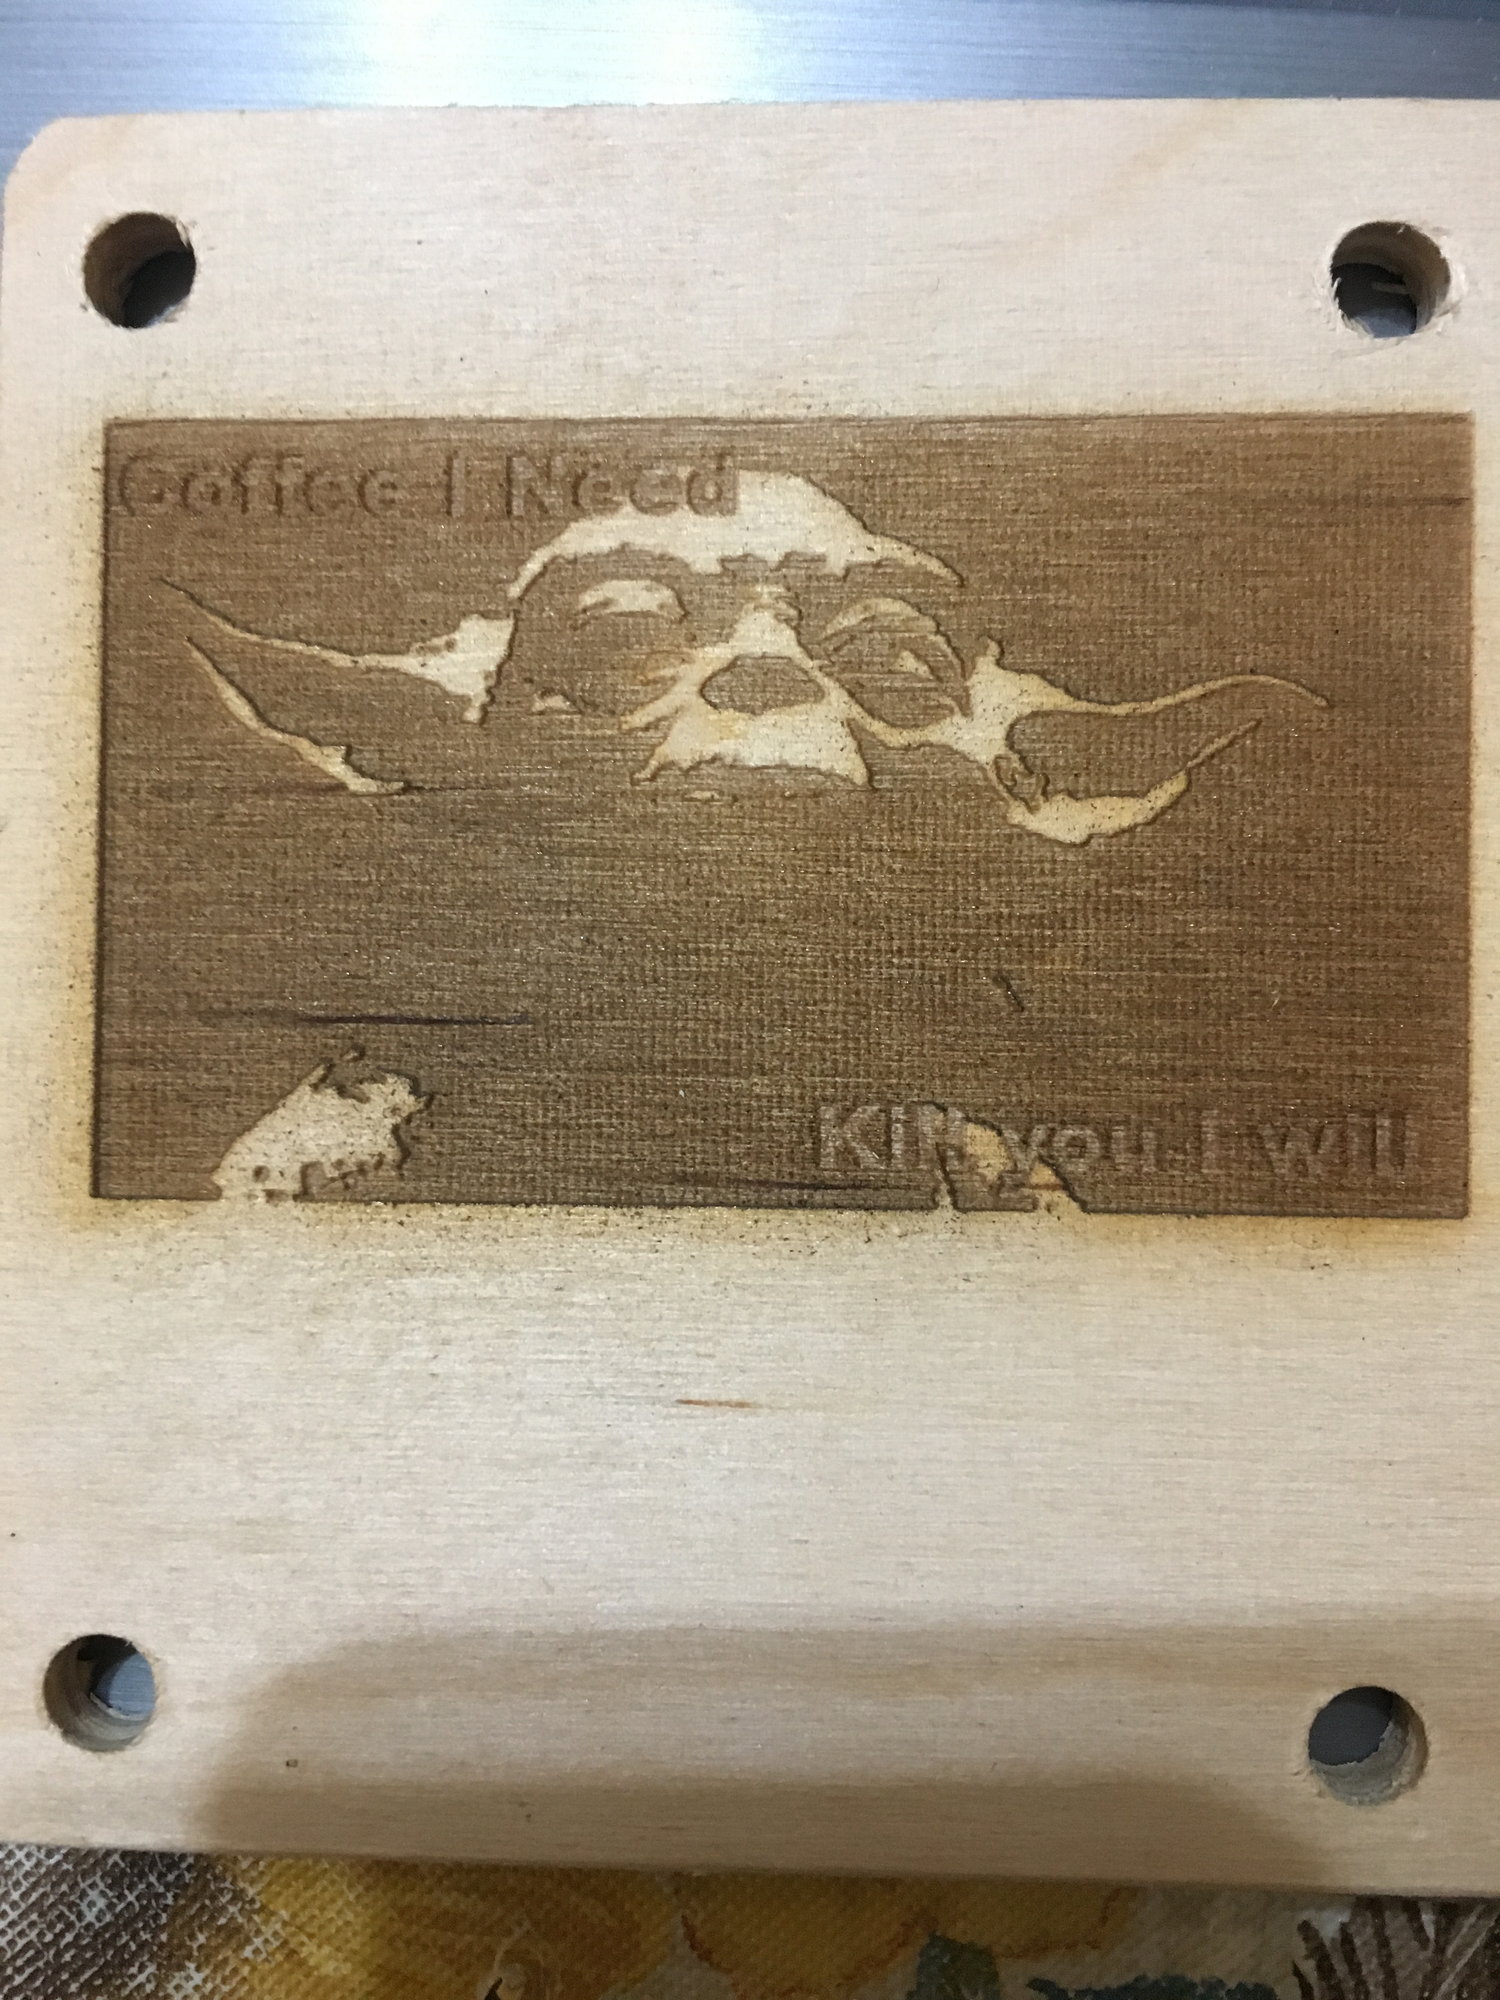
I played around a bit with it last night trying out etchings.
08-18-2019, 08:47 AM
#28
Yes, the downside to the K-40 is the small size of the cutting bed. The first thing I did to mine was remove the stock cutting bed and make one of my own along with trimming two inches off of the exhaust duct. This massively increased my cutting area. The stock bed really only works for about a 4 X 8 inch area and now I can cut about 11 x 10 inches. I might be able to squeeze a full 12 inches width on the cut but right now I am limited by the materials I could find for the cutting bed. I have cut some ribs for a 16 inch cord wing in two pieces to splice together but I think that you would reach a point of diminishing returns if you were trying to cut 3 or 4 feet of fuselage sides. On the other hand you might pay for your cutter selling humorous coffee coasters on Etsey.
08-18-2019, 11:55 AM
#29


If you make or buy a pass through housing for your laser you can make unlimited lengths by cutting registration holes at the limit of your working area then moving the work up over registration pins and run a second/third/fourth program with the rest of the work. I do this with my cnc cutter that I made for my mill. My working length is 23 inches by 13 inches wide. A 48 inch fuse side was cut in three steps. I cut two dowel holes at the one inch mark and at the 22 inch mark. I cut the first 1/3 of the fuselage length and two registration holes right where the first section ends. You move the piece forward over the dowels at the one inch mark then the program for second third of the fuse starts at the one inch mark and cuts it and puts the second set of registration holes where this program ends. Move it forward and over the registration pins at the one inch mark and run the third and last program. You have a one piece 48 inch long fuse side.
Dennis
Dennis
08-18-2019, 03:52 PM
#30
Thread Starter
I can easily do that with the laser, the software has settings for origin so it will cut from where ever the head is located, all I need then is to create the reference hole to line the dot to and feed the board through. It would have to be done by loading separate files though as it doesn't do stitching like CNC software can, such as the Vectric Cut2d.
08-18-2019, 03:57 PM
#31
Thread Starter
Back to the build. Almost have the right panel done, just some sanding of the bottom of the aileron, then I can cut it out. I can also epoxy it to the center section and finish the sheeting.
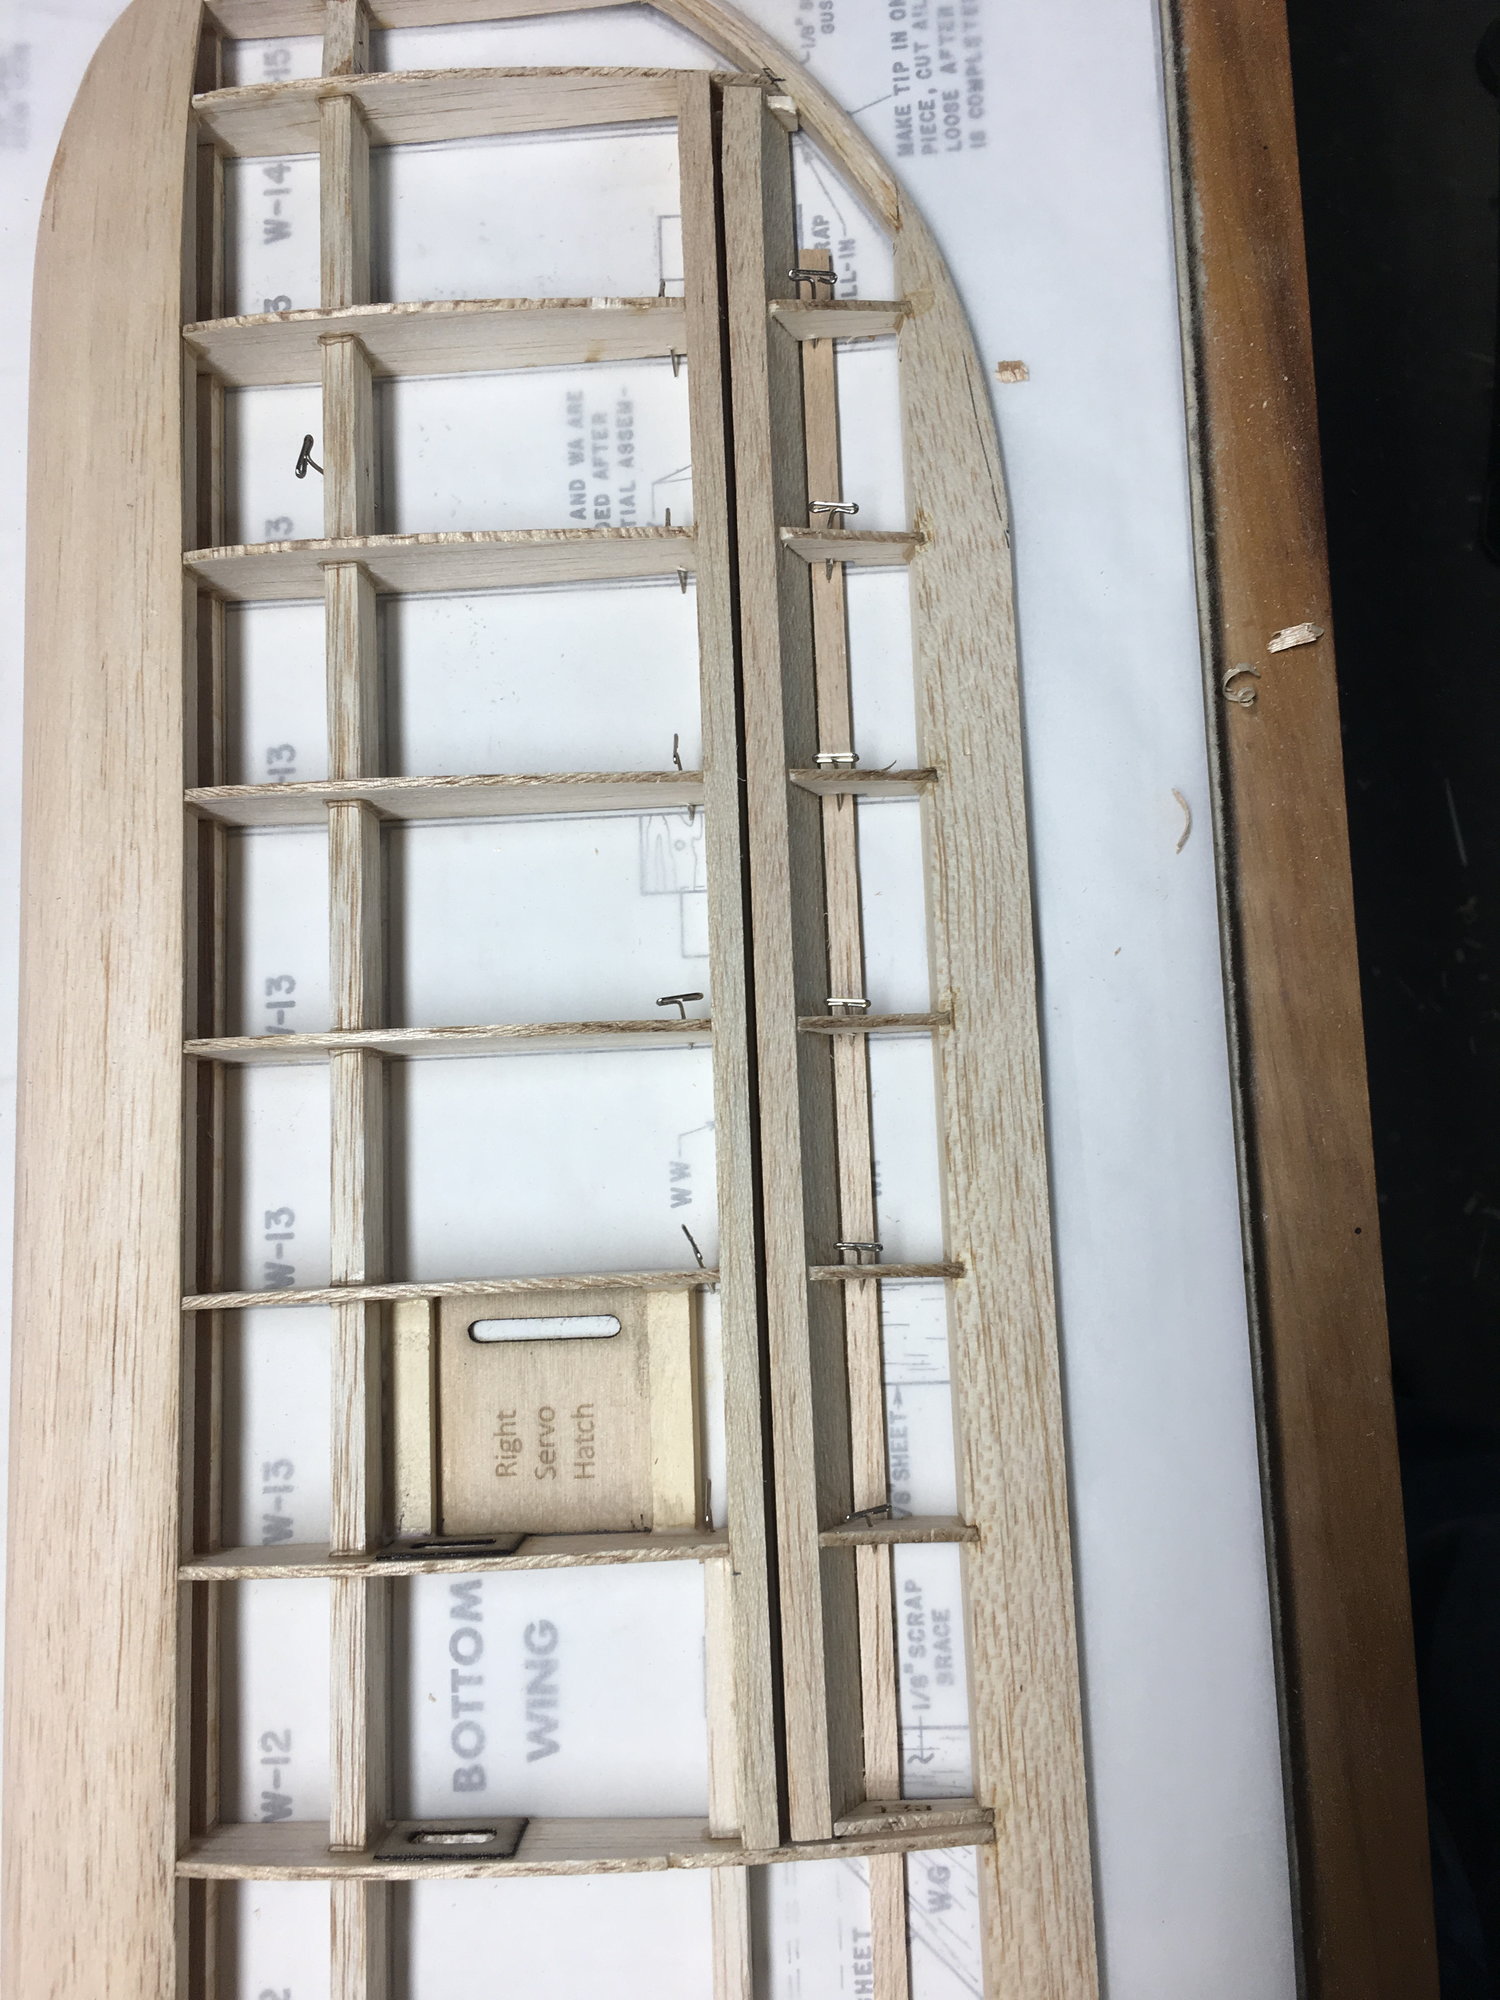
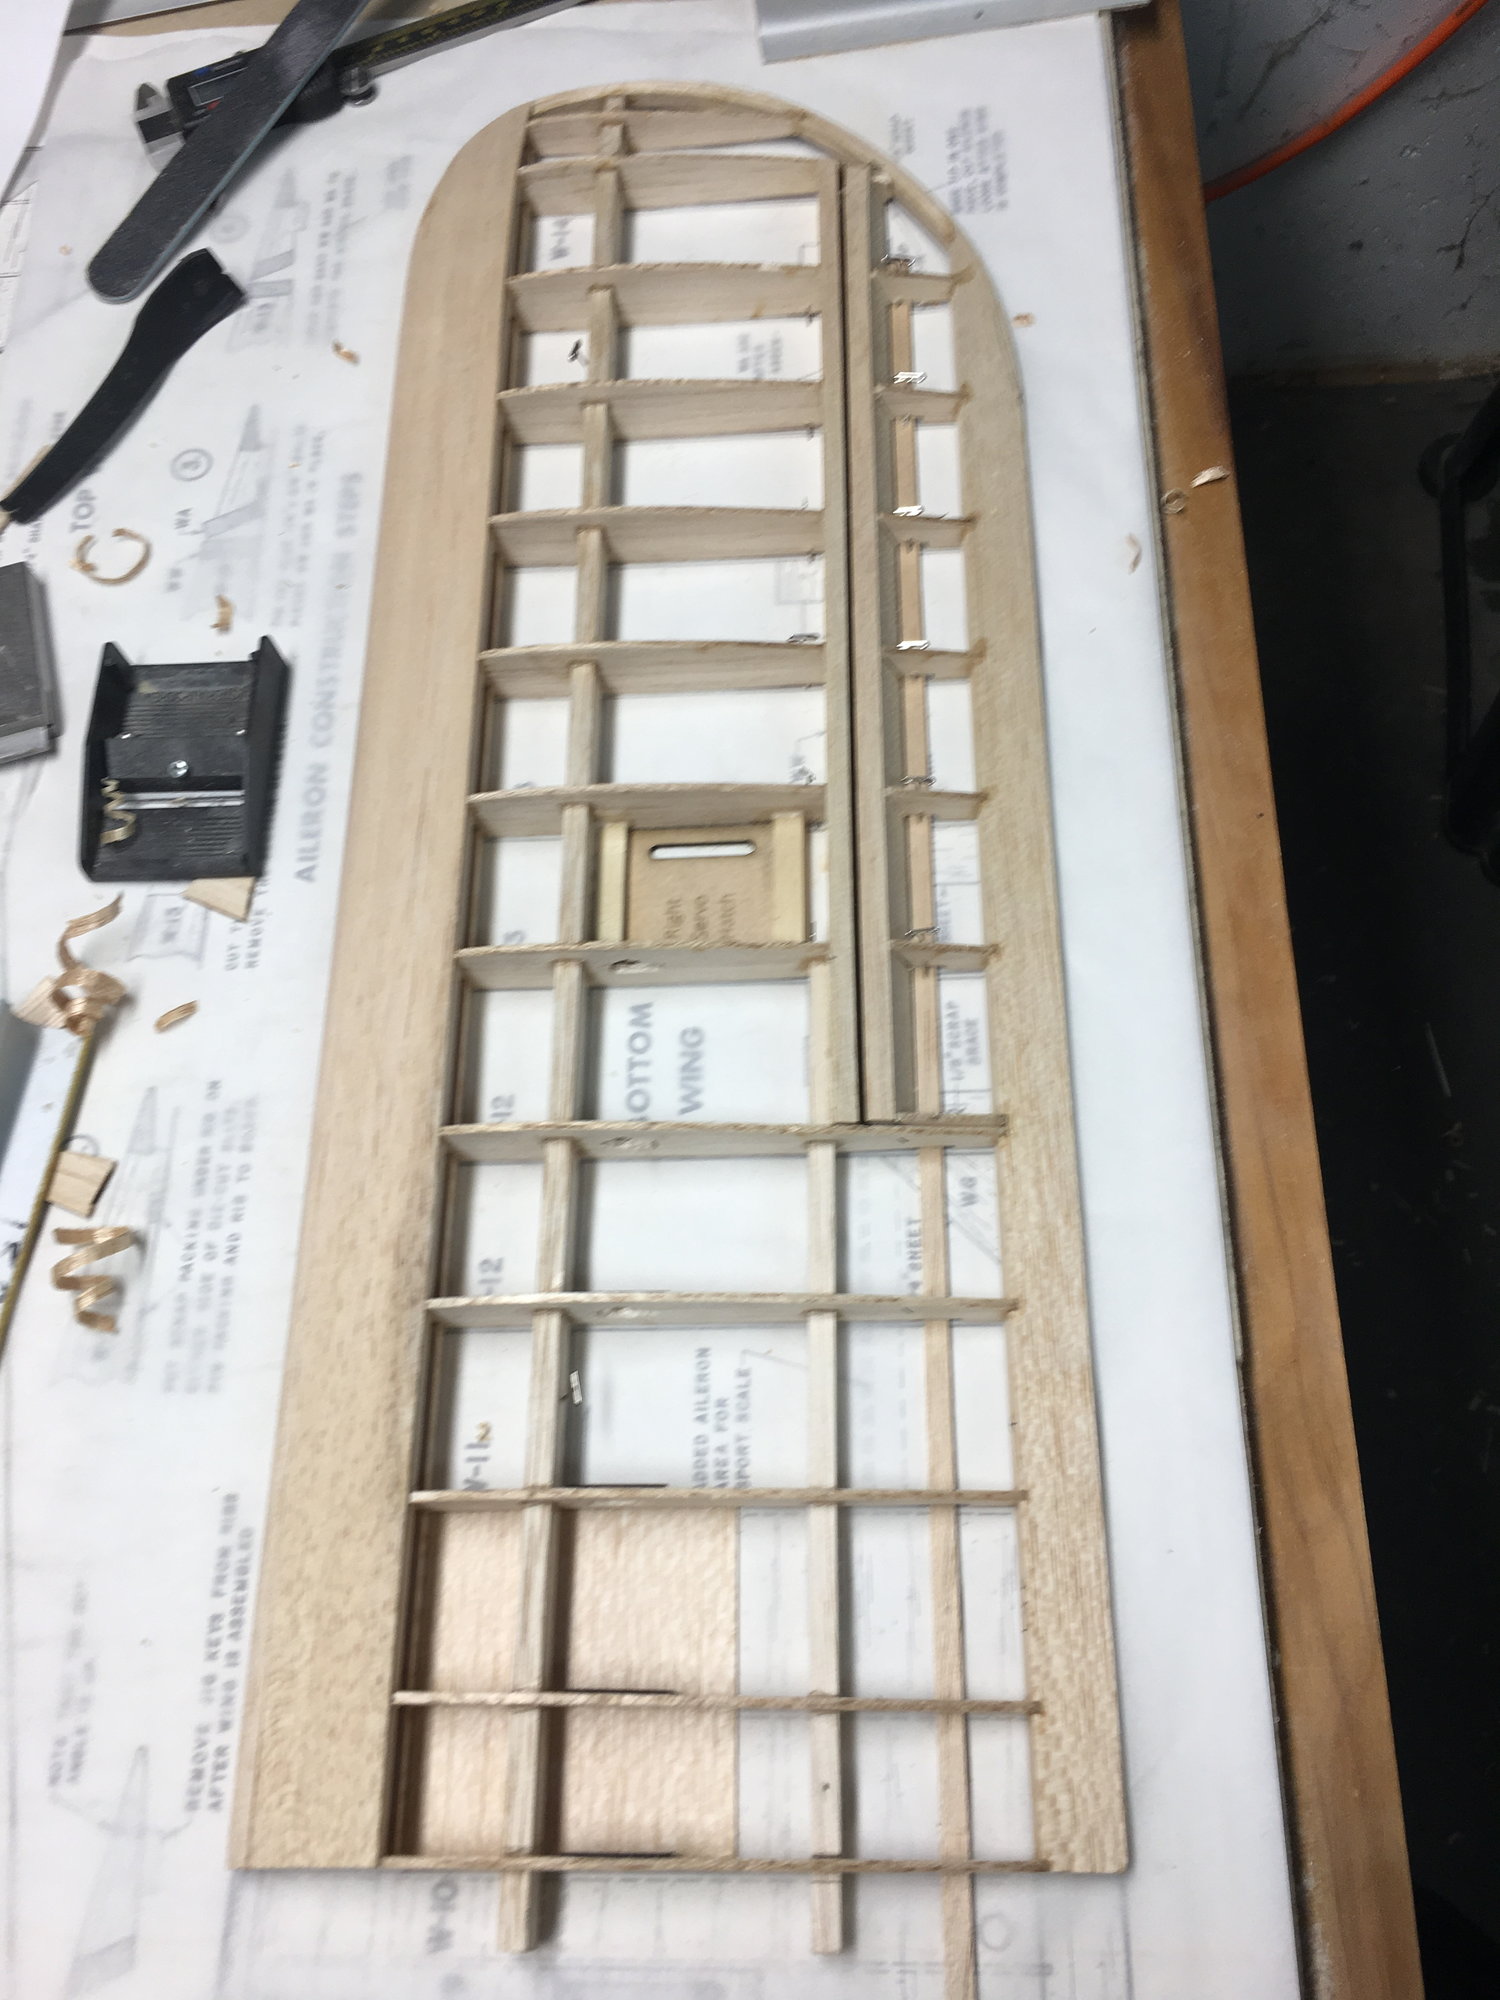
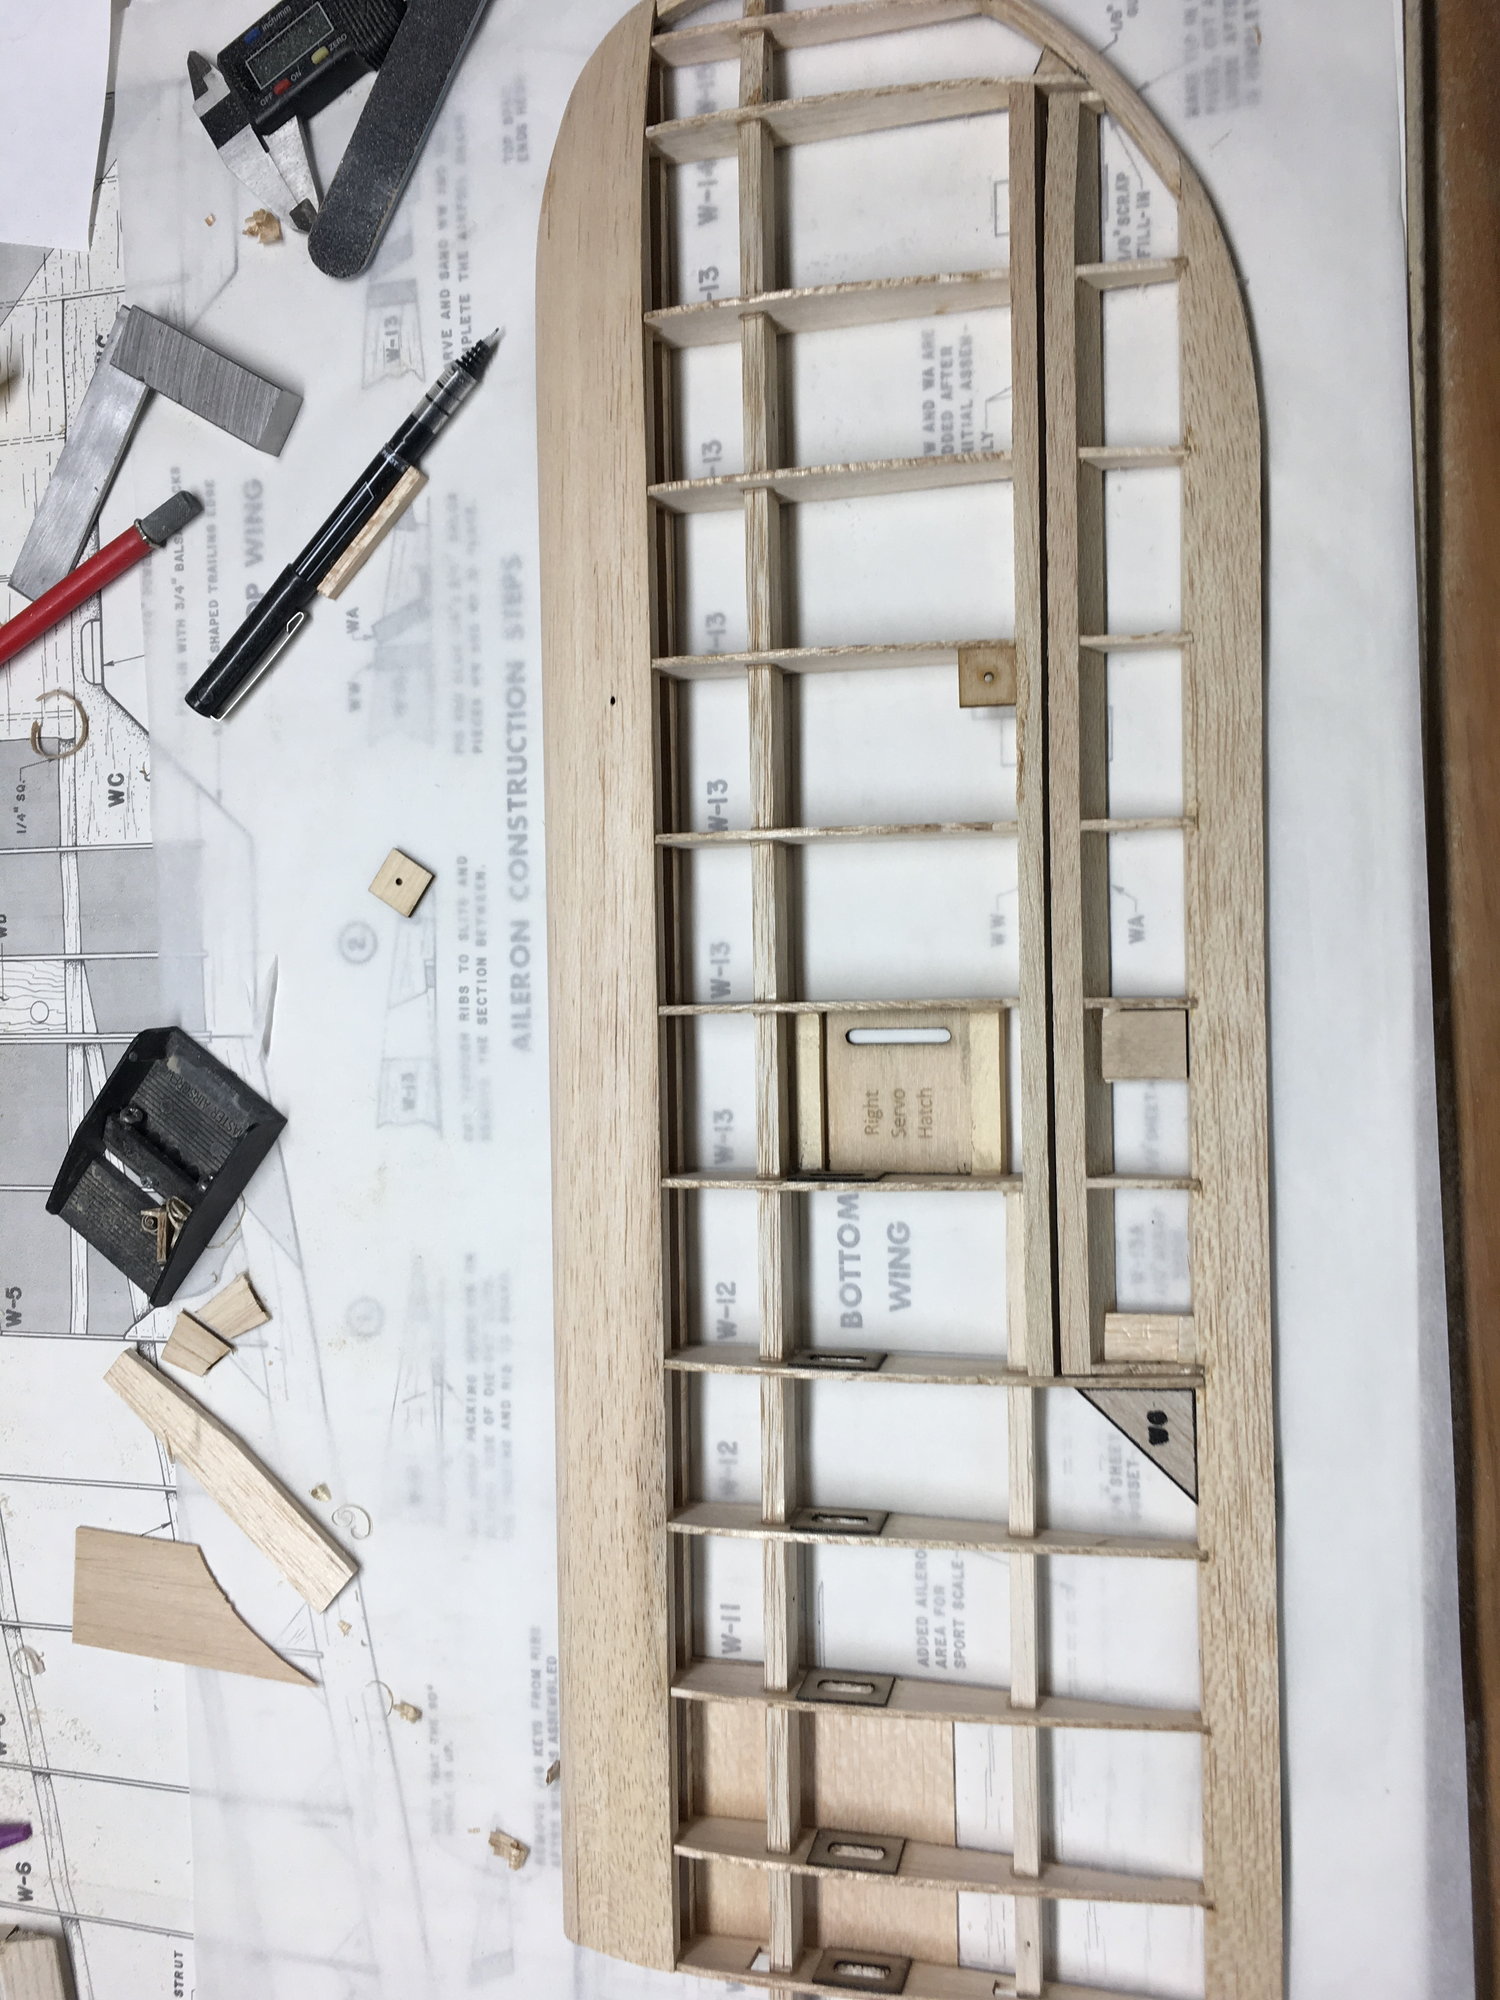
Only takes a few minutes to layout and cut parts from plywood. Did the hatches and the strut mounts with the laser.
Only takes a few minutes to layout and cut parts from plywood. Did the hatches and the strut mounts with the laser.

 08-19-2019, 07:48 AM
#33
Nice work. I counted five of my favorite tools in that picture.
 08-19-2019, 08:20 AM
#35
Thread Starter
Running low on T-pins. Between bending them from the homasote, and ripping the T off getting them out of the Homasote, and gooping them up with CA, the supply has run quite low. Needed a lot of them to make the tip bows and stab bows, and rudder/fin, half of which I broke taking them out of the board. The Homasote panels work great for building, they hold pins very tight, but have to be careful putting them in and pulling them out so as to not break anything in the process. I use these to build on
Once I finish the Sport and the B-25 I will need to revamp my workbench, it won't be long enough for the next builds, have to add at least 3' of table to it. I also want to come up with a new layout now that I have the laser in there. I have a Sherline CNC, and lathe, and no place to set the computer up to use it. At some point I plan to interconnect the CNC and the Laser to the same workstation instead of lugging the laptop around. Network and storage projects for the future.
Once I finish the Sport and the B-25 I will need to revamp my workbench, it won't be long enough for the next builds, have to add at least 3' of table to it. I also want to come up with a new layout now that I have the laser in there. I have a Sherline CNC, and lathe, and no place to set the computer up to use it. At some point I plan to interconnect the CNC and the Laser to the same workstation instead of lugging the laptop around. Network and storage projects for the future.
08-19-2019, 10:09 AM
#36
Running low on T-pins. Between bending them from the homasote, and ripping the T off getting them out of the Homasote, and gooping them up with CA, the supply has run quite low. Needed a lot of them to make the tip bows and stab bows, and rudder/fin, half of which I broke taking them out of the board. The Homasote panels work great for building, they hold pins very tight, but have to be careful putting them in and pulling them out so as to not break anything in the process. I use these to build on
Once I finish the Sport and the B-25 I will need to revamp my workbench, it won't be long enough for the next builds, have to add at least 3' of table to it. I also want to come up with a new layout now that I have the laser in there. I have a Sherline CNC, and lathe, and no place to set the computer up to use it. At some point I plan to interconnect the CNC and the Laser to the same workstation instead of lugging the laptop around. Network and storage projects for the future.
Once I finish the Sport and the B-25 I will need to revamp my workbench, it won't be long enough for the next builds, have to add at least 3' of table to it. I also want to come up with a new layout now that I have the laser in there. I have a Sherline CNC, and lathe, and no place to set the computer up to use it. At some point I plan to interconnect the CNC and the Laser to the same workstation instead of lugging the laptop around. Network and storage projects for the future.
08-27-2019, 04:04 PM
#37
Thread Starter
Trying to decide on servos for the wings. I don't think a standard size will fit cleanly in the wing, so a thin wing will be needed. Problem is, I don't know the torque needed for the ailerons.
08-27-2019, 05:14 PM
#38

Here's a 12.5 g servo with almost the torque of a standard.
https://www.towerhobbies.com/cgi-bin...?I=LXDXJN&P=SM
08-27-2019, 05:29 PM
#39
Thread Starter
I have a pair of A7020 wing servos that are destined for my B-25 rudders. Was thinking of getting another pair for this plane. I just wasn't sure if 50ozin of torque will suffice. I should probably compare to a Futaba 3004, which is the benchmark for servos back when this plane was first designed, and ran both ailerons with bell cranks.
08-28-2019, 07:38 AM
#40
A decent modern mini servo will provide as much torque as the standard servos did back in the day. A mini is also still big enough to have a robust gear train. I've had good luck with laying a HS-225BB on its side in a wing.
09-01-2019, 10:26 AM
#41
Thread Starter
HS225BB looks to be the right size with plenty of torque, so will get a pair of those, https://www.towerhobbies.com/cgi-bin...p?I=LXN664&P=0
Still trying to determine what the actual colors are. There appears to be two gray colors, the upper wing is yellow, and then there is the red. I was considering SIG Dope, but they only stock pints now, and I will need at least a quart to cover everything. They are also limited in colors. Looking int Randolph Dope since they have multiple gray colors as well as yellow colors.
Still trying to determine what the actual colors are. There appears to be two gray colors, the upper wing is yellow, and then there is the red. I was considering SIG Dope, but they only stock pints now, and I will need at least a quart to cover everything. They are also limited in colors. Looking int Randolph Dope since they have multiple gray colors as well as yellow colors.
09-02-2019, 07:24 AM
#42
Dang, do you really think you will need a full quart? That being said, Aircraft Spruce carries Randolph Dope in quarts. I don't know if it is factual but I once heard that the dope that Sig and Brodak sell is rebranded Randolph product.
09-02-2019, 07:56 AM
#43
Thread Starter
Probably not, but would suck to get mostly done and run out. From my other dope jobs I usually wound up putting at least 3 coats on before the surface is uniform. The first coat always tends to blend with the clear and get that transparent look to it, the second coat covers OK, but can usually see streaks, and the last coat is the one where it gets the nice shine to it. I know Yellow needs a base coat, or it just looks transparent, no matter how many coats are applied, and white gets really streaky if not kept wet while brushing. Since I haven't done grey, not sure how it will go on. I tried spraying dope, but I wound up using a lot more than brushing and it still didn't quite come out right.
OTOH I could just clear dope it all, and then do a base coat clear coat instead with auto paint.
OTOH I could just clear dope it all, and then do a base coat clear coat instead with auto paint.
09-03-2019, 08:02 AM
#44
My understanding is that clear nitrate does make a pretty good primer for just about anything. The last plane I painted with dope was glassed so I didn't have to get nearly as much build up to achieve a gloss finish. I agree with you about yellow needing base coat. I've run into that with everything from Lustercote to car paint. It's also true for red to a lesser degree. It has been about 3 years since I used it but as I remember the gray dope (Brodak) had pretty good opacity. For me the down side to automotive paint is the expense.
09-03-2019, 08:42 AM
#45
Thread Starter
And the smell. Of course Dope has a pretty strong one too, but auto paint is sprayed vs brushed with Dope, so there is also the extraction needed. With my Laser setup it has a pretty hefty extractor on it, so I can add a T to it and a couple dampers and set up a spray booth too. Downside, would require some shop rearranging to fit it in.
09-04-2019, 08:00 AM
#46
I've done the temporary spray booth thing but it really is quite a hassle. Given that a lot of full size airplanes had their dope finish brushed on you could argue that you are also using a scale technique.
09-04-2019, 08:02 AM
#47
Thread Starter
True, if I go with Dope it will be brushed on, but if I go the auto paint route, then it has to be sprayed, you can't brush auto enamel, it clumps if you do. I could also use Latex, but would still need a clear coat to fuel proof it.
09-04-2019, 08:39 AM
#48
Have you got an HVLP touch up gun? They can be pricey but they do cut down on the overspray. When I do auto paint on an airplane I prefer a catalyzed single stage paint rather than a base coat/clear coat. It's just a little less expensive. I can't comment on latex as I've never used it.
09-05-2019, 07:17 AM
#50
Sounds like you are set spray gun wise. Regarding setting up a spray booth, I think there must be some elemental law of physics that dictates that no matter how large your shop is you have to rearrange something for each now project.